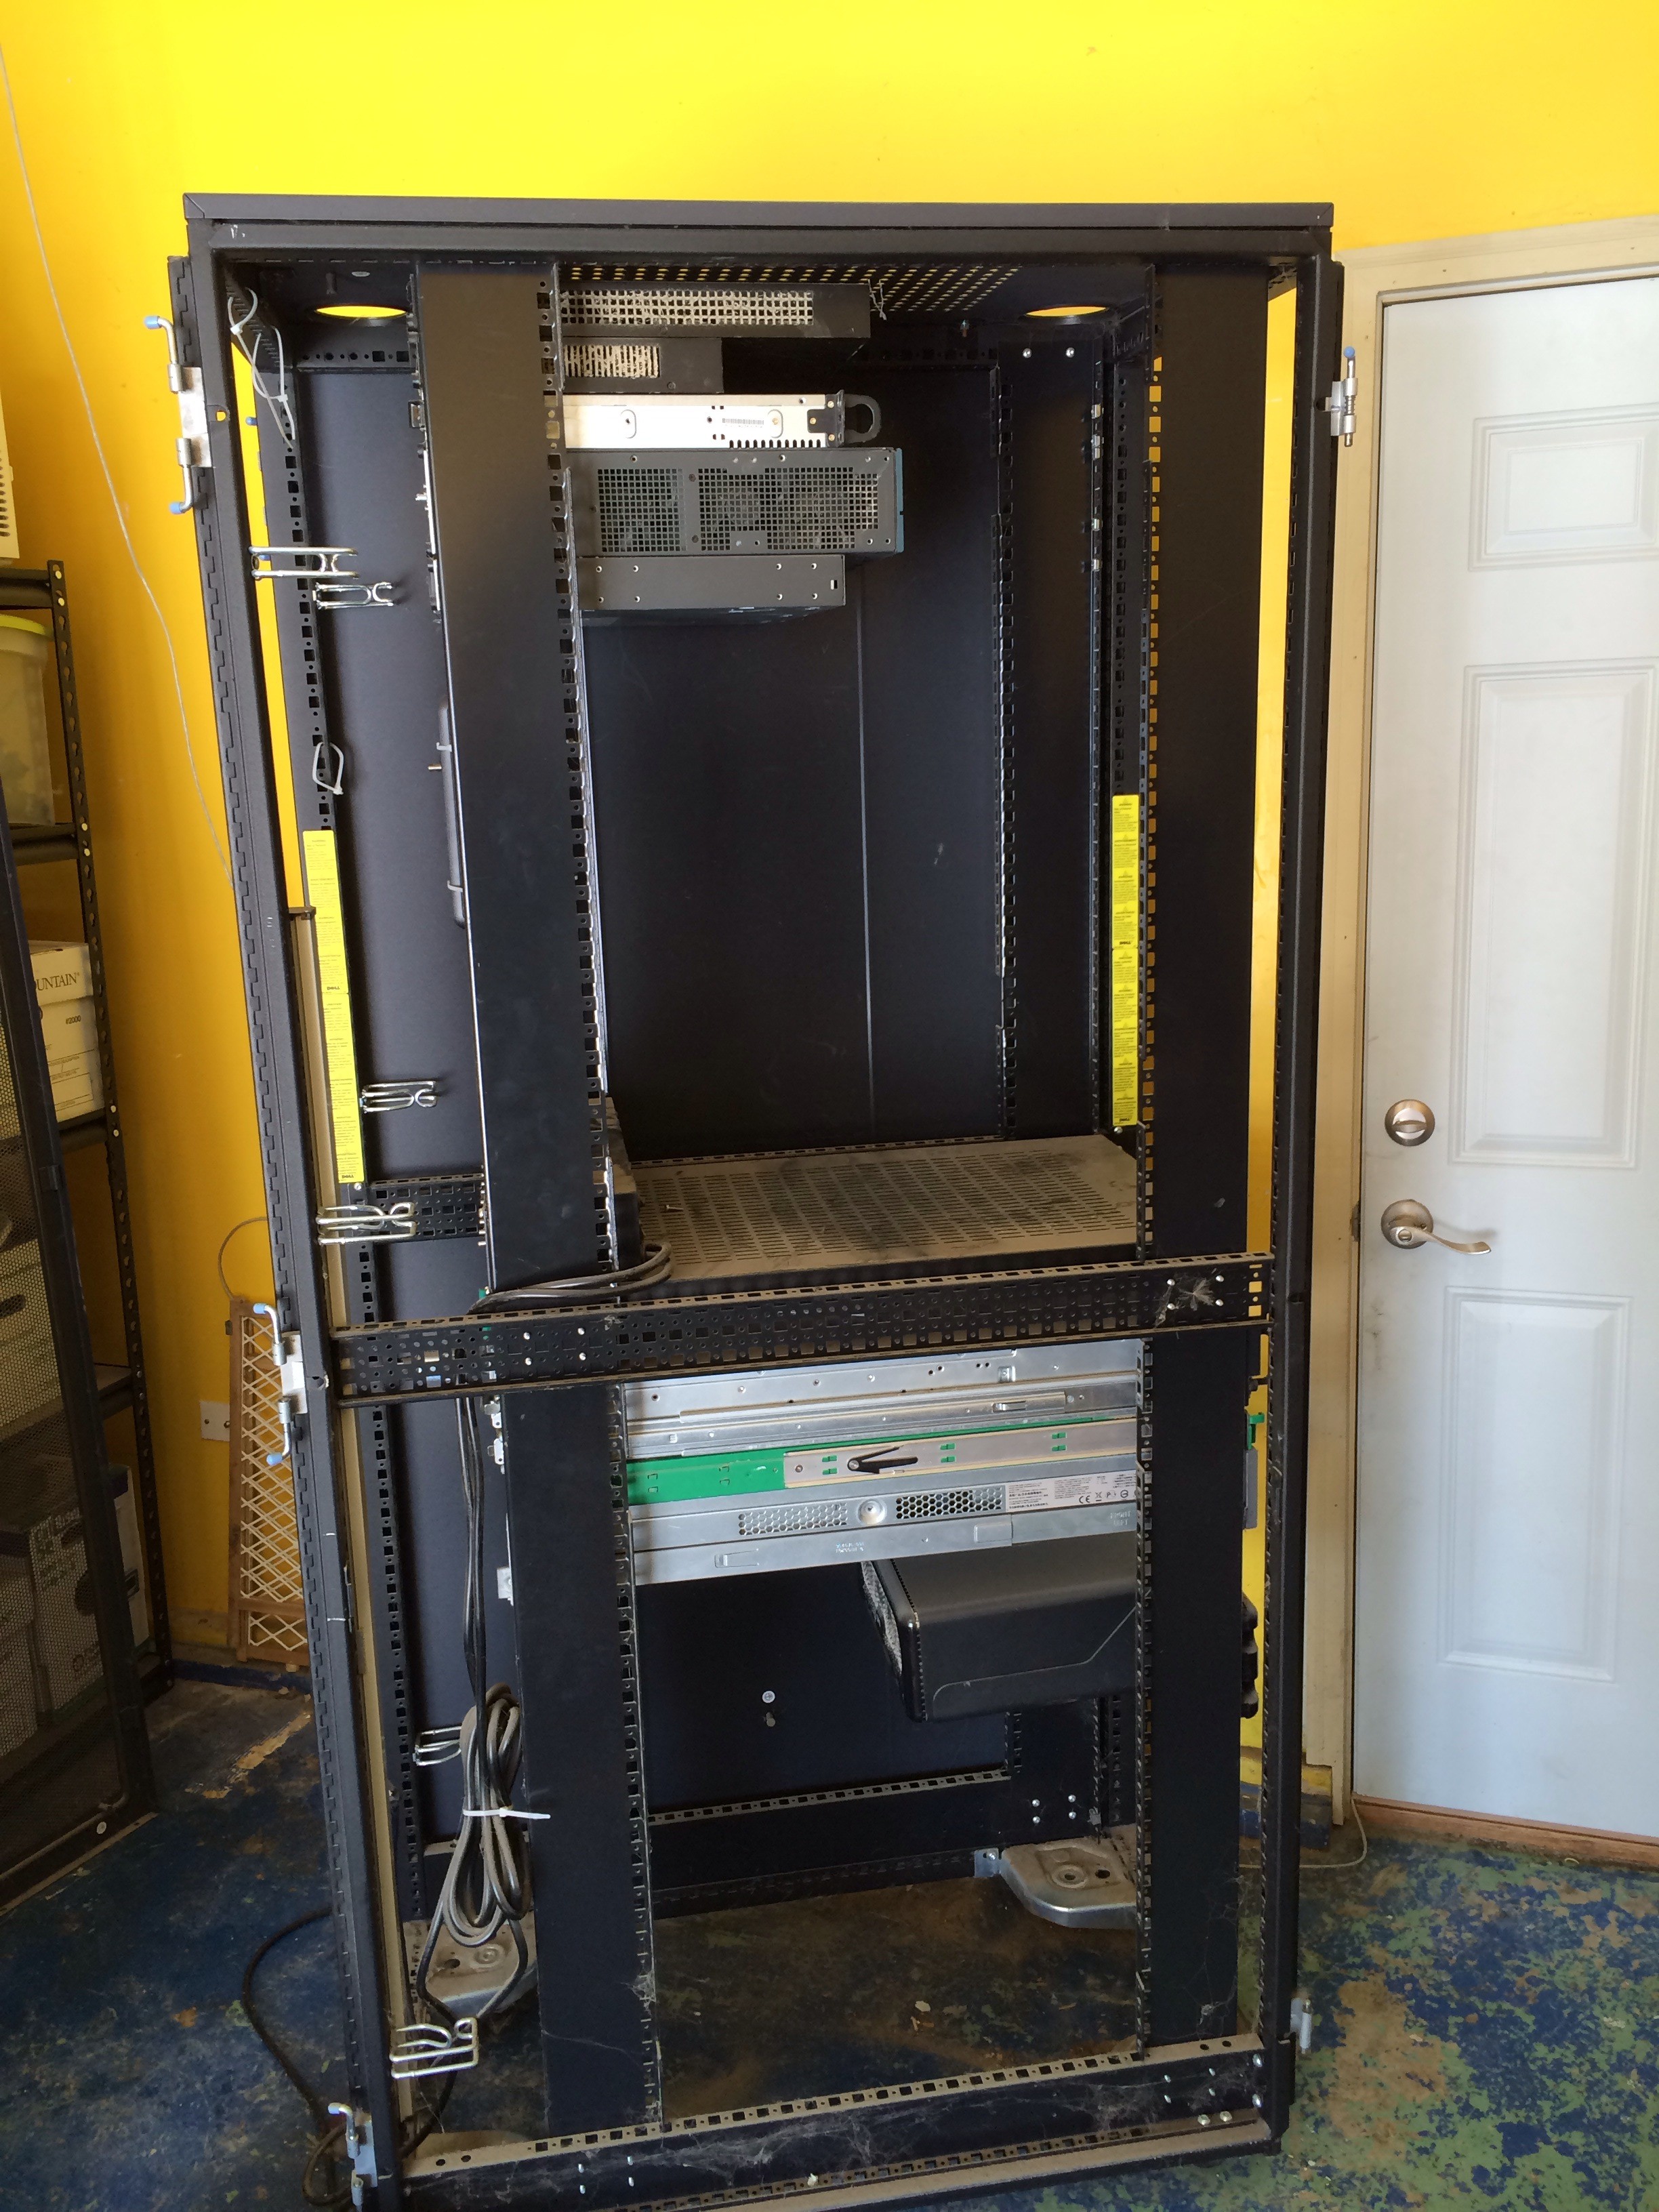
Current State:
Having the server rack in the garage during winter didn’t let me work on it much, so I started building a room for it in the basement.
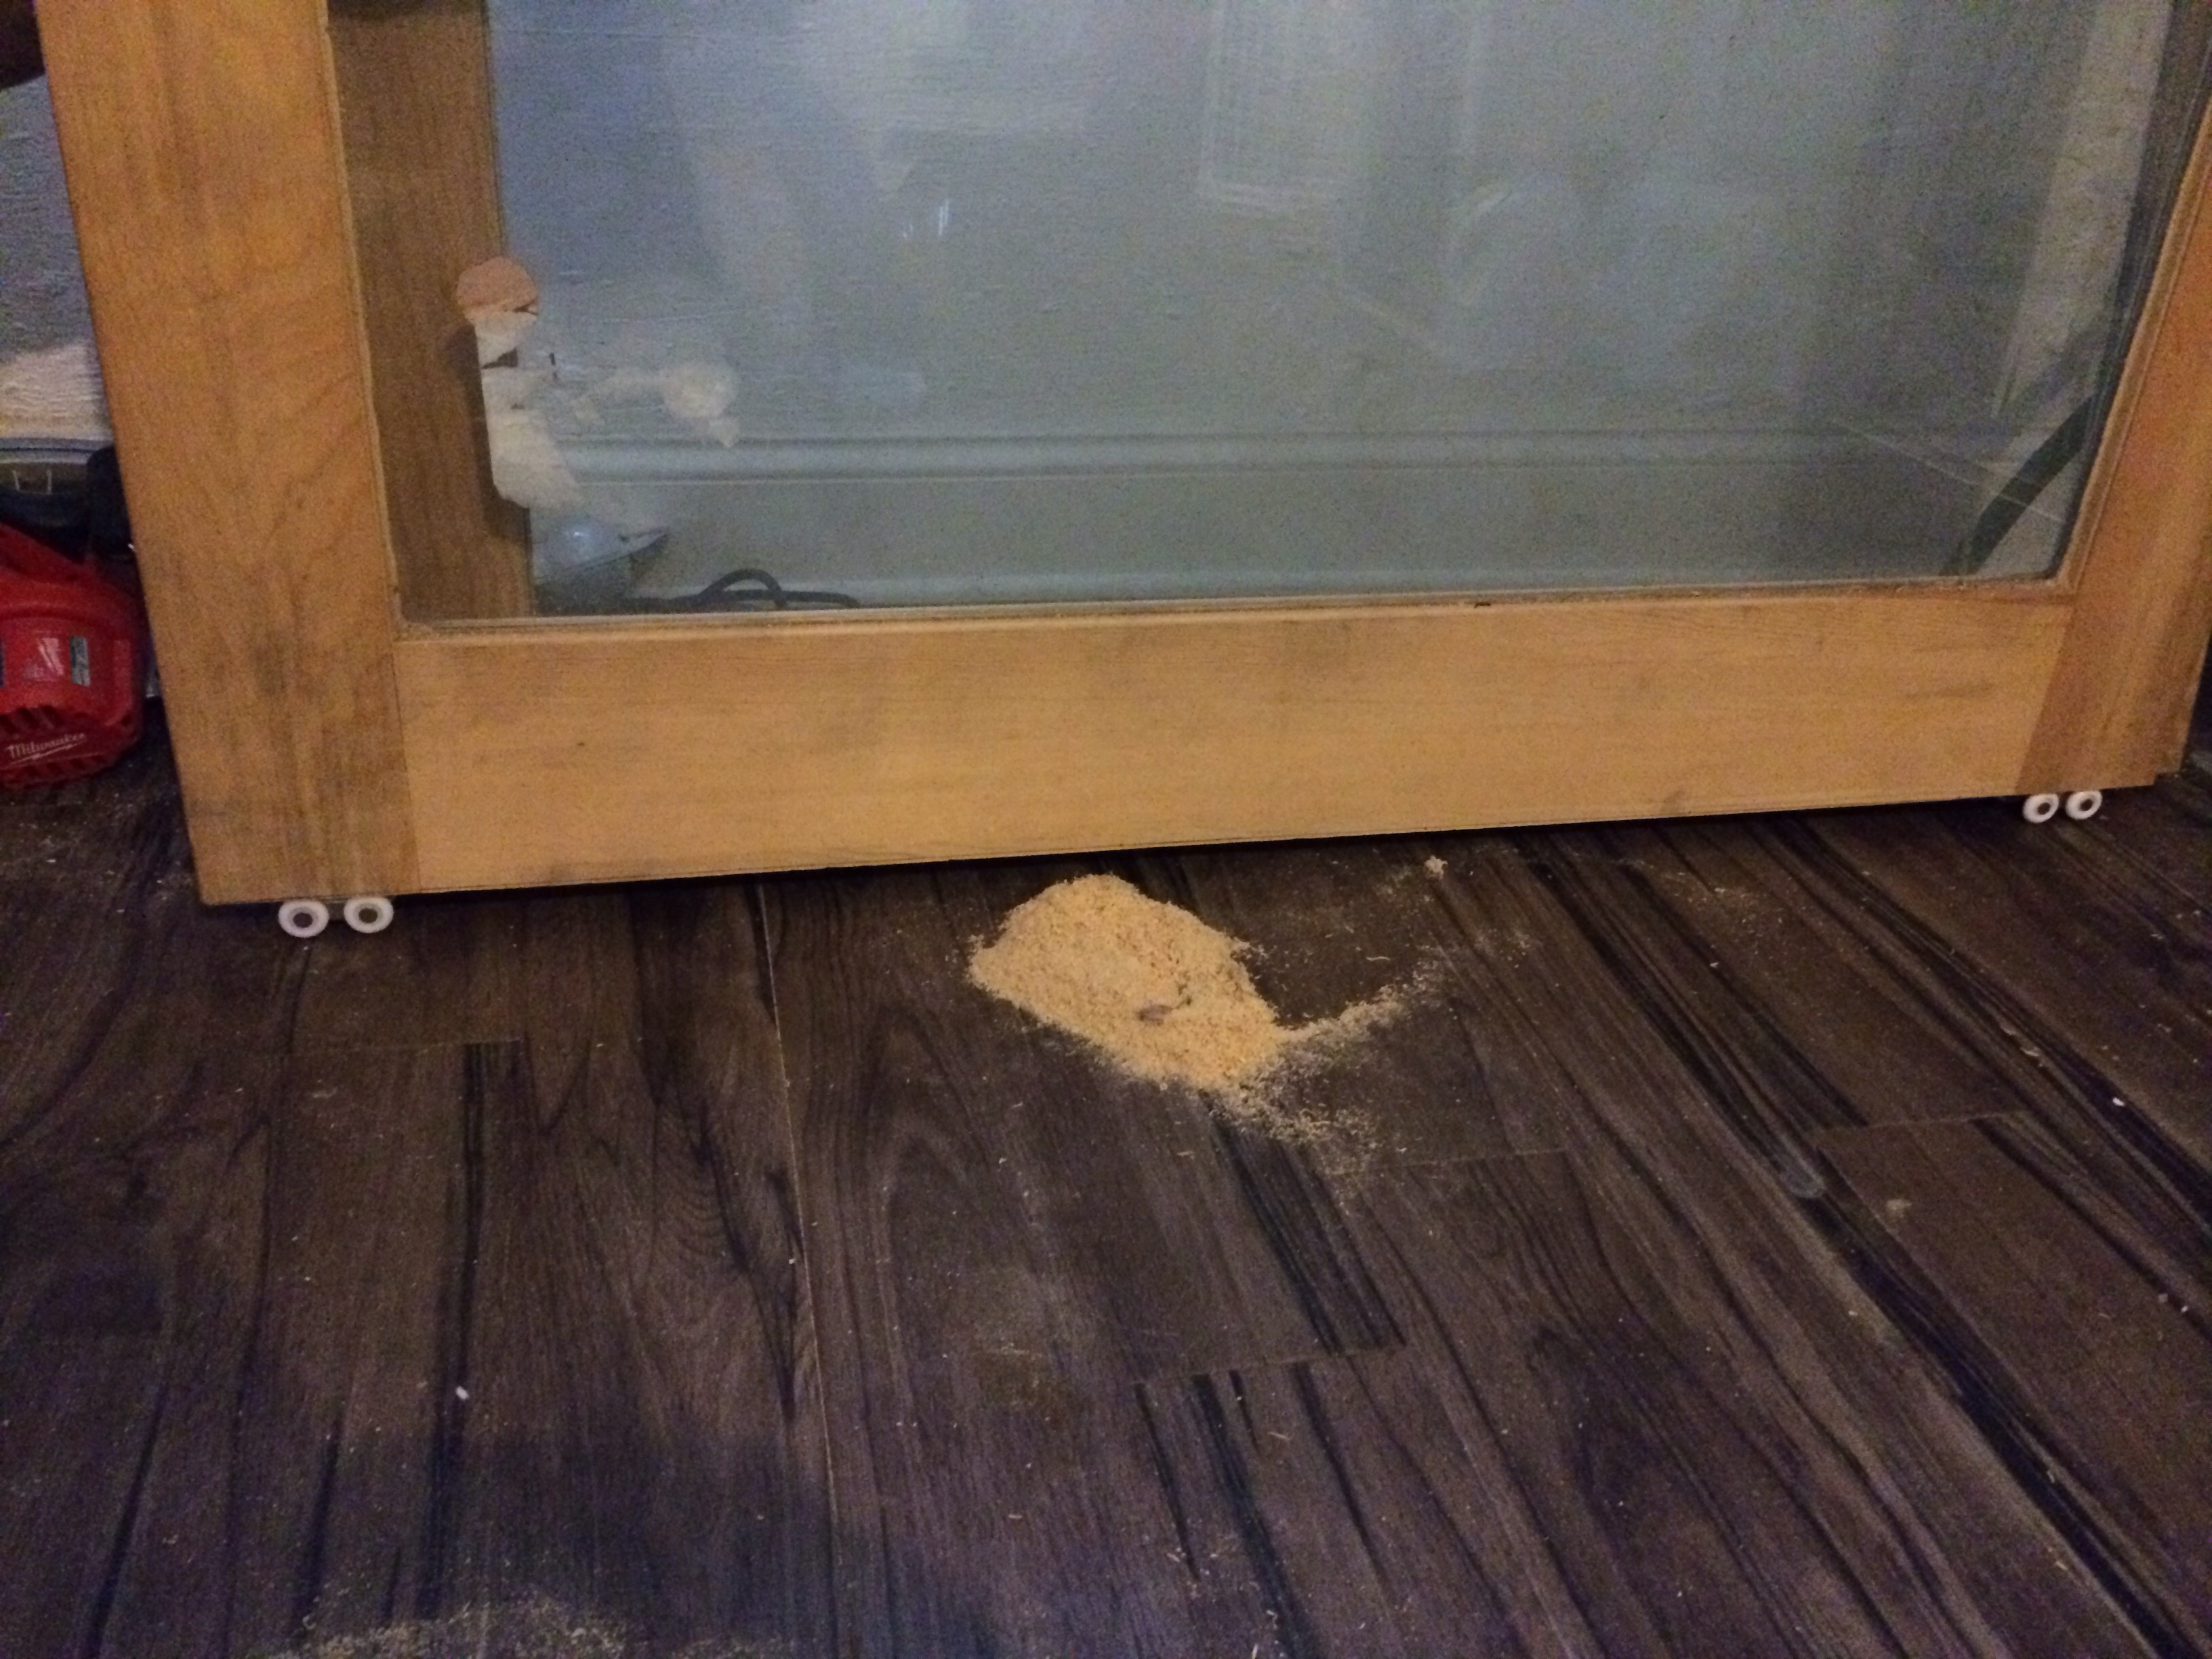
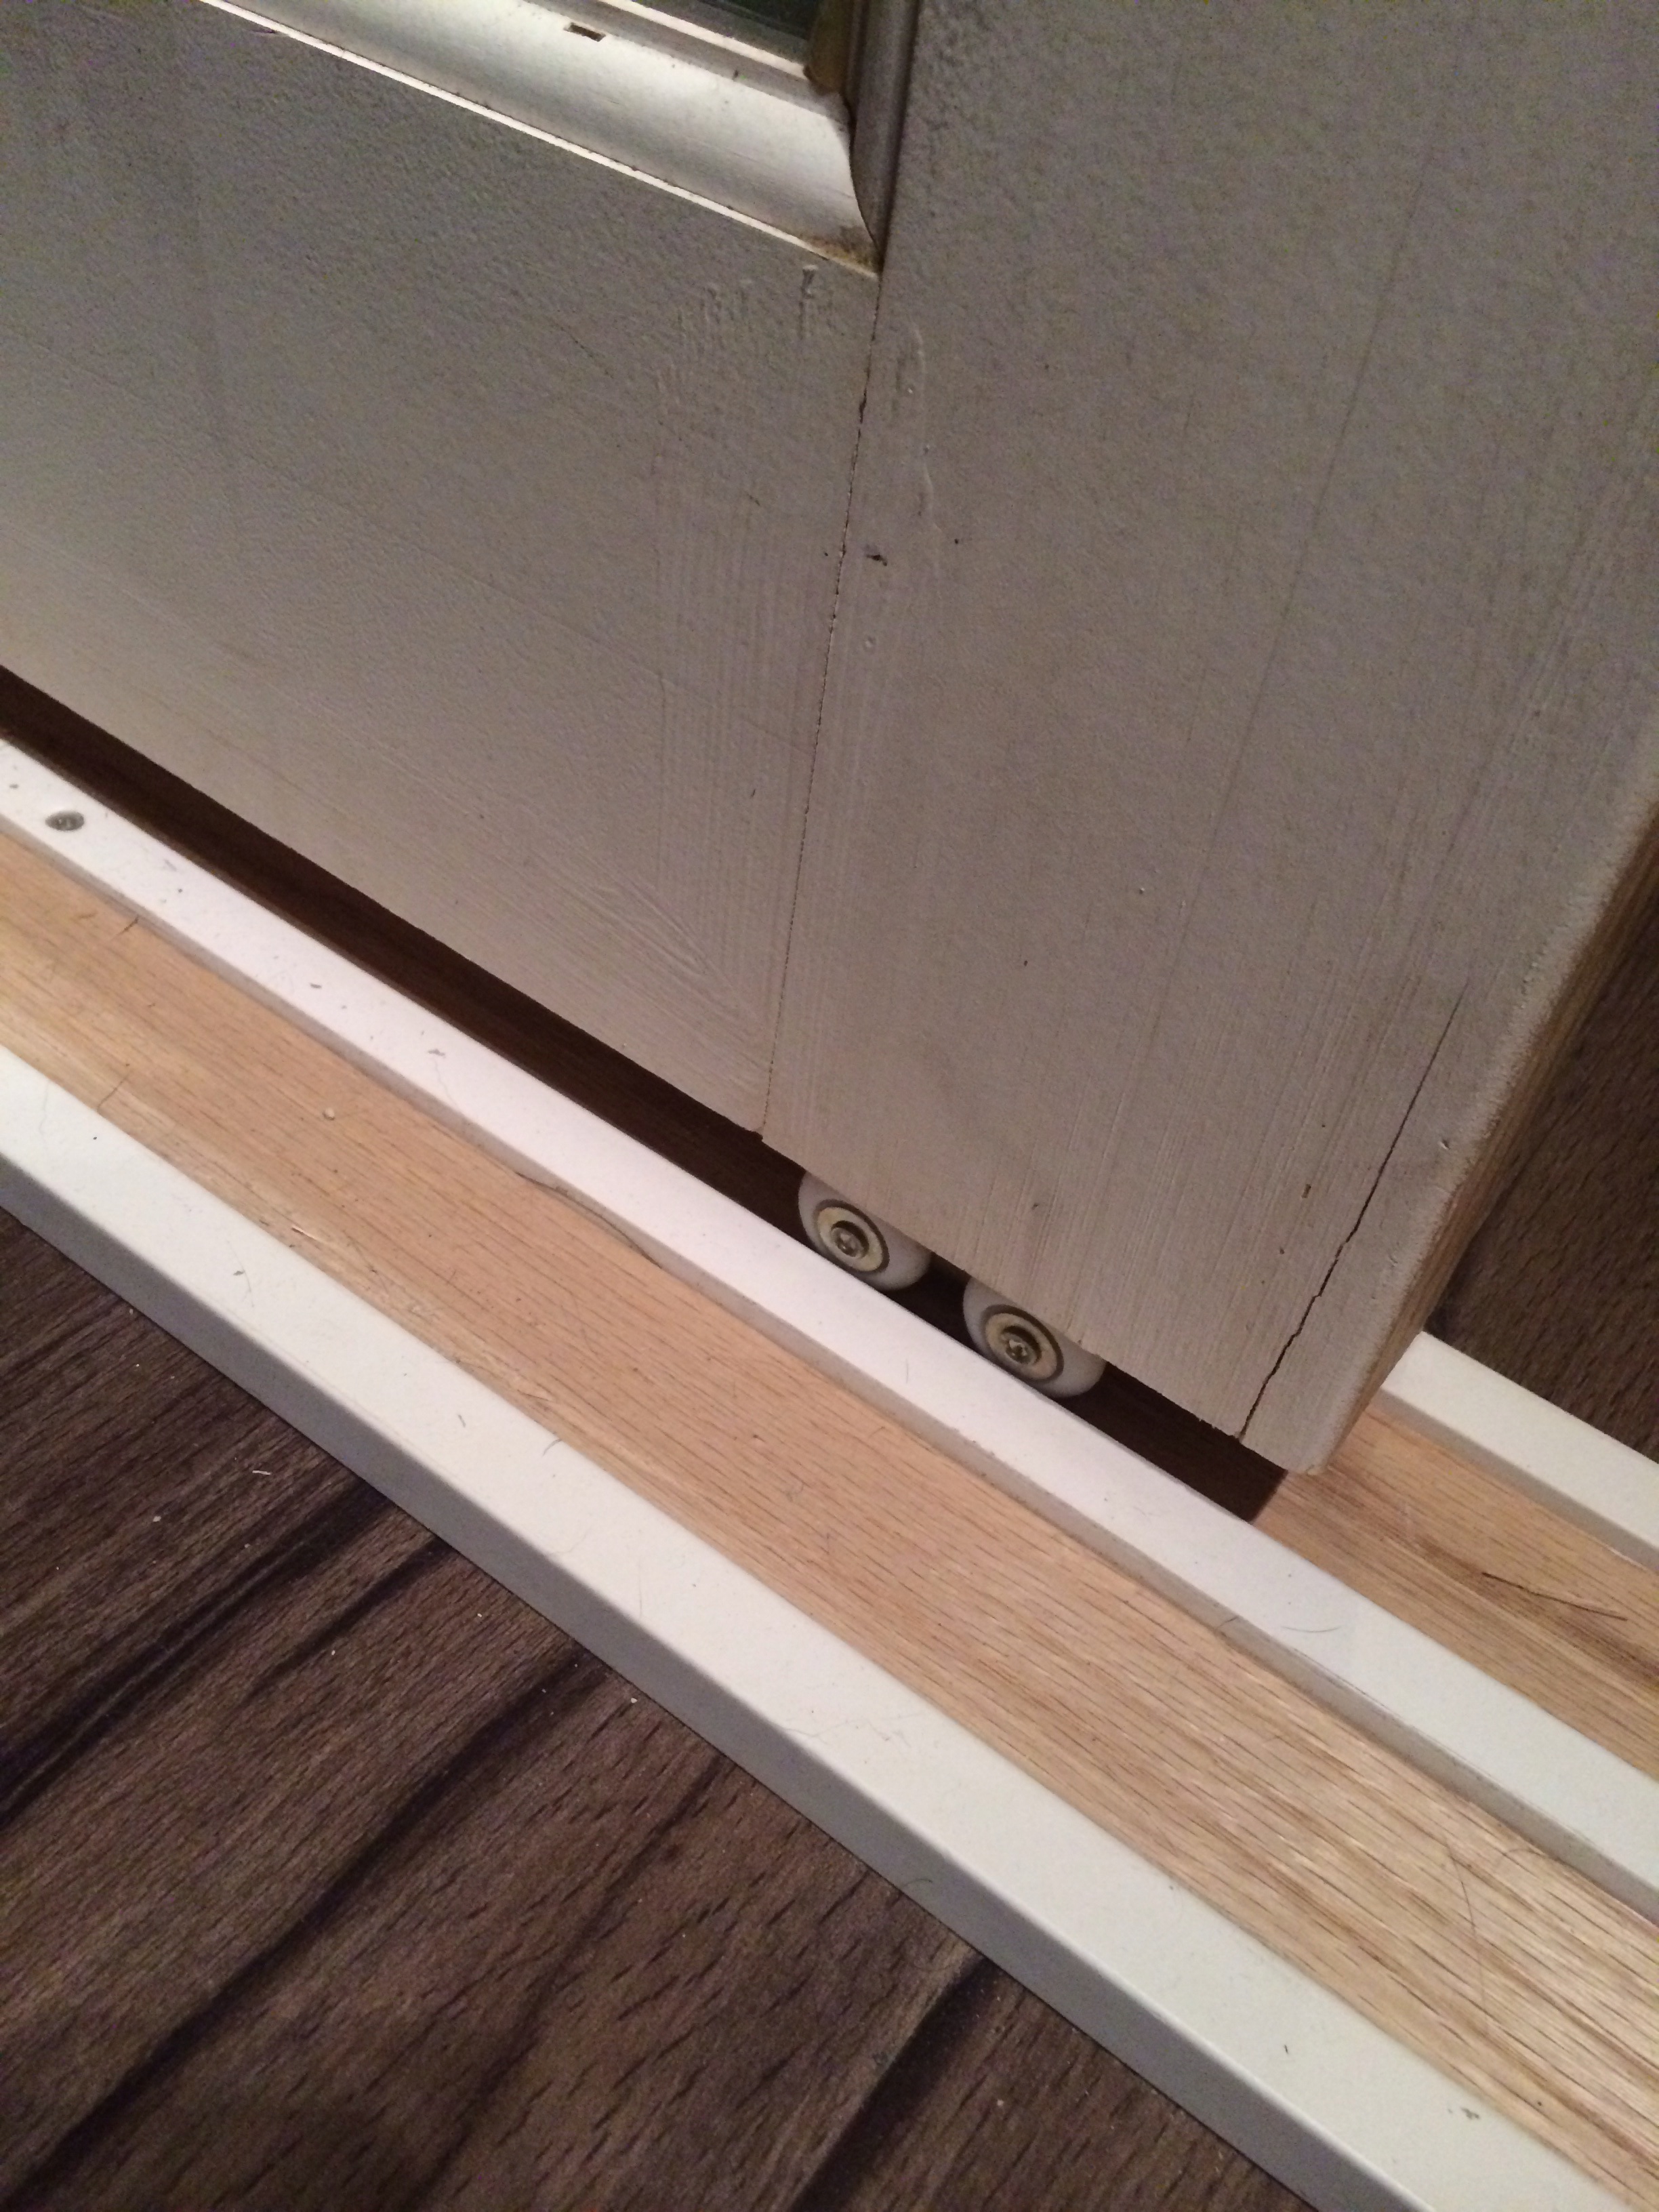
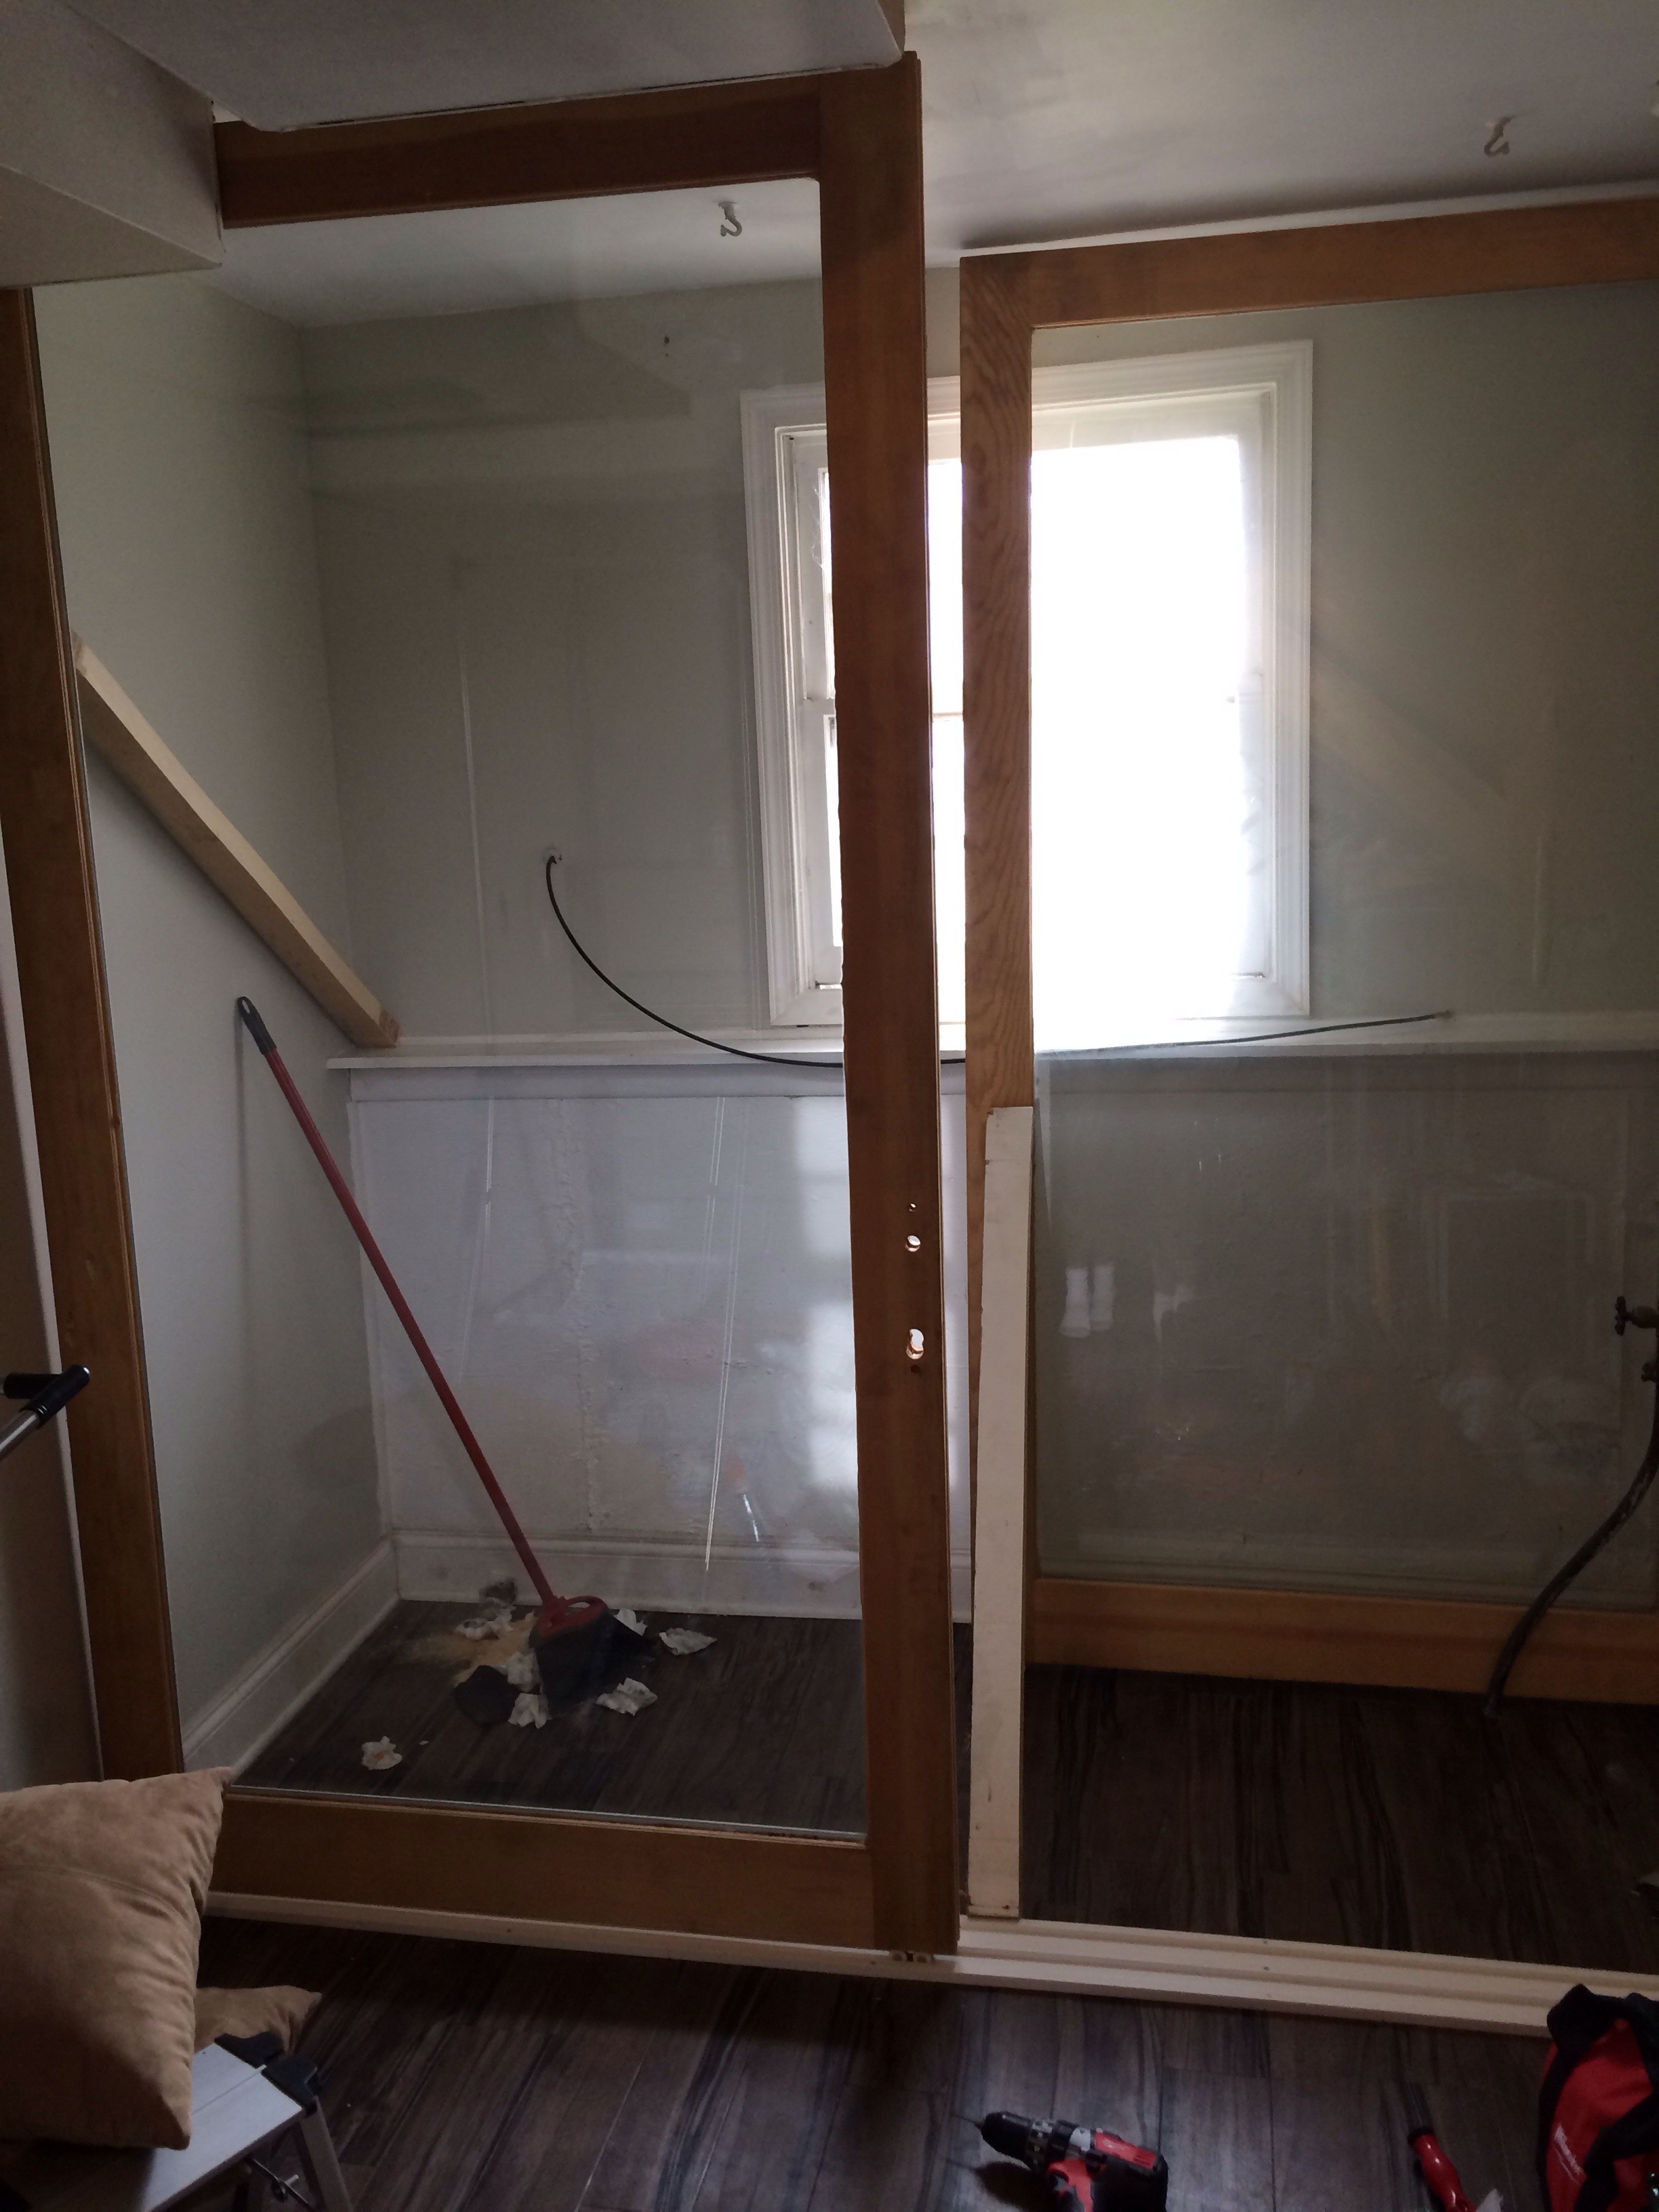
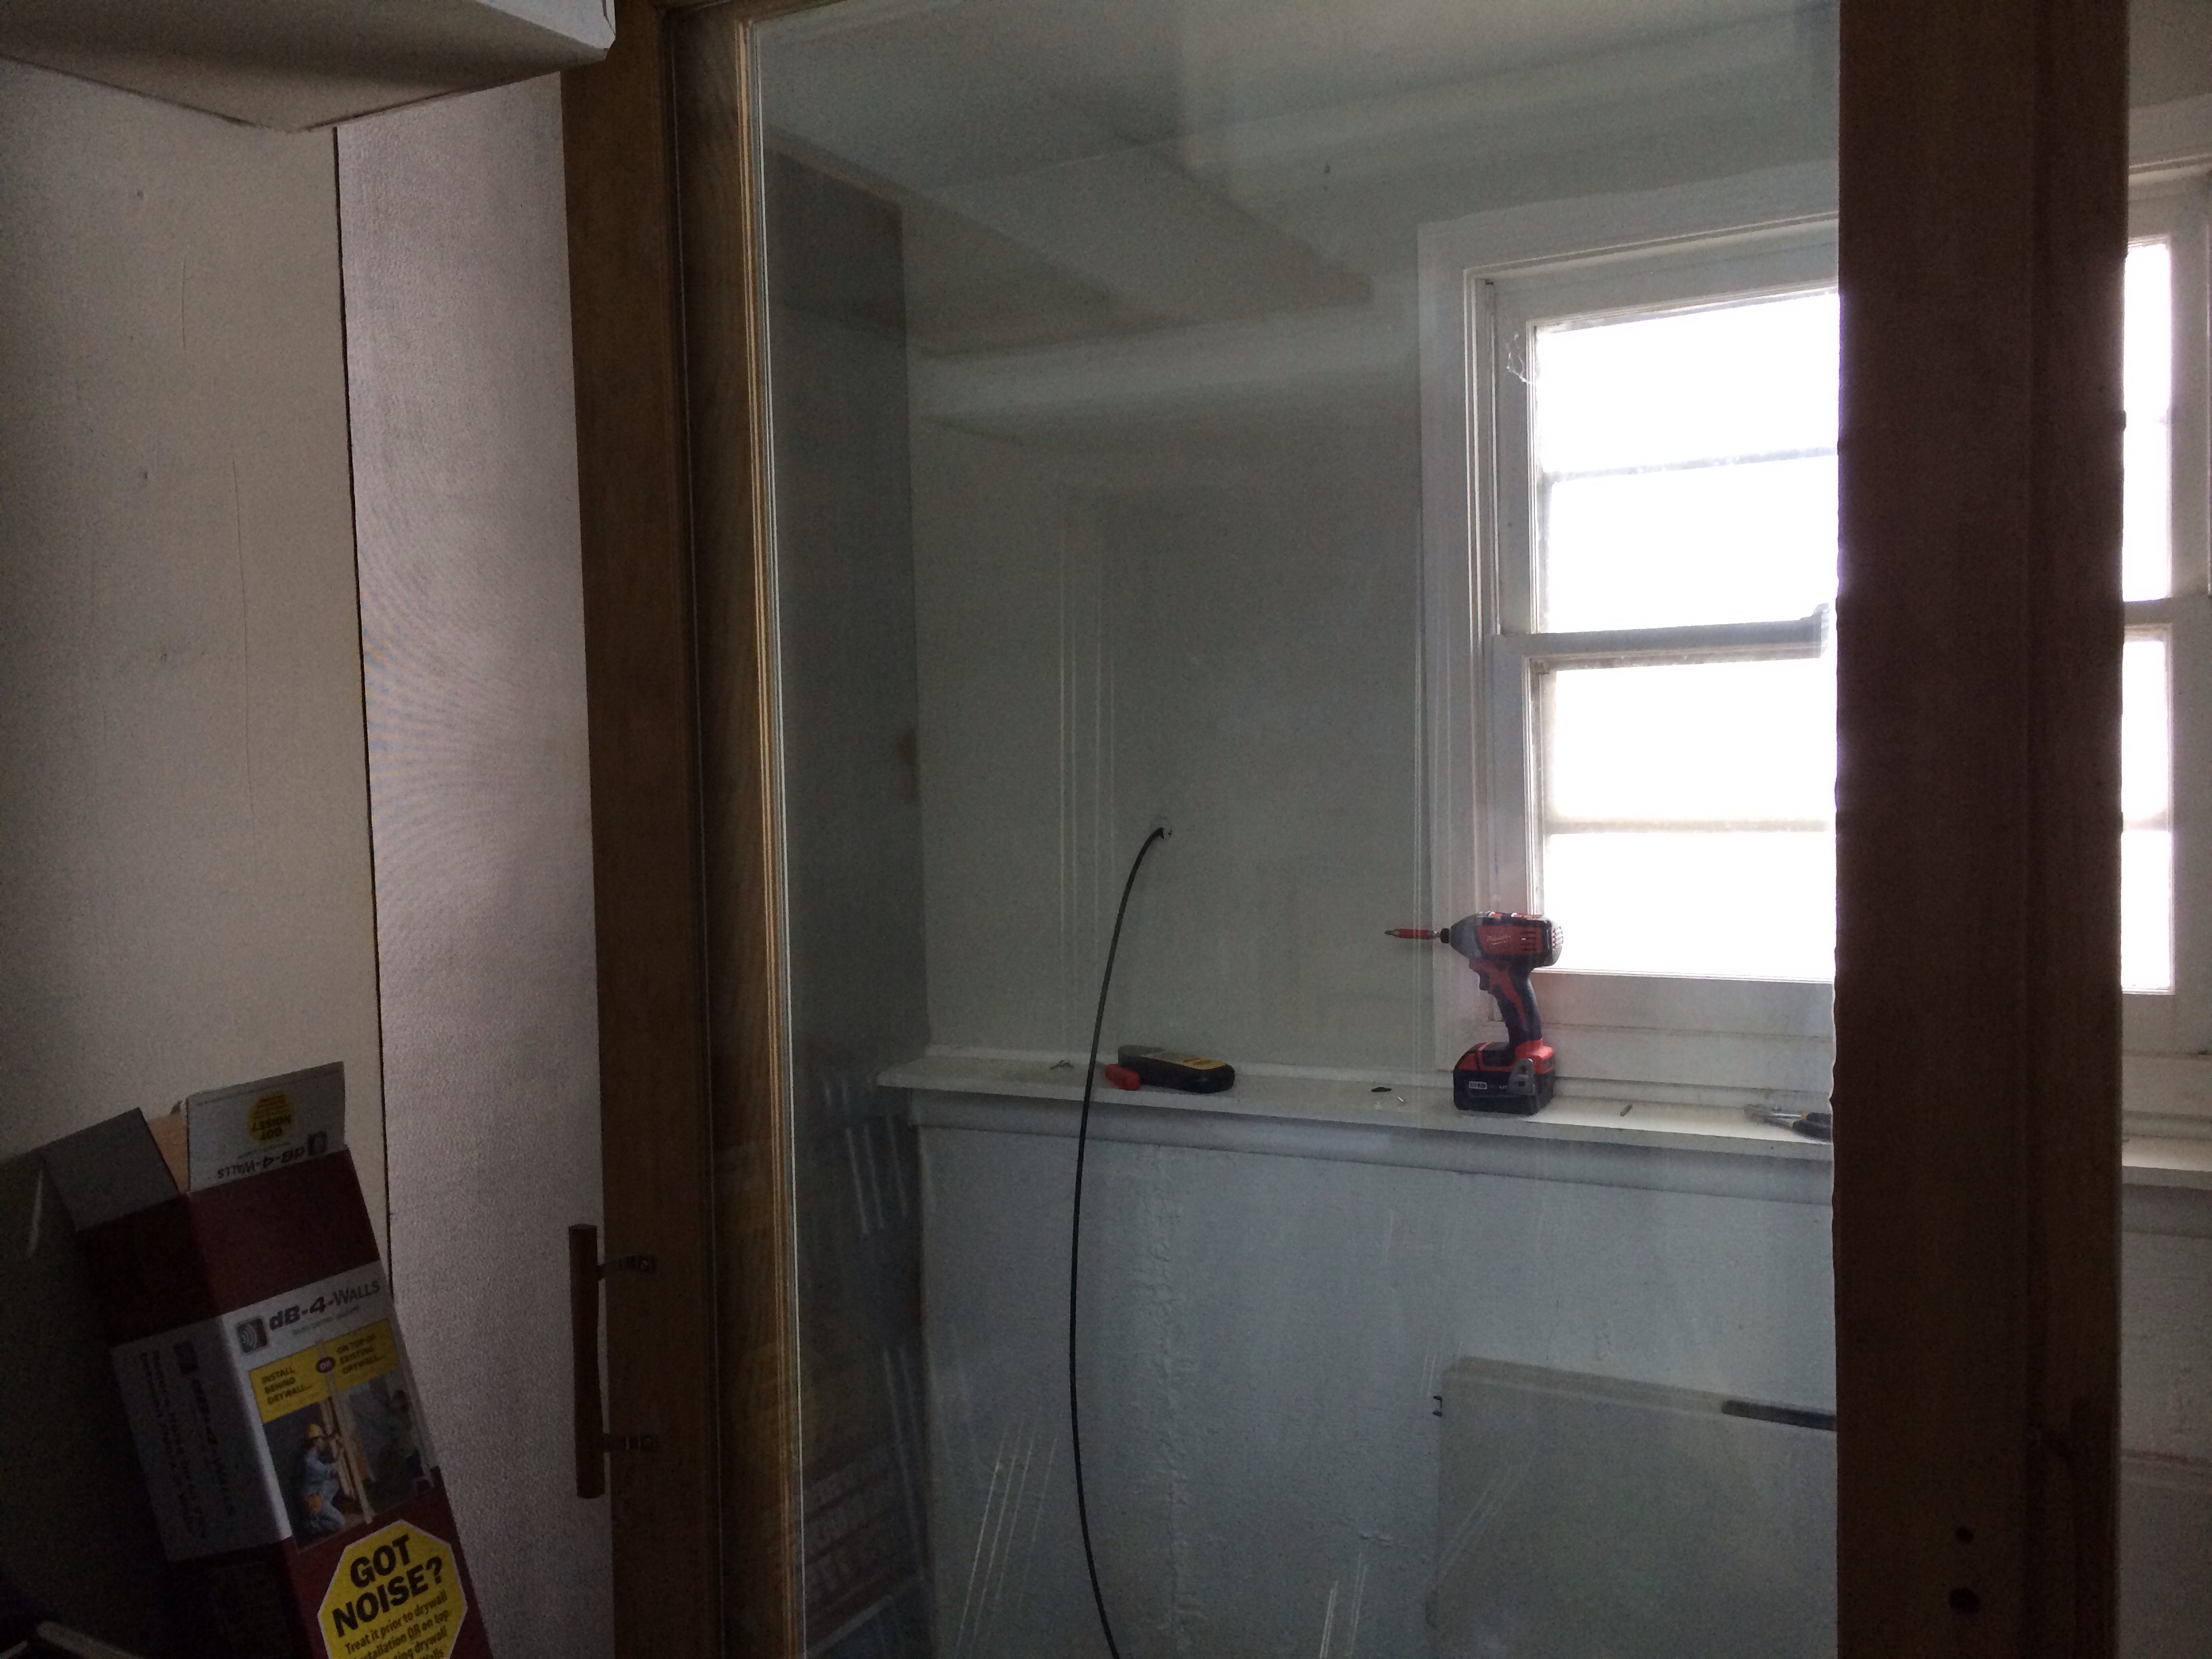
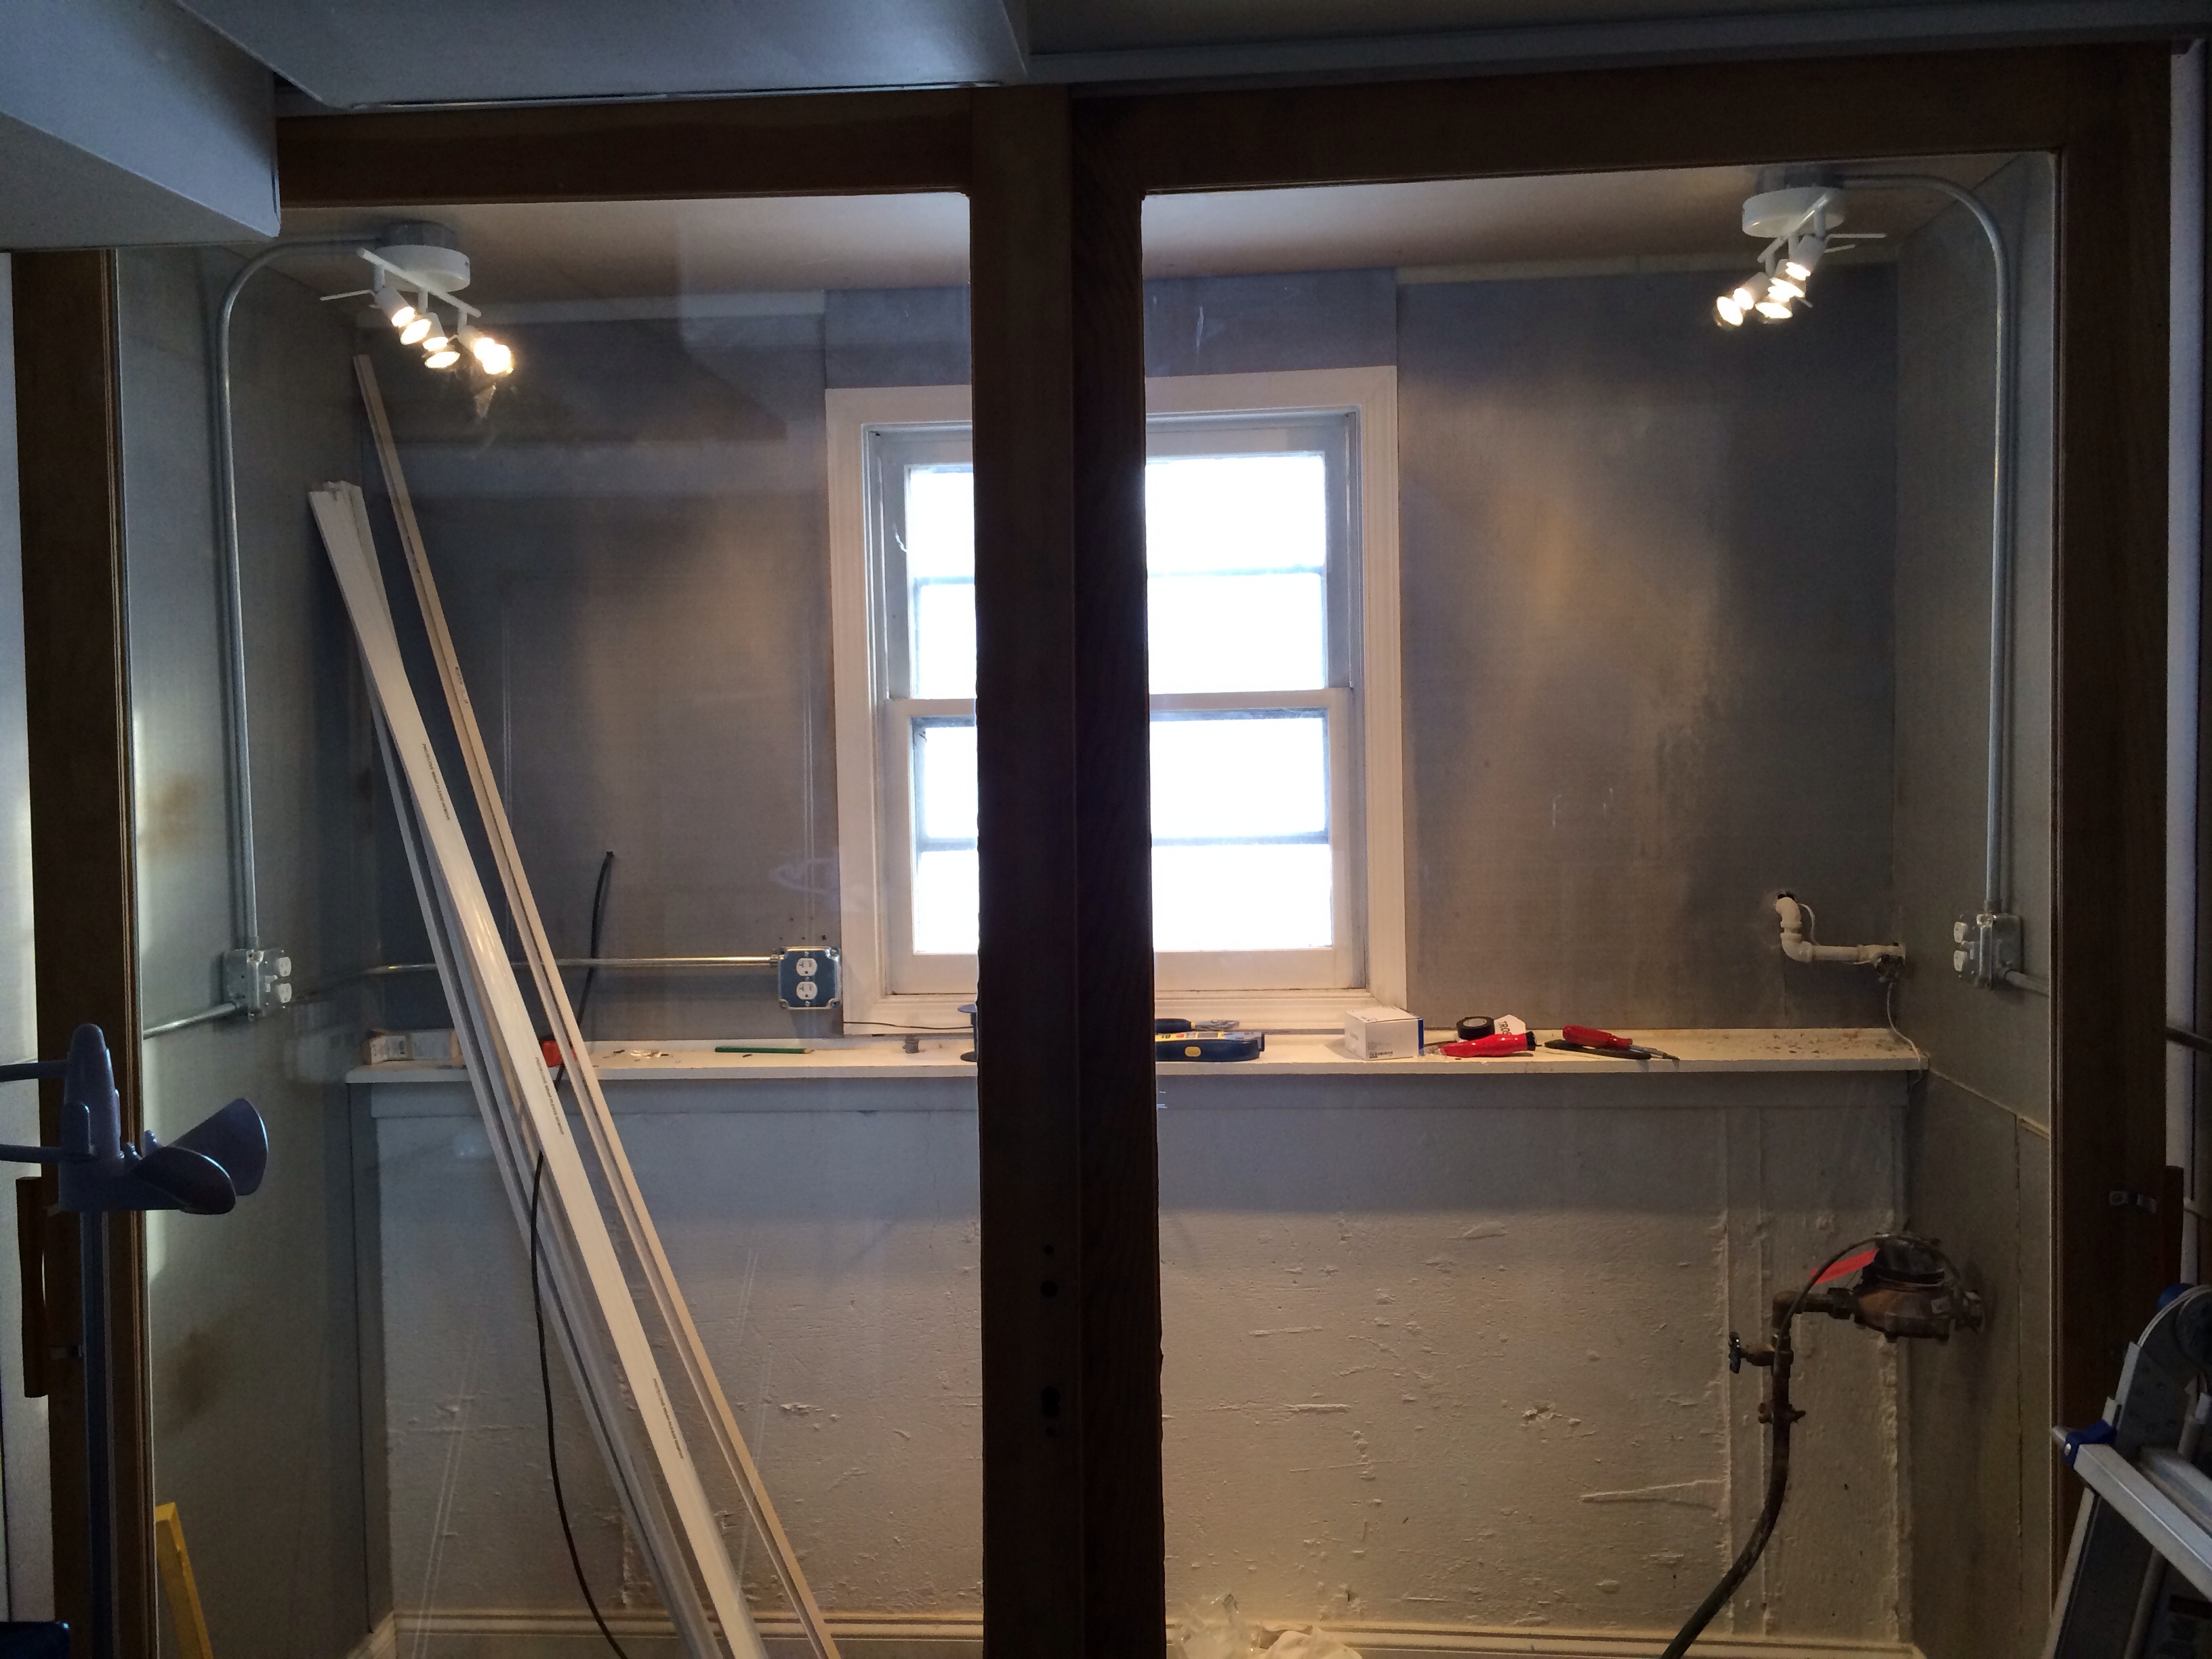
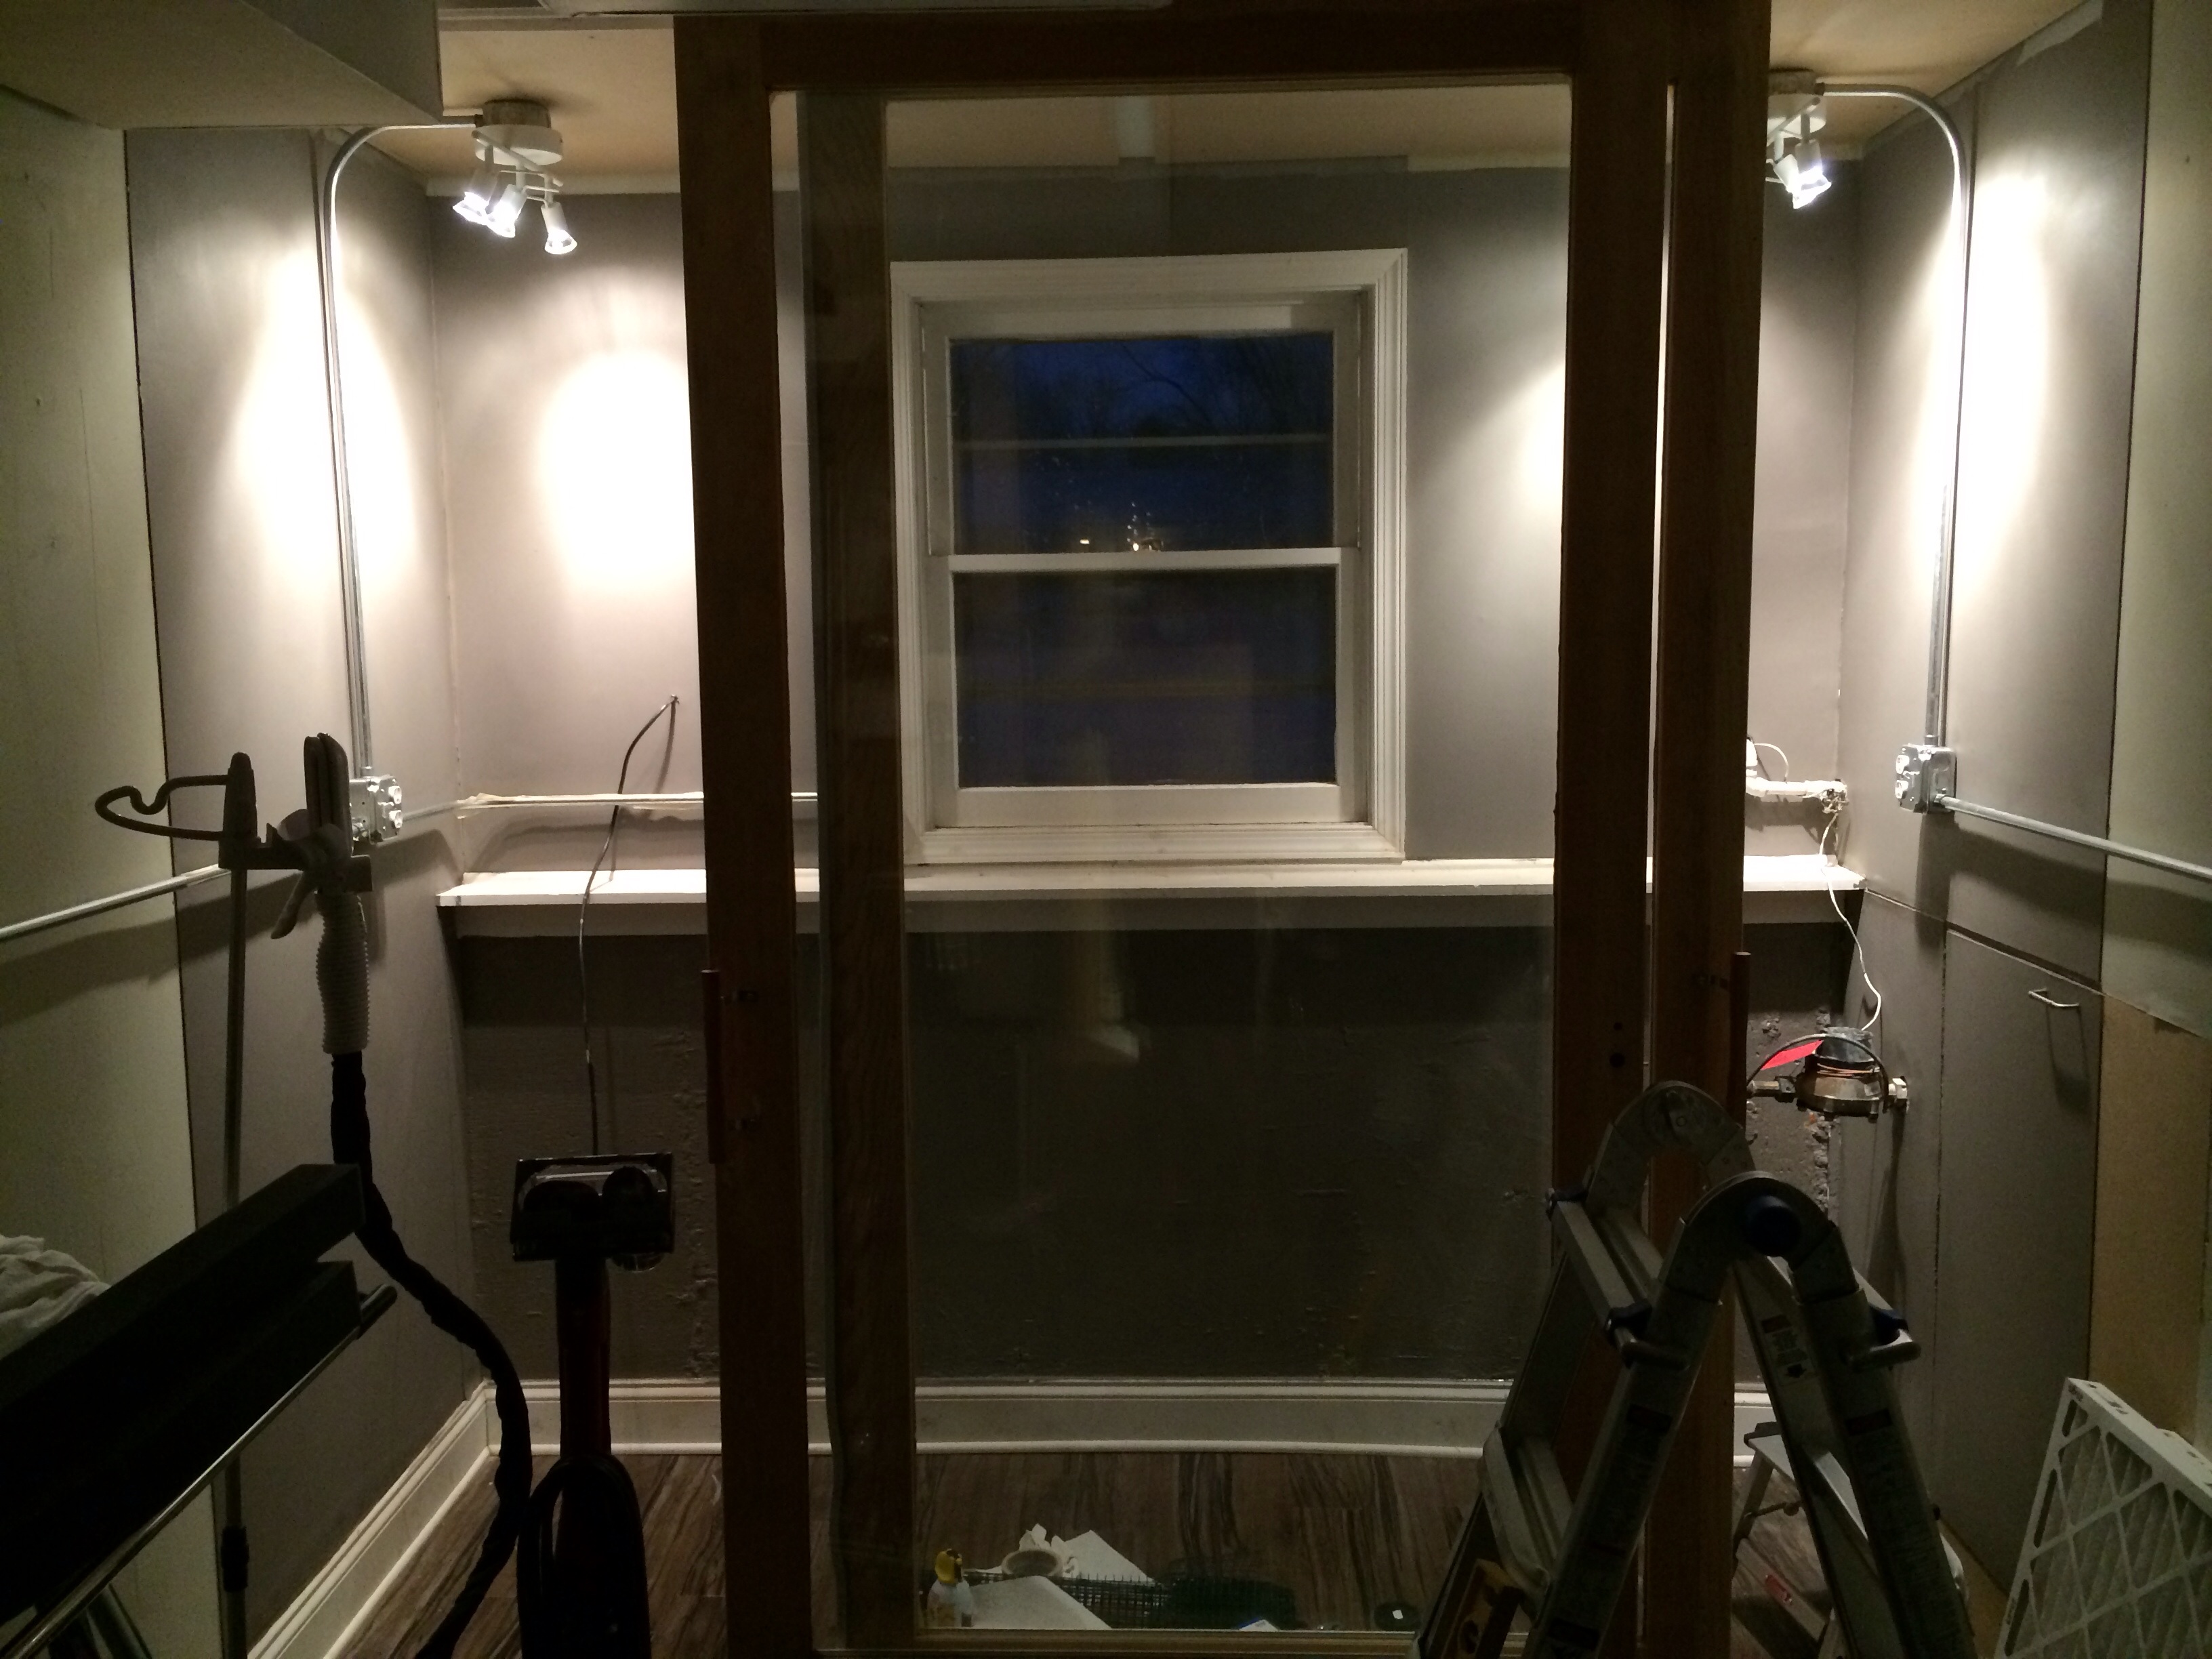
Bought a couple of dual-pane glass doors, 4ft x 9ft, and then trimmed them so they would fit downstairs and could put some wheels underneath. The idea is to use a rail on both top and bottom, with the doors sitting on the wheels.
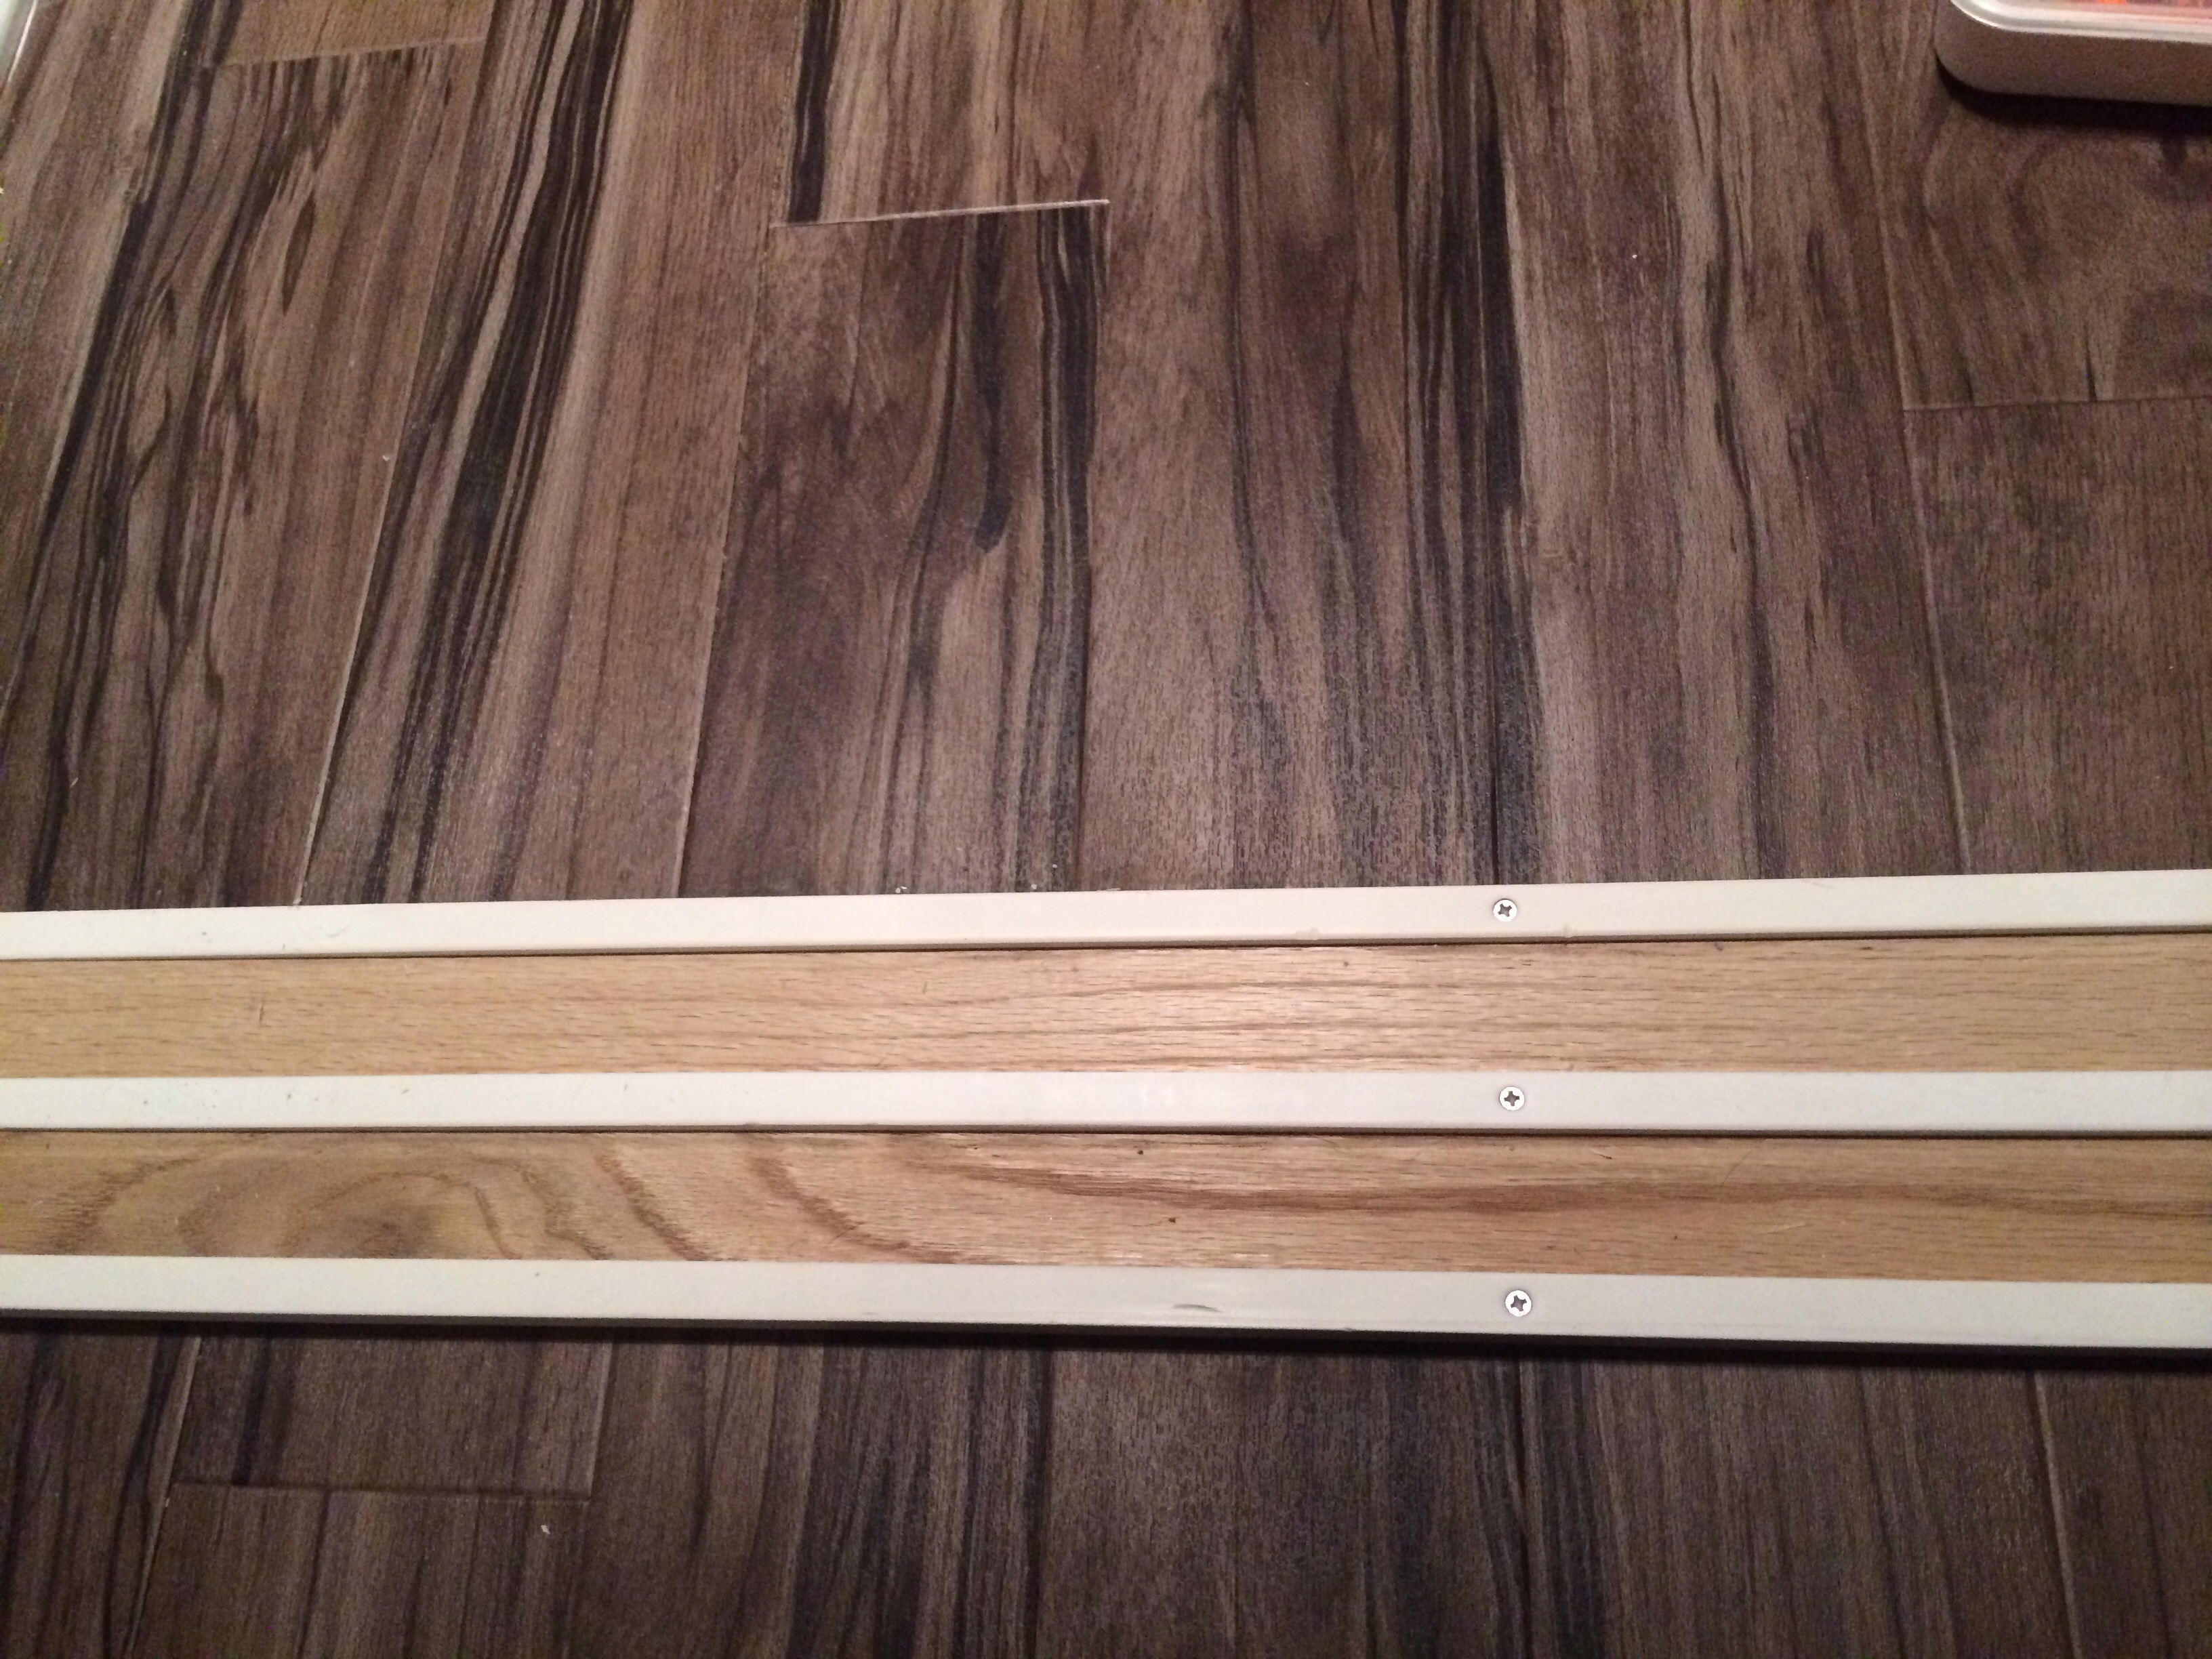
I then used 3 white square vinyl molding as spacers, and a couple oak pieces to build a set of rails for both doors from side to side.
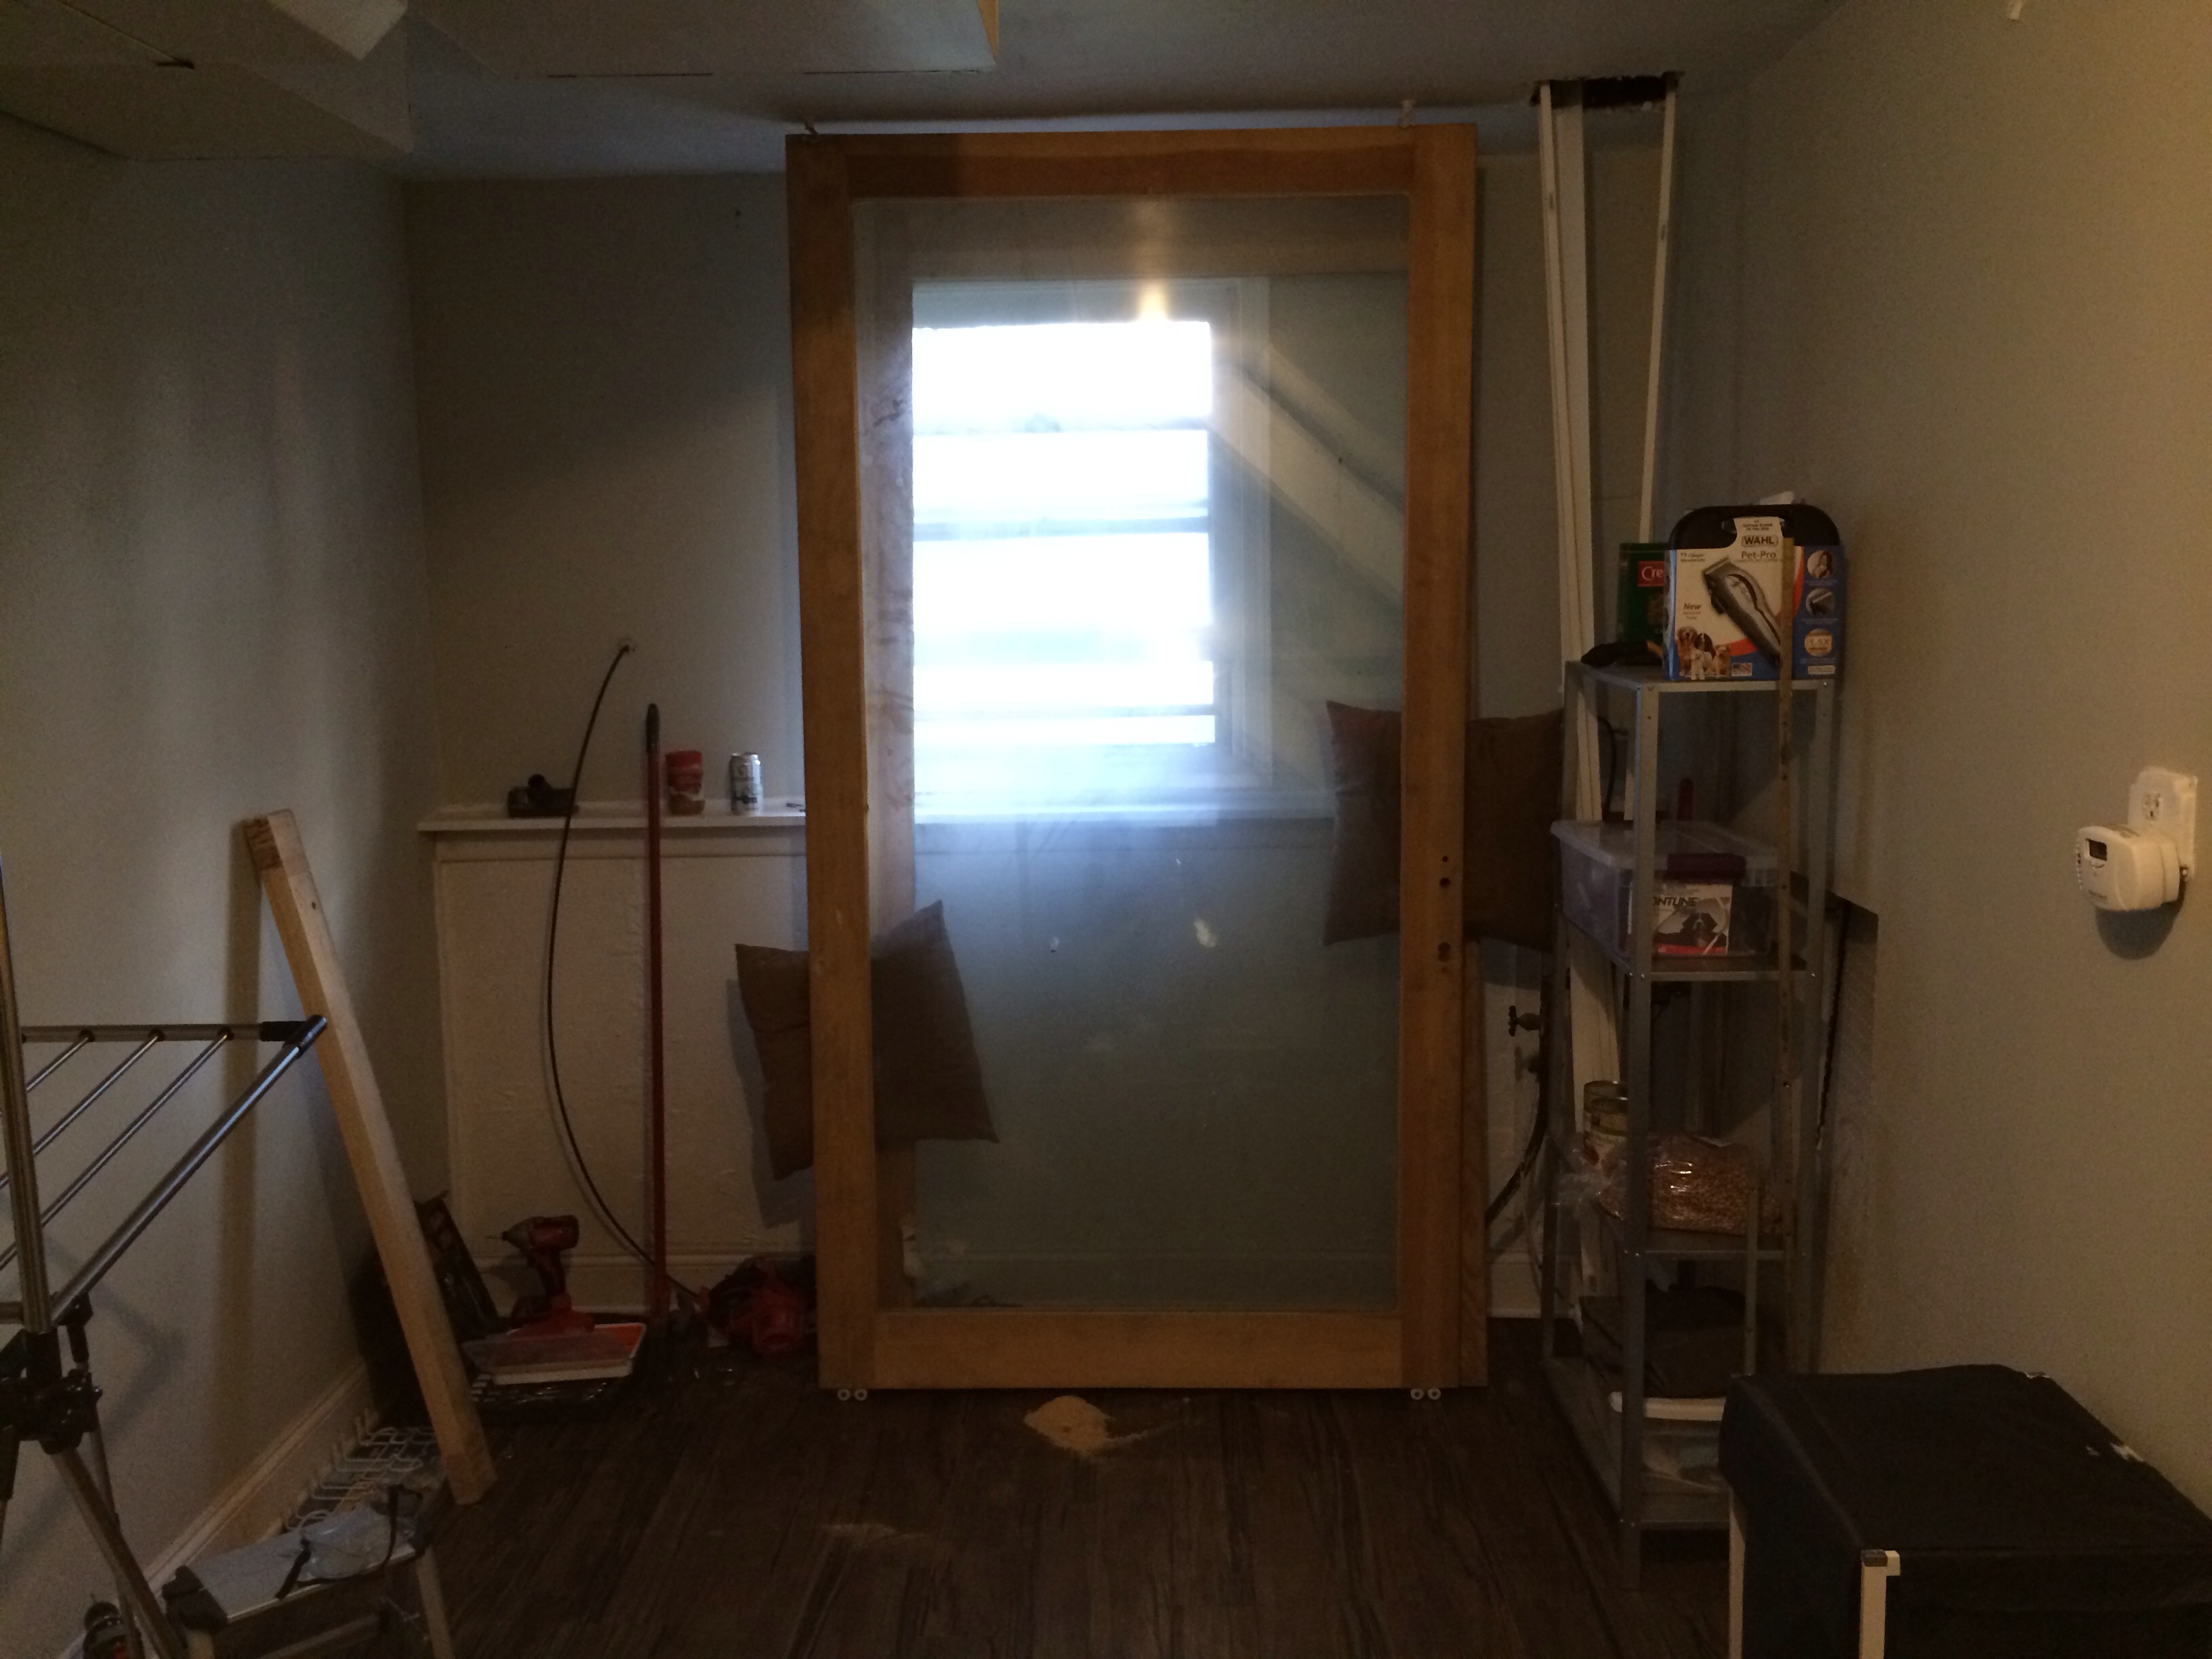
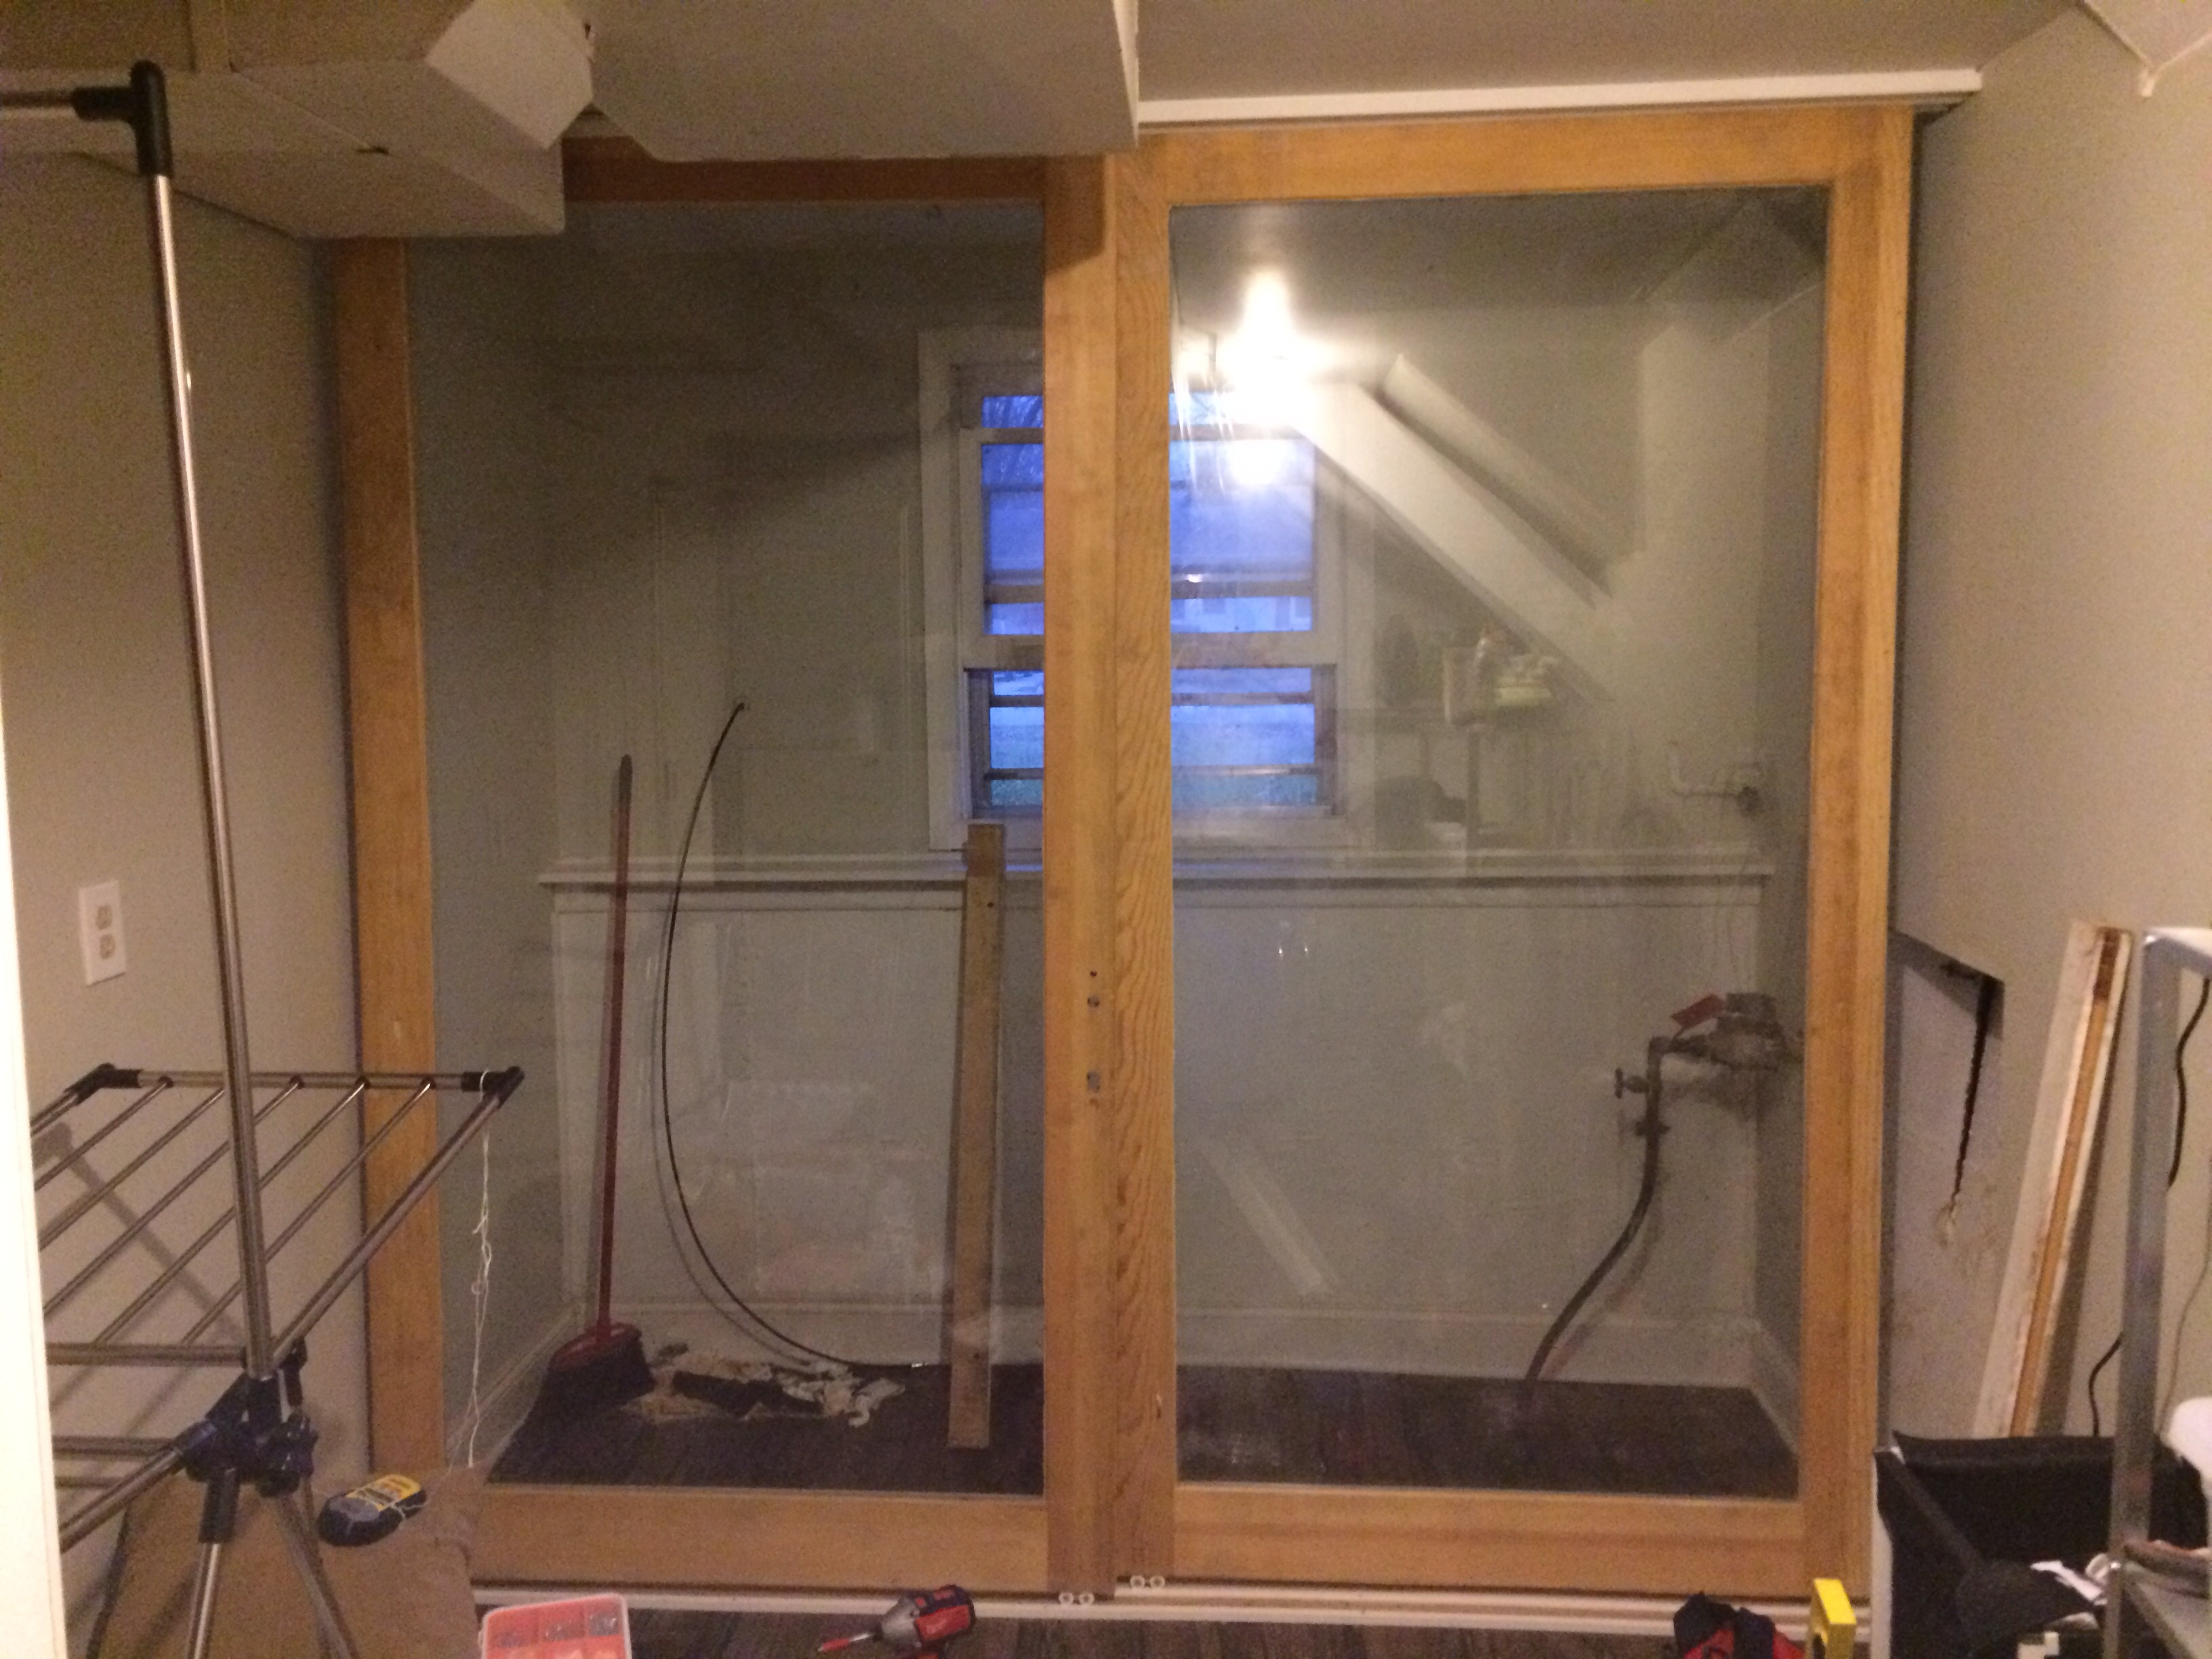
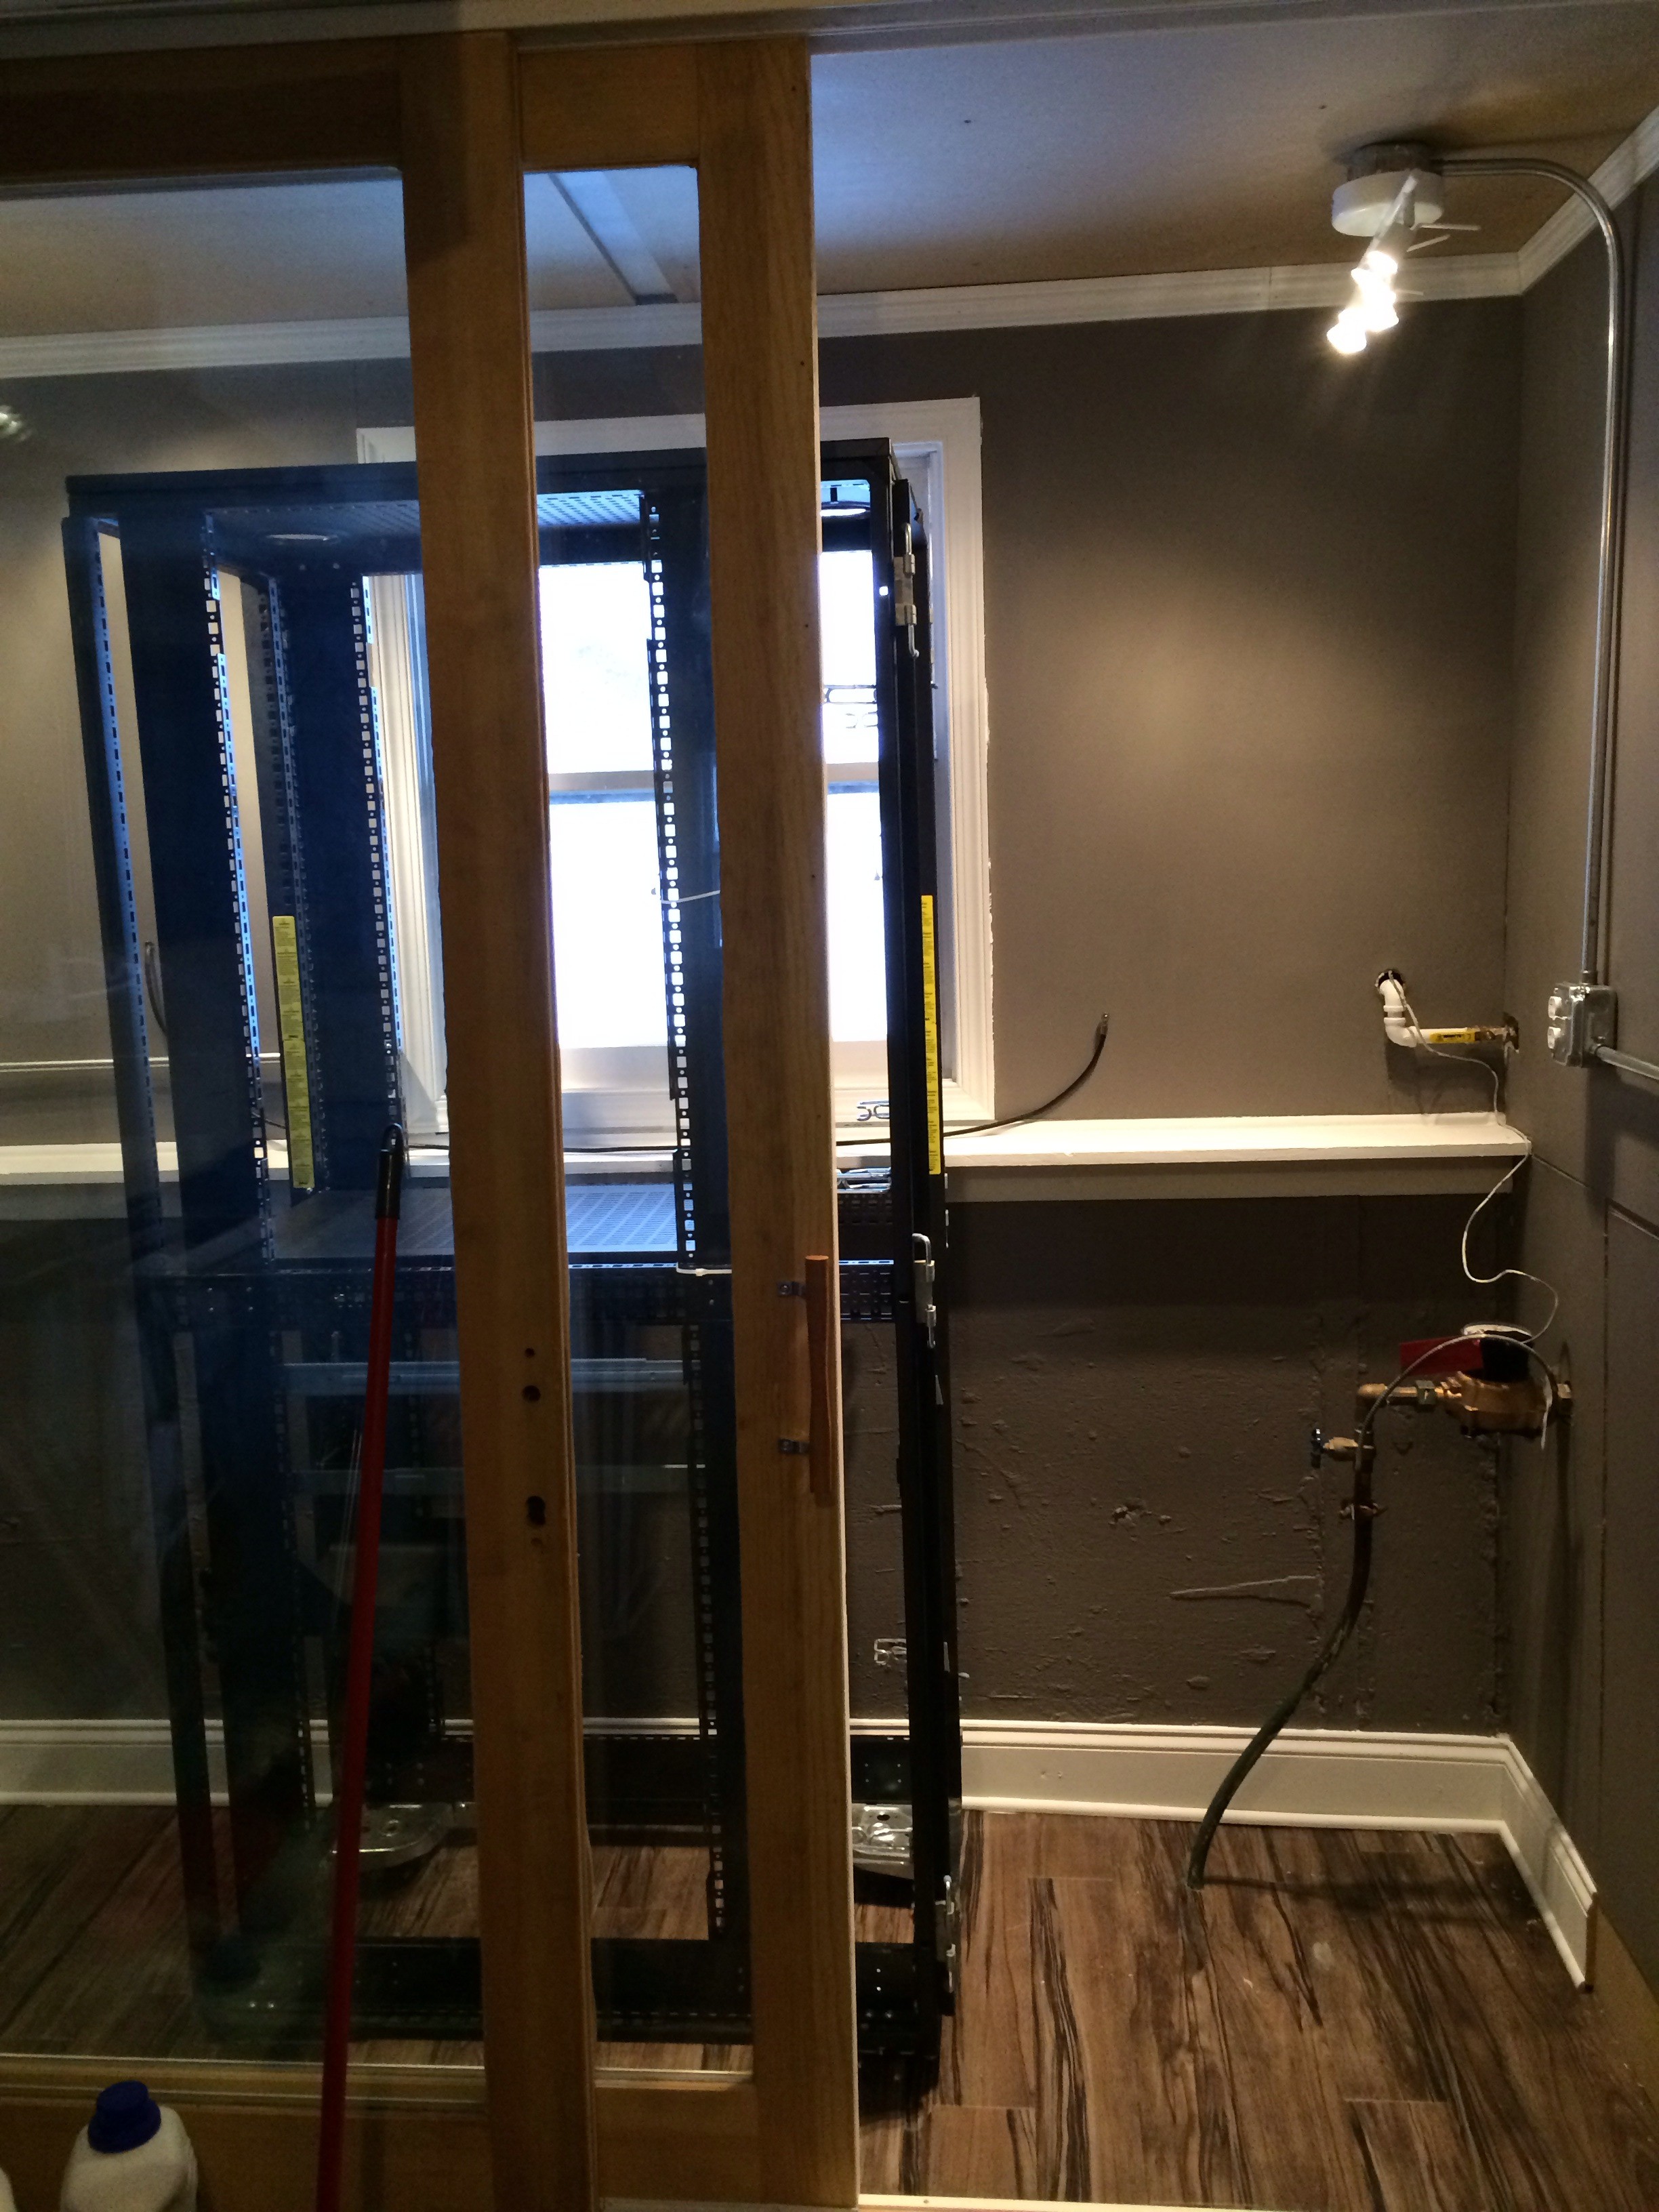
And with both doors in position (no top rail yet)
To build the top track, I used 4 long pieces of L-shaped molding and bolted them to the ceiling. The doors went into the top track first then into the rails along the floor, looking like this:
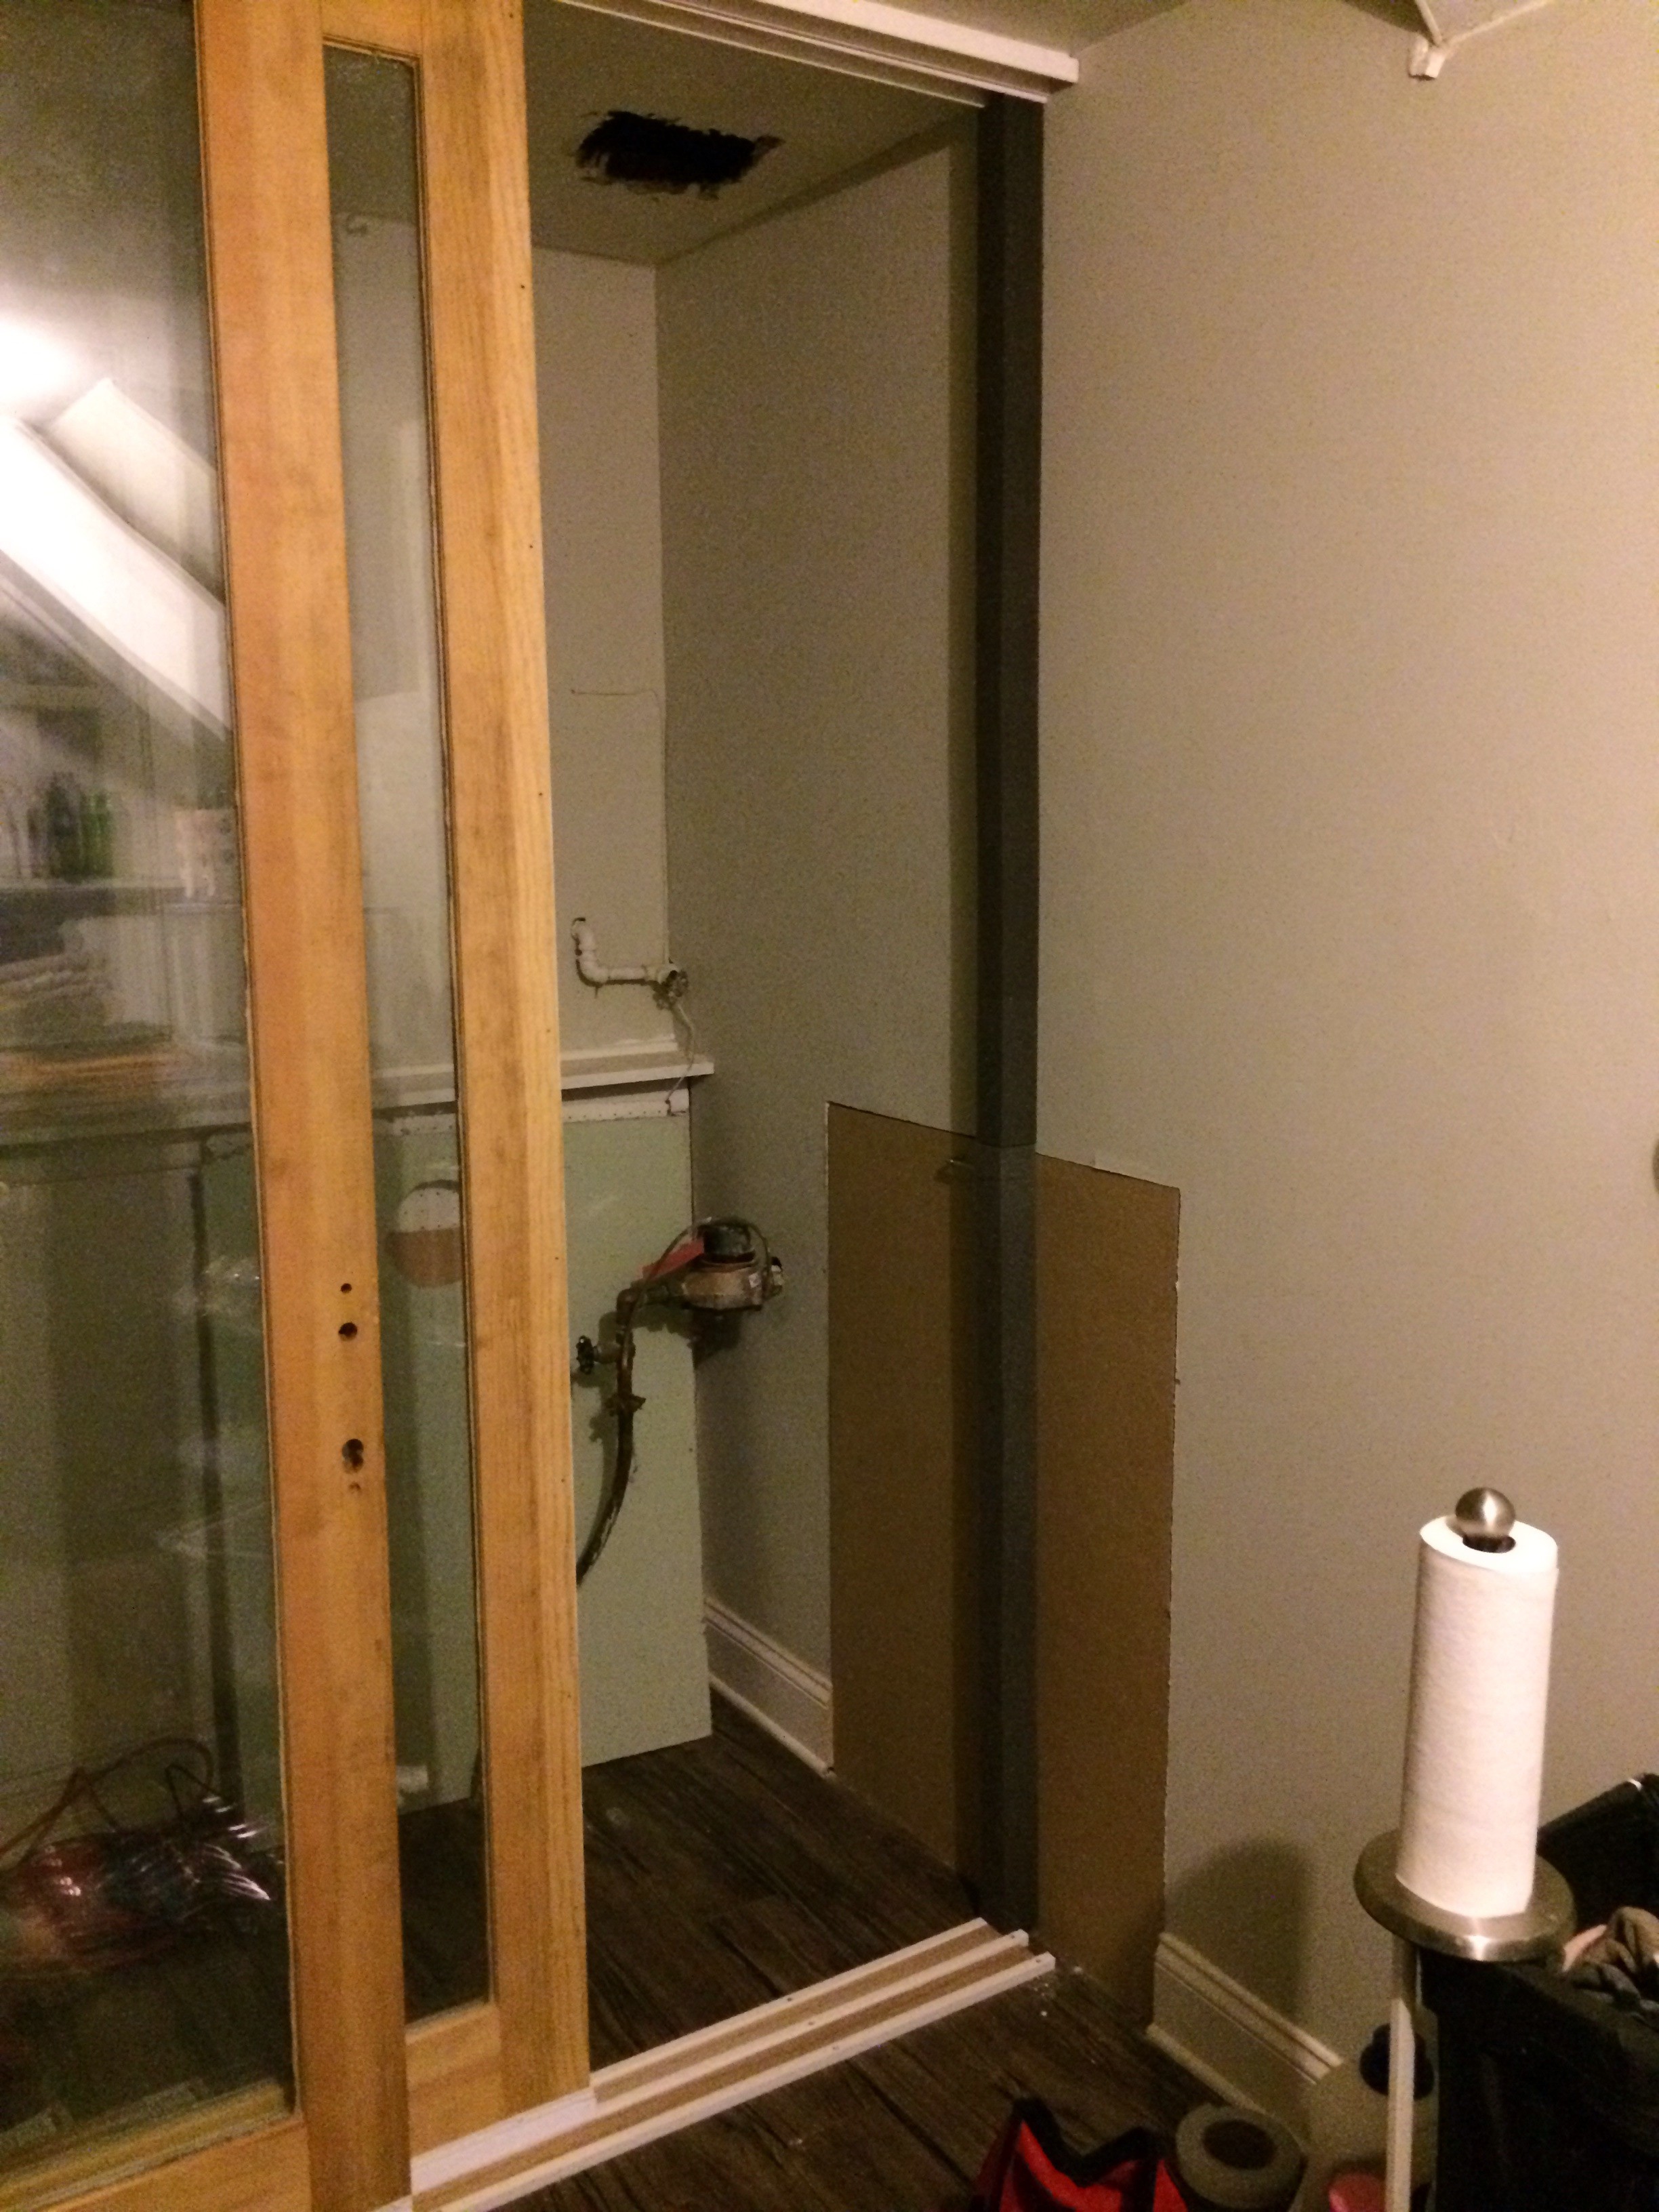
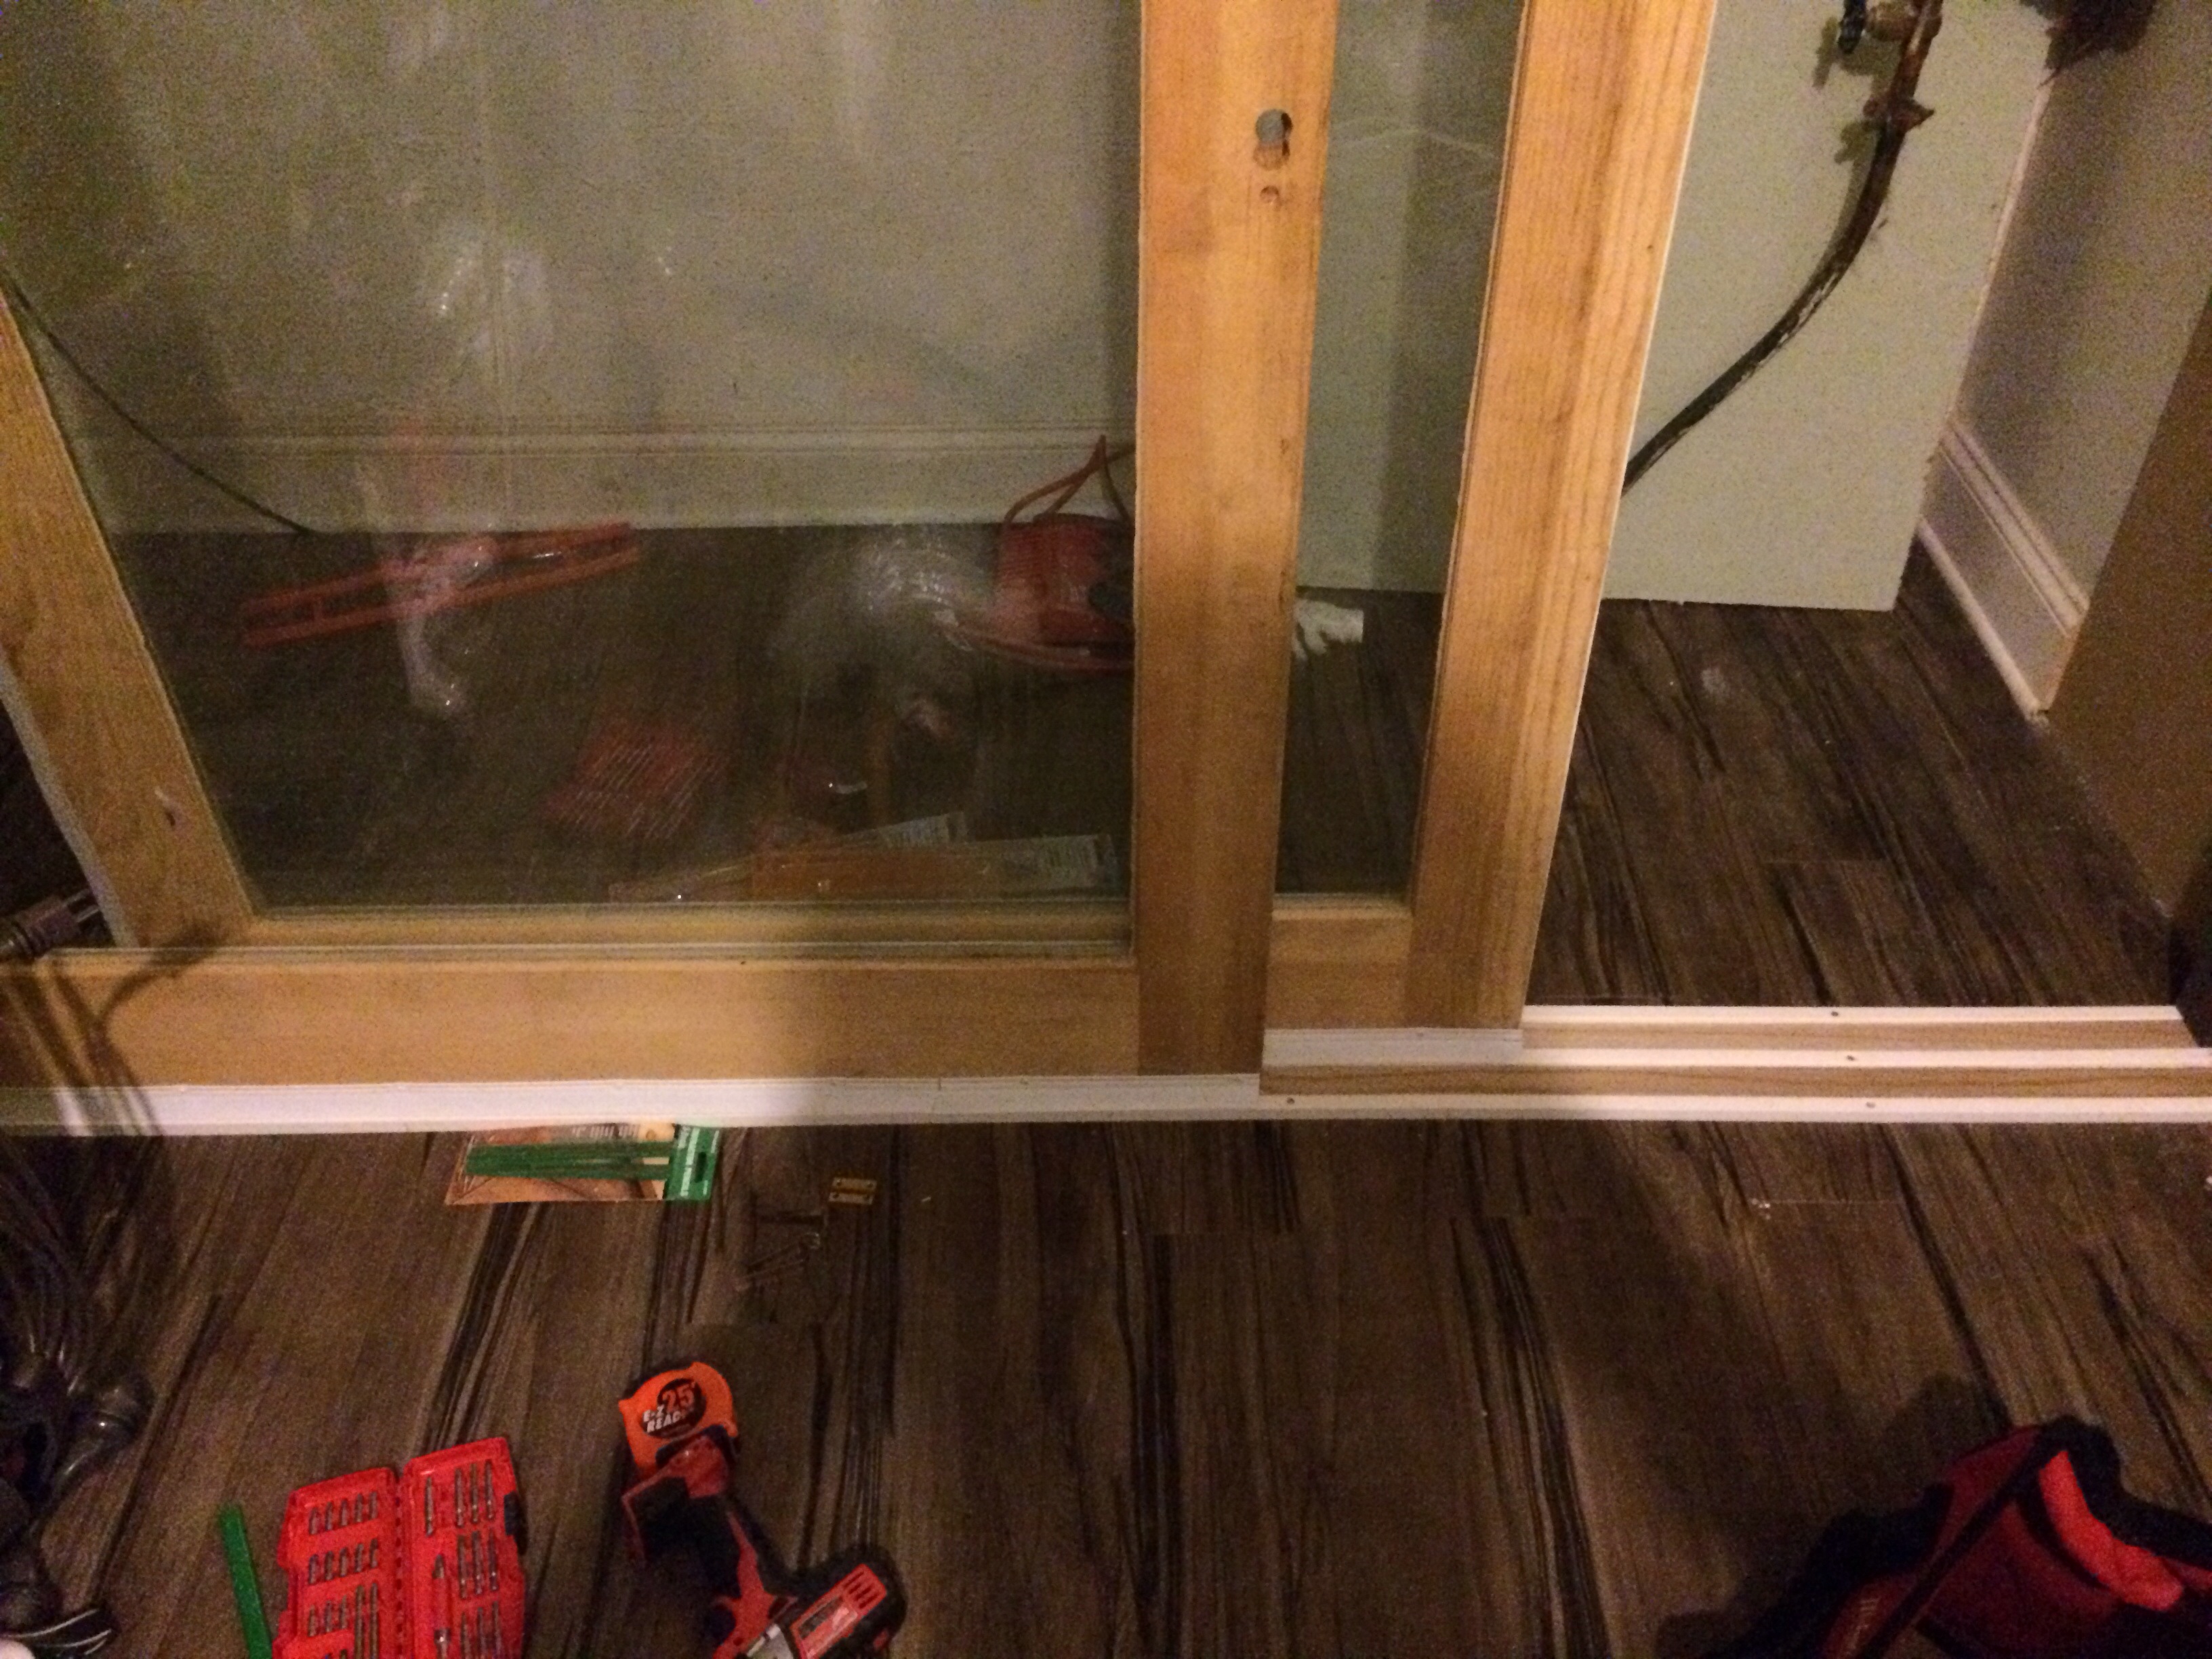
To cool the room, the window will hold an A/C unit for hot days, and would be left semi-open during the winter. I used some 3-inch foam for the sides and rubber strips on the bottom.
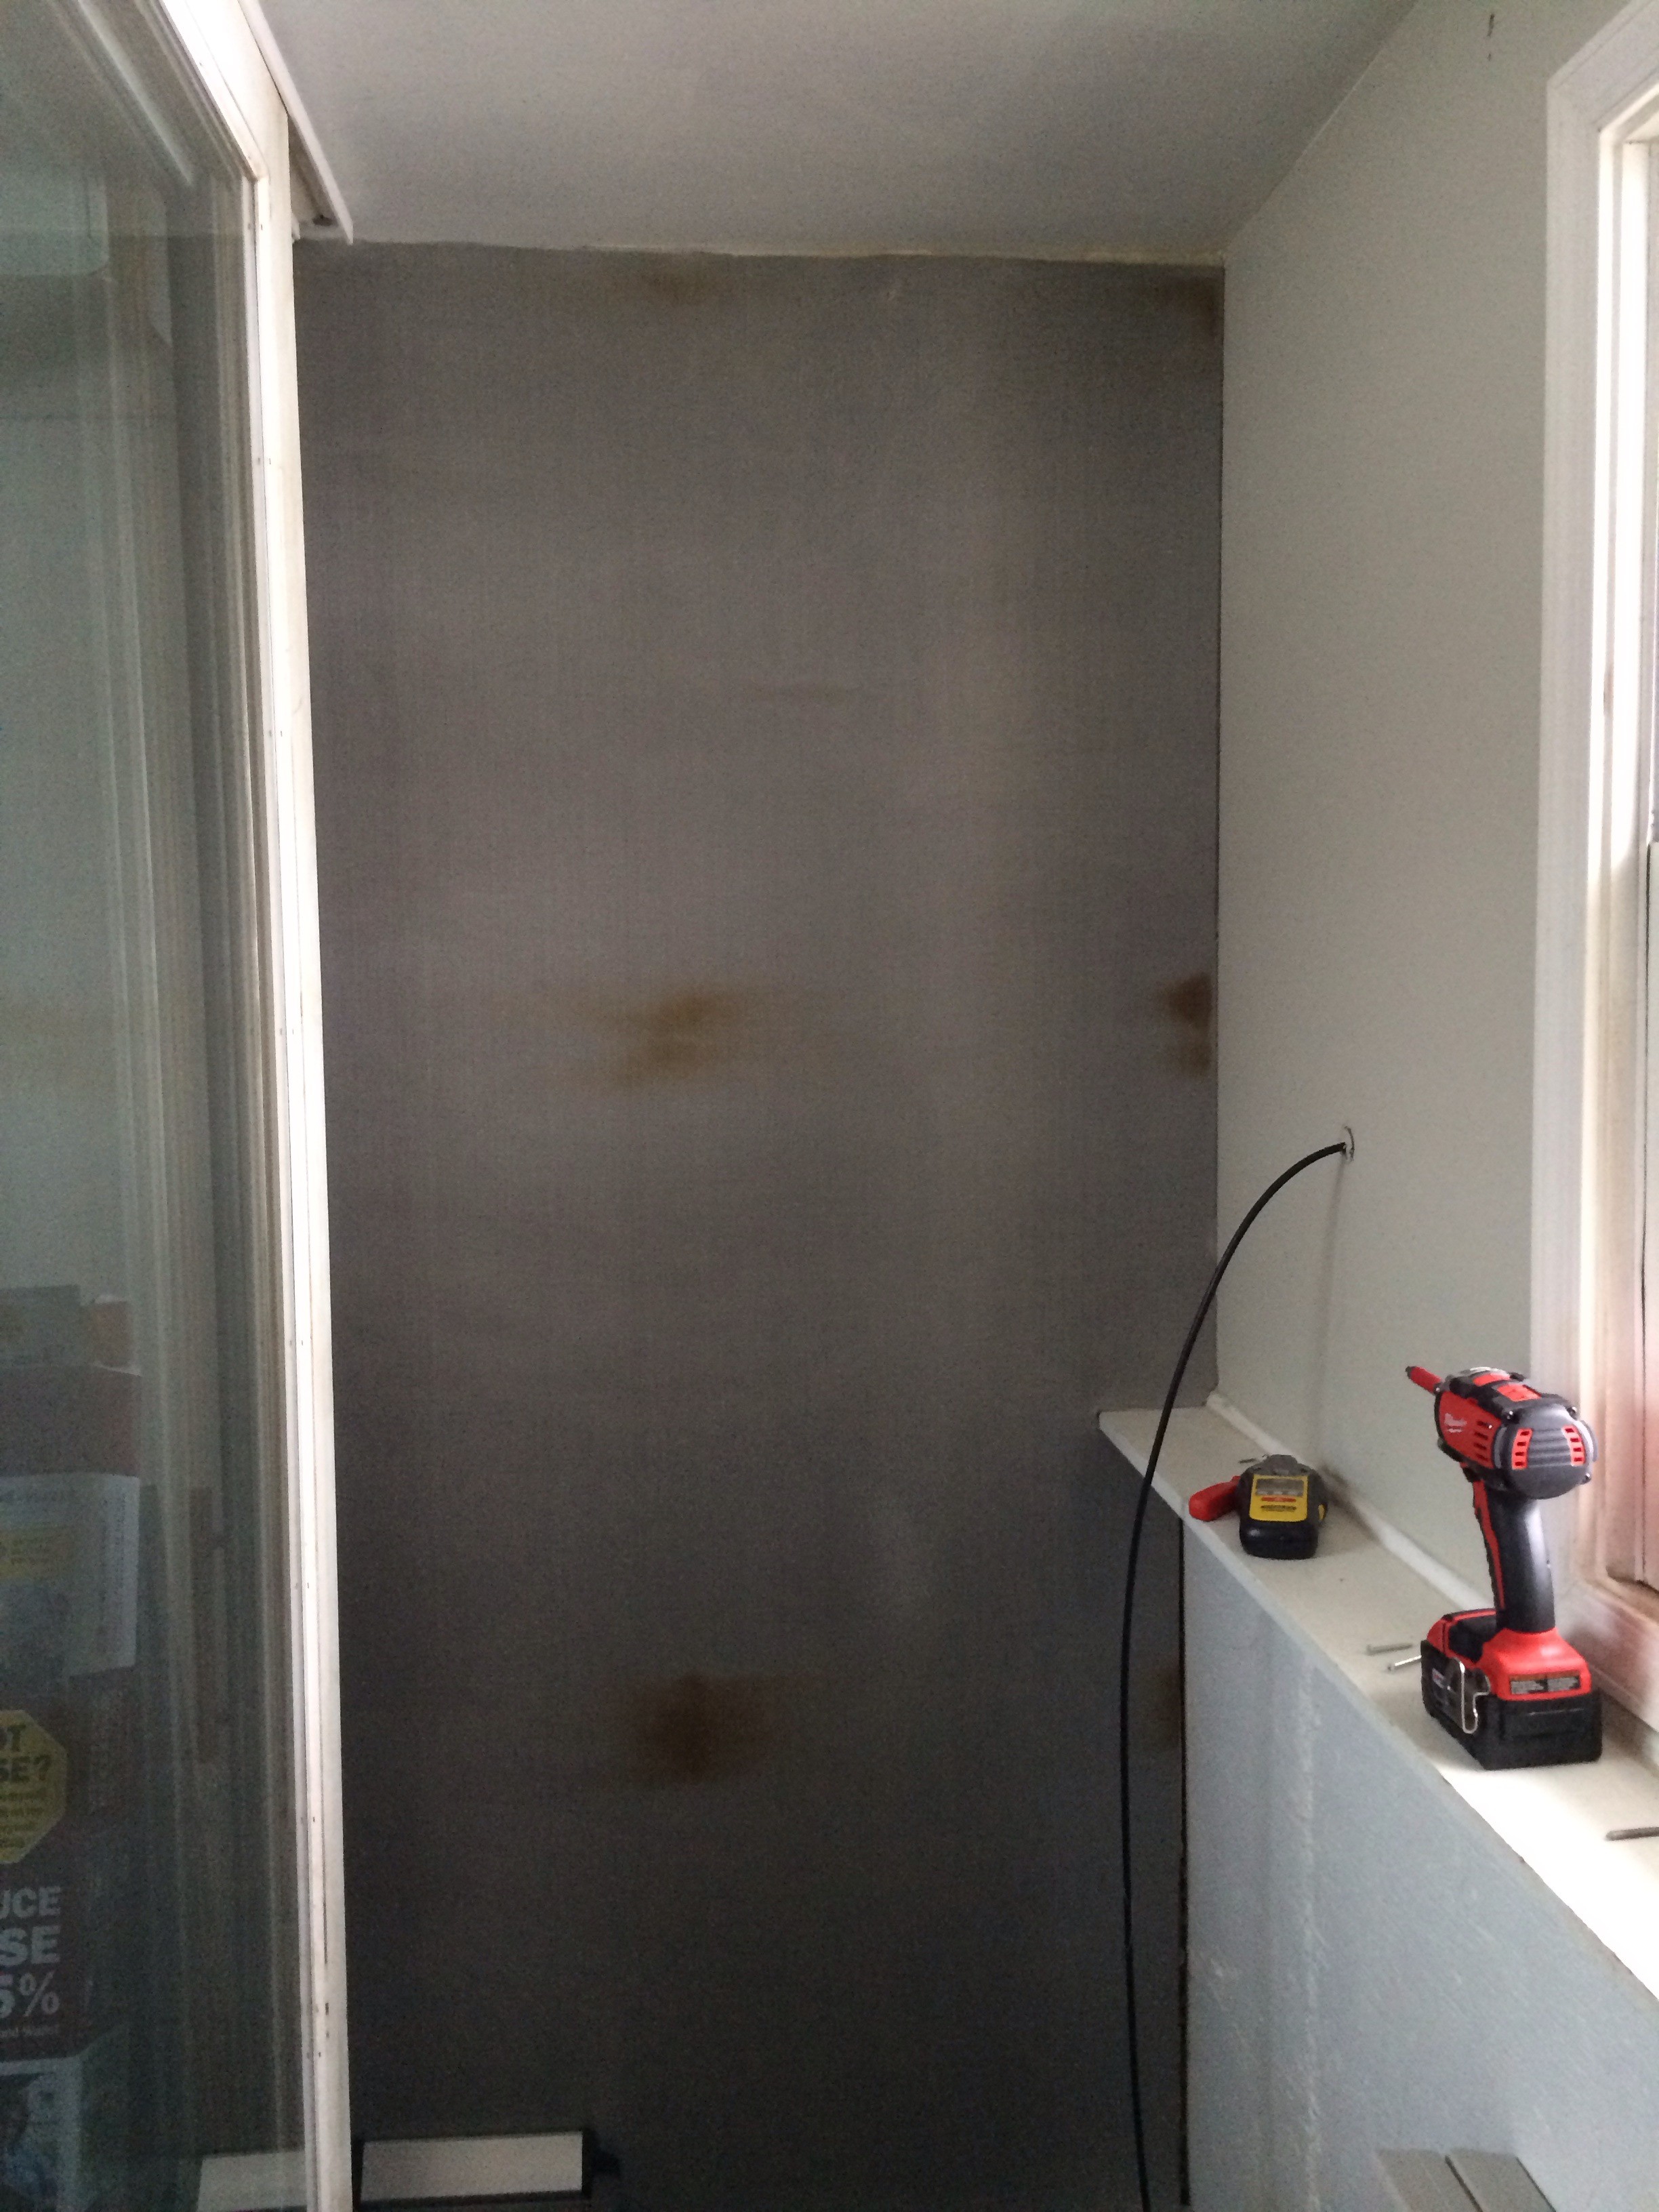
To shield from noise, I hung db-4 walls loaded vinyl on walls and ceiling. Since the process got messy with lots of cutting, glue and staples, I only had time for a couple of pictures. Also the foam had to be removed so I could get a better fit of the panels.
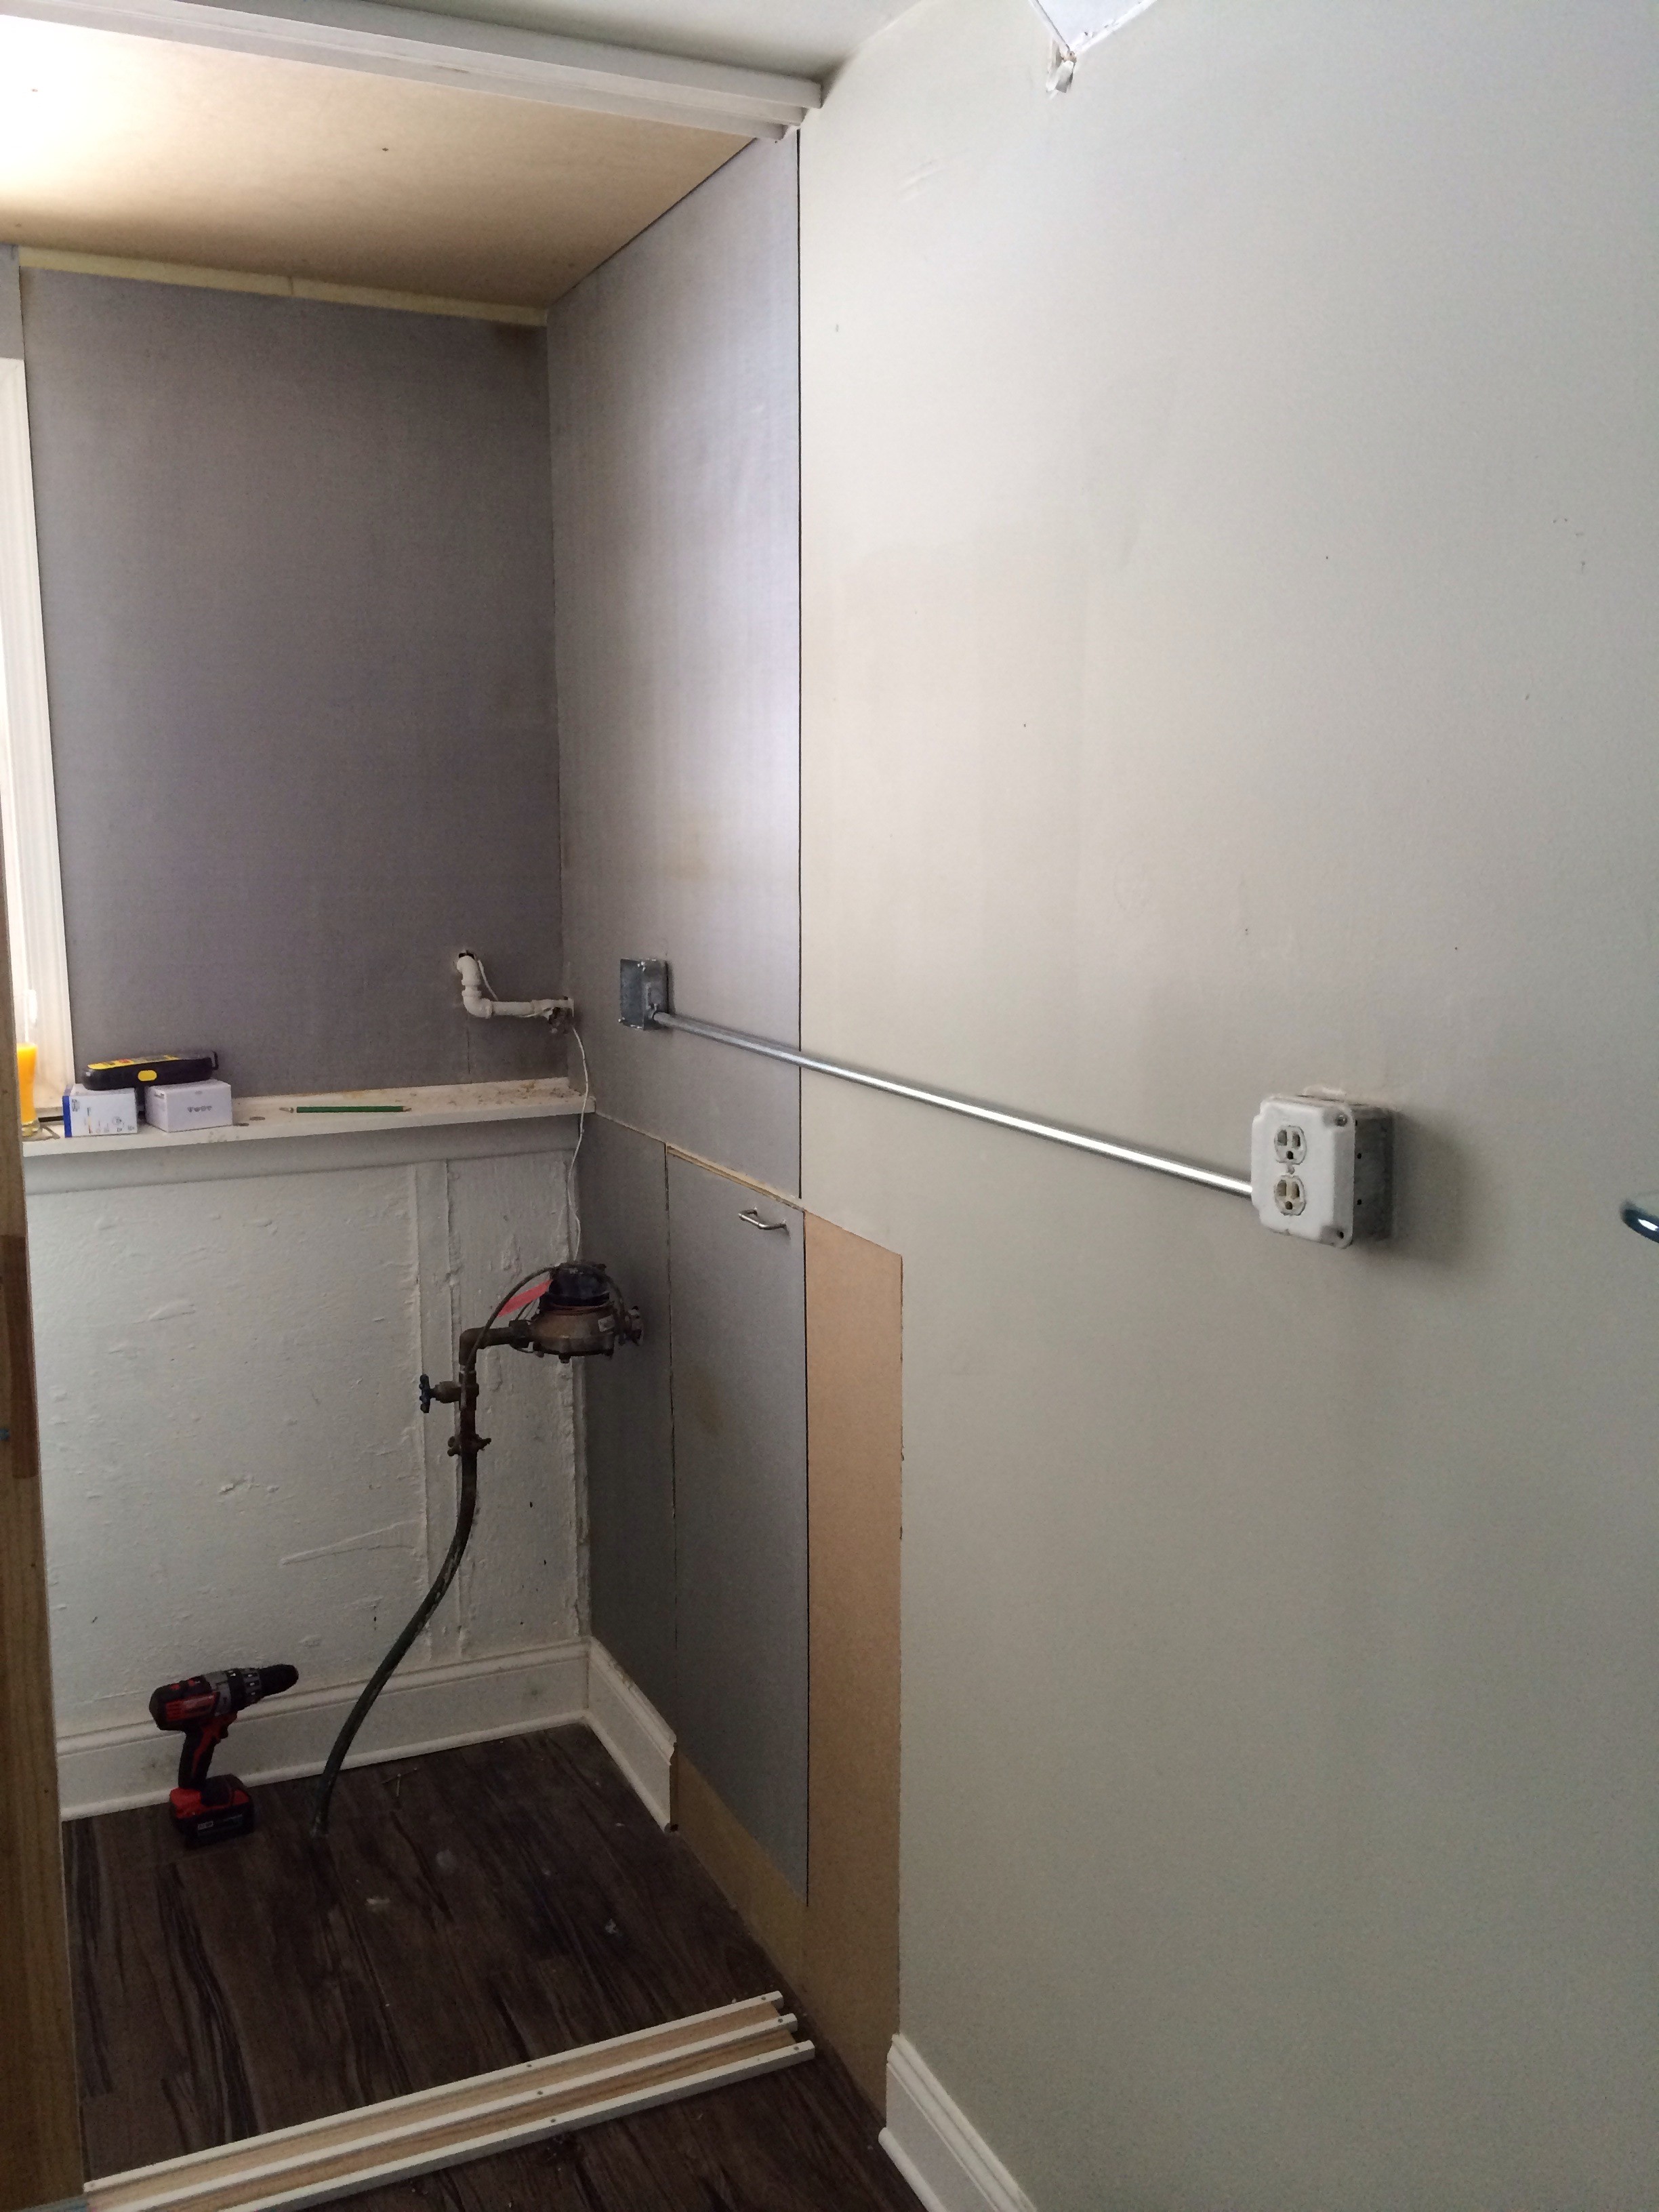
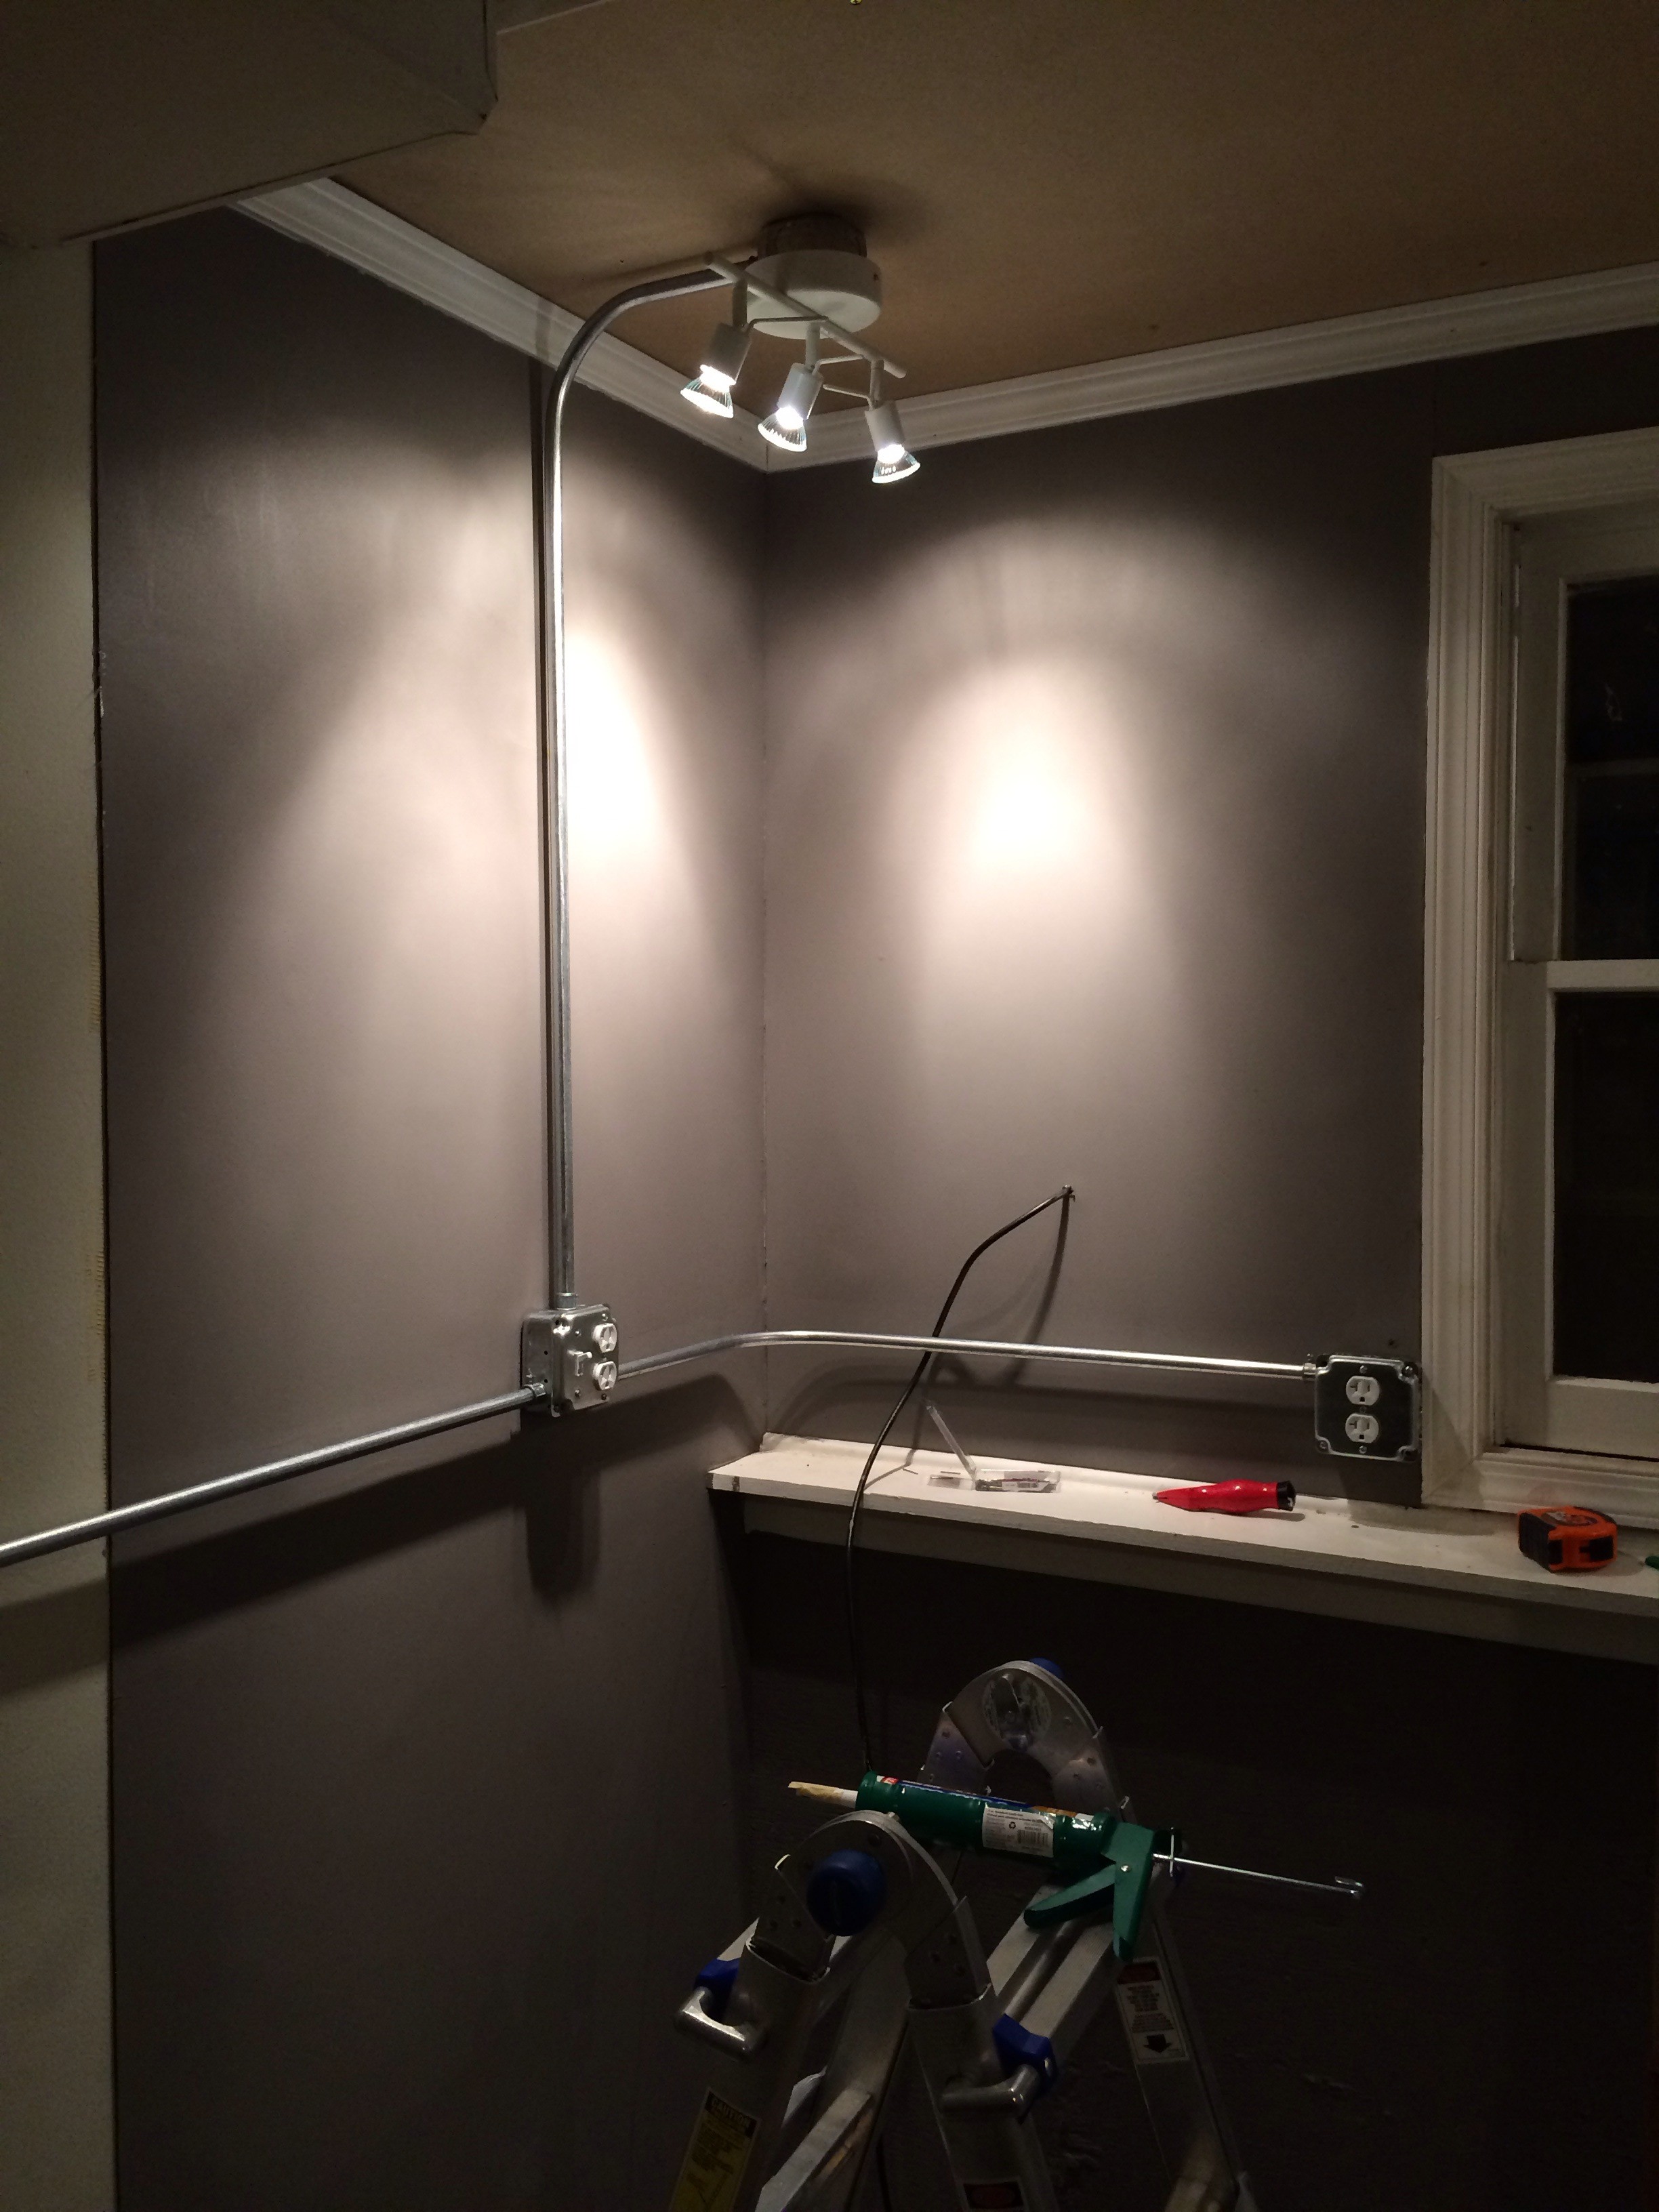
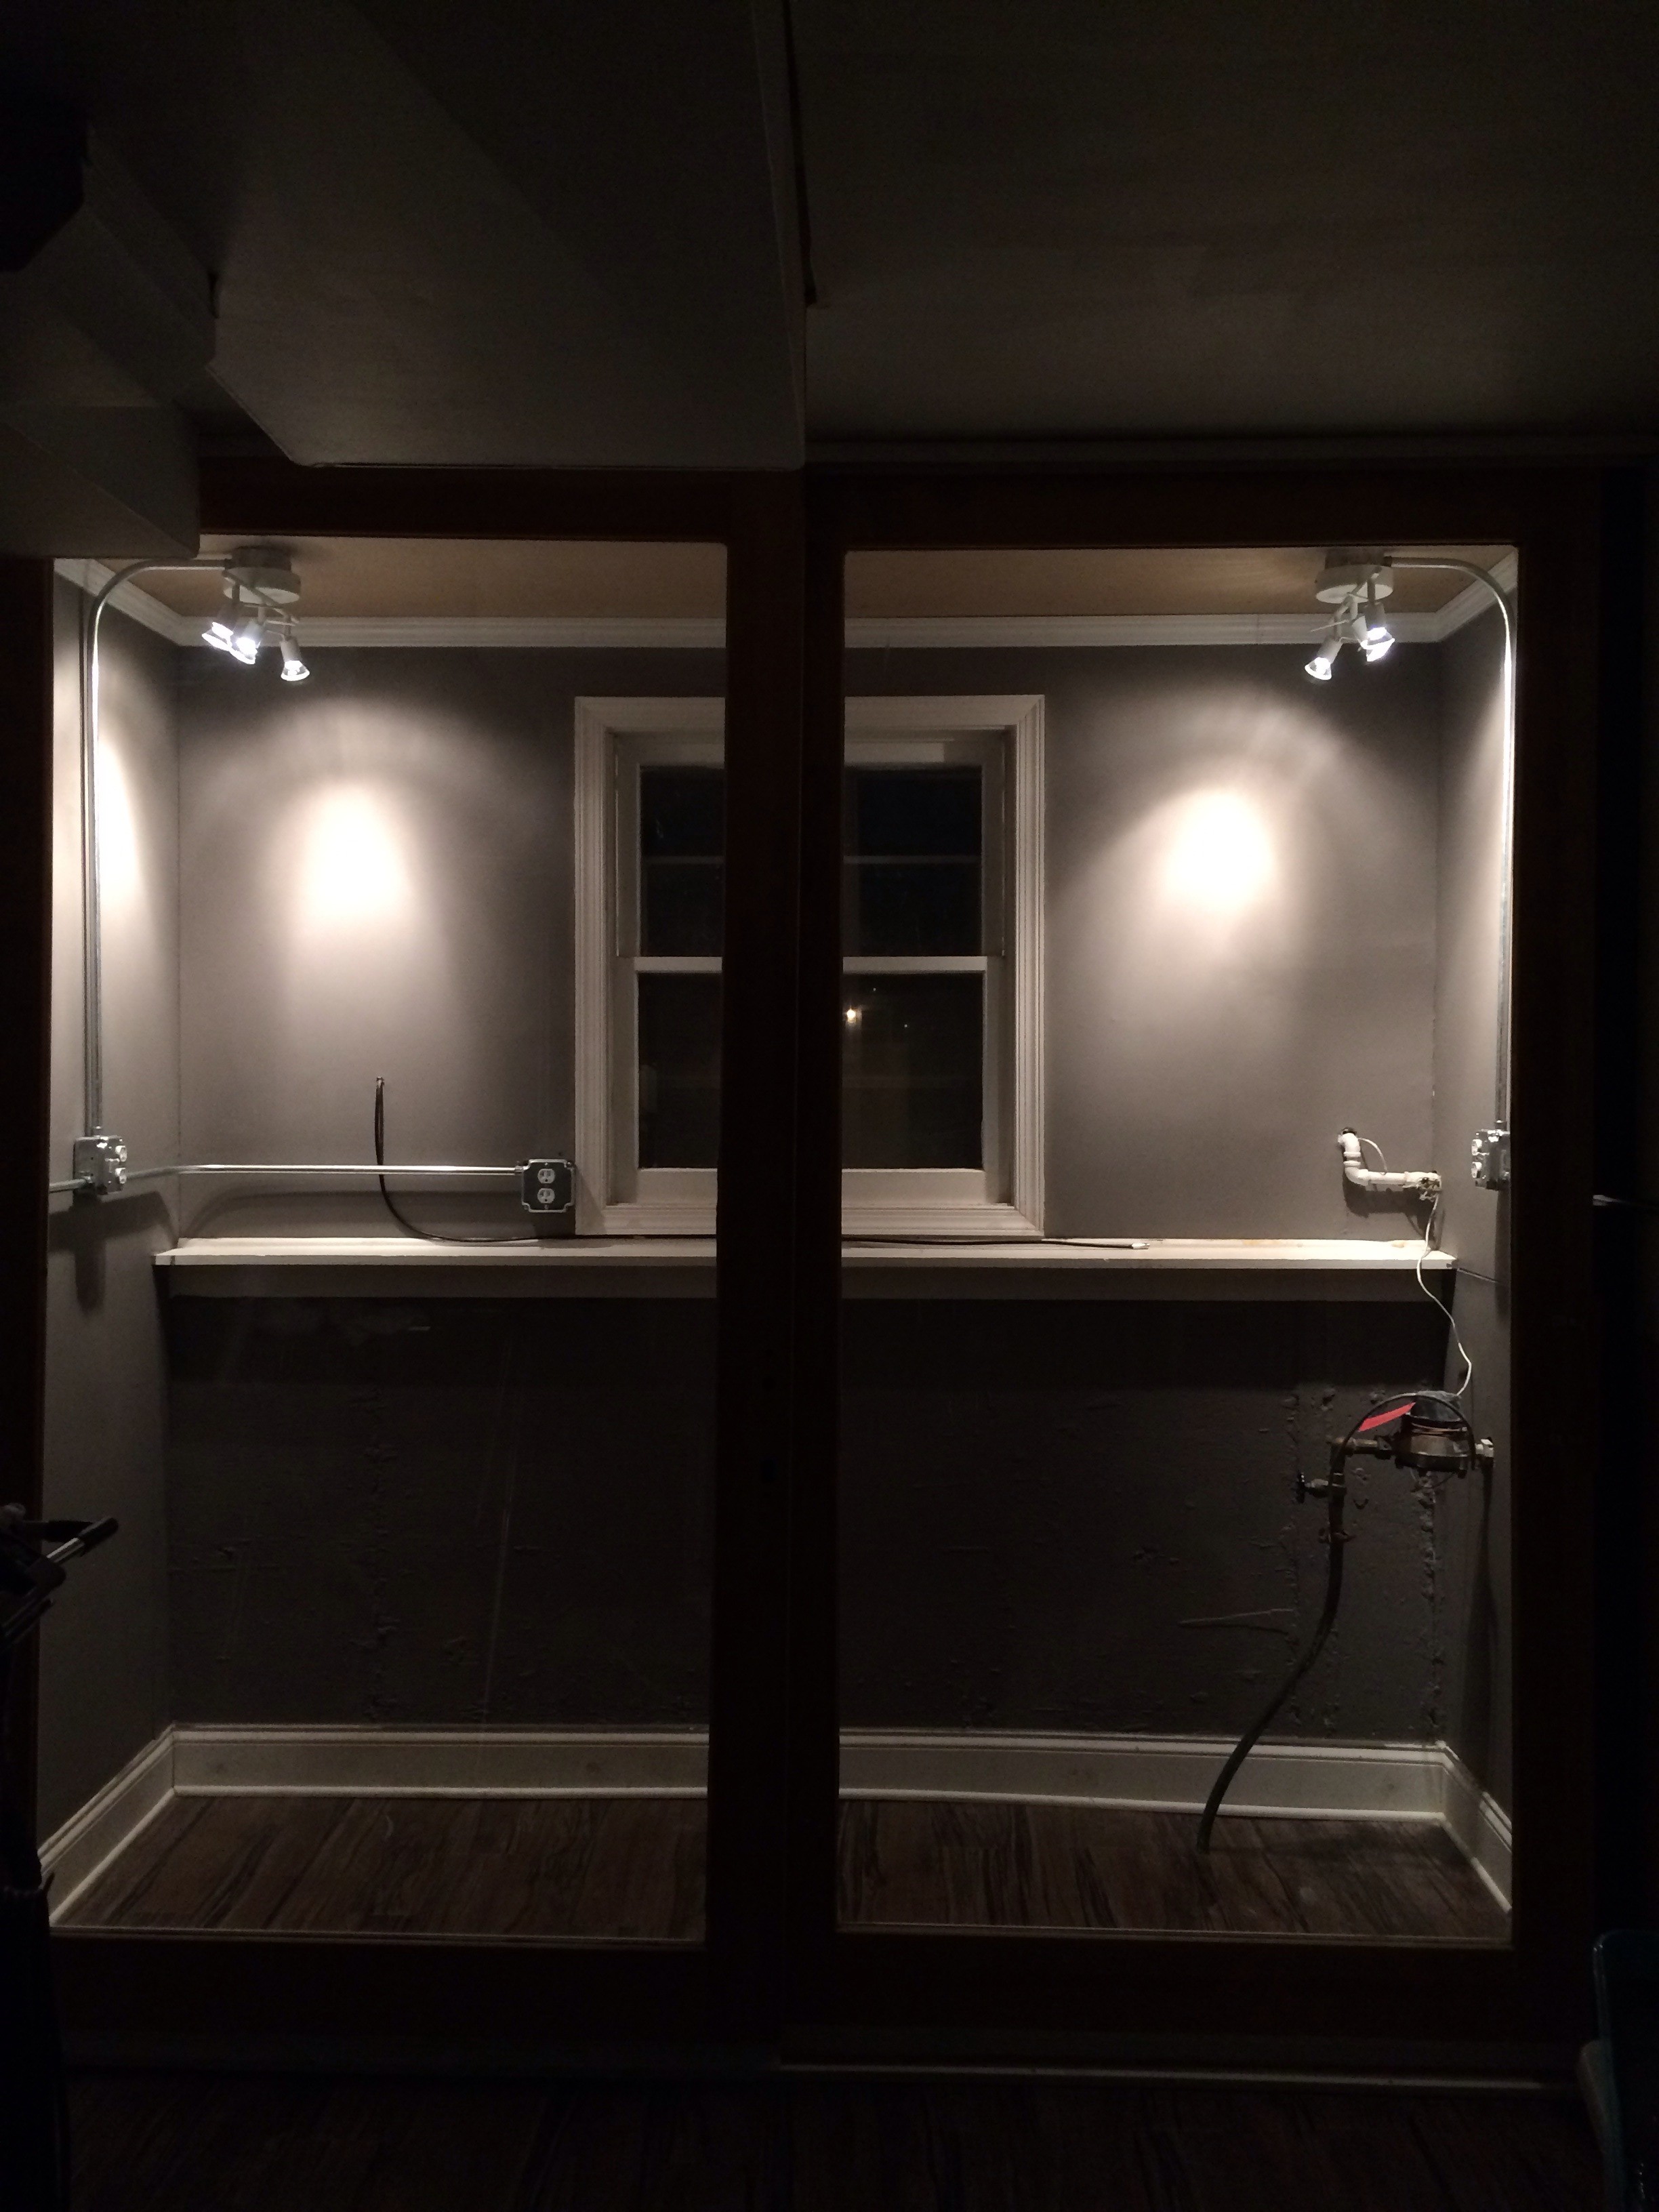
Outlets were available on both side walls, and I took advantage of that to make new runs to the panel. Two independent 20A circuits should give me enough power for the the rack, cooling and some lights, and also give me redundancy if I need to cut power to one side.
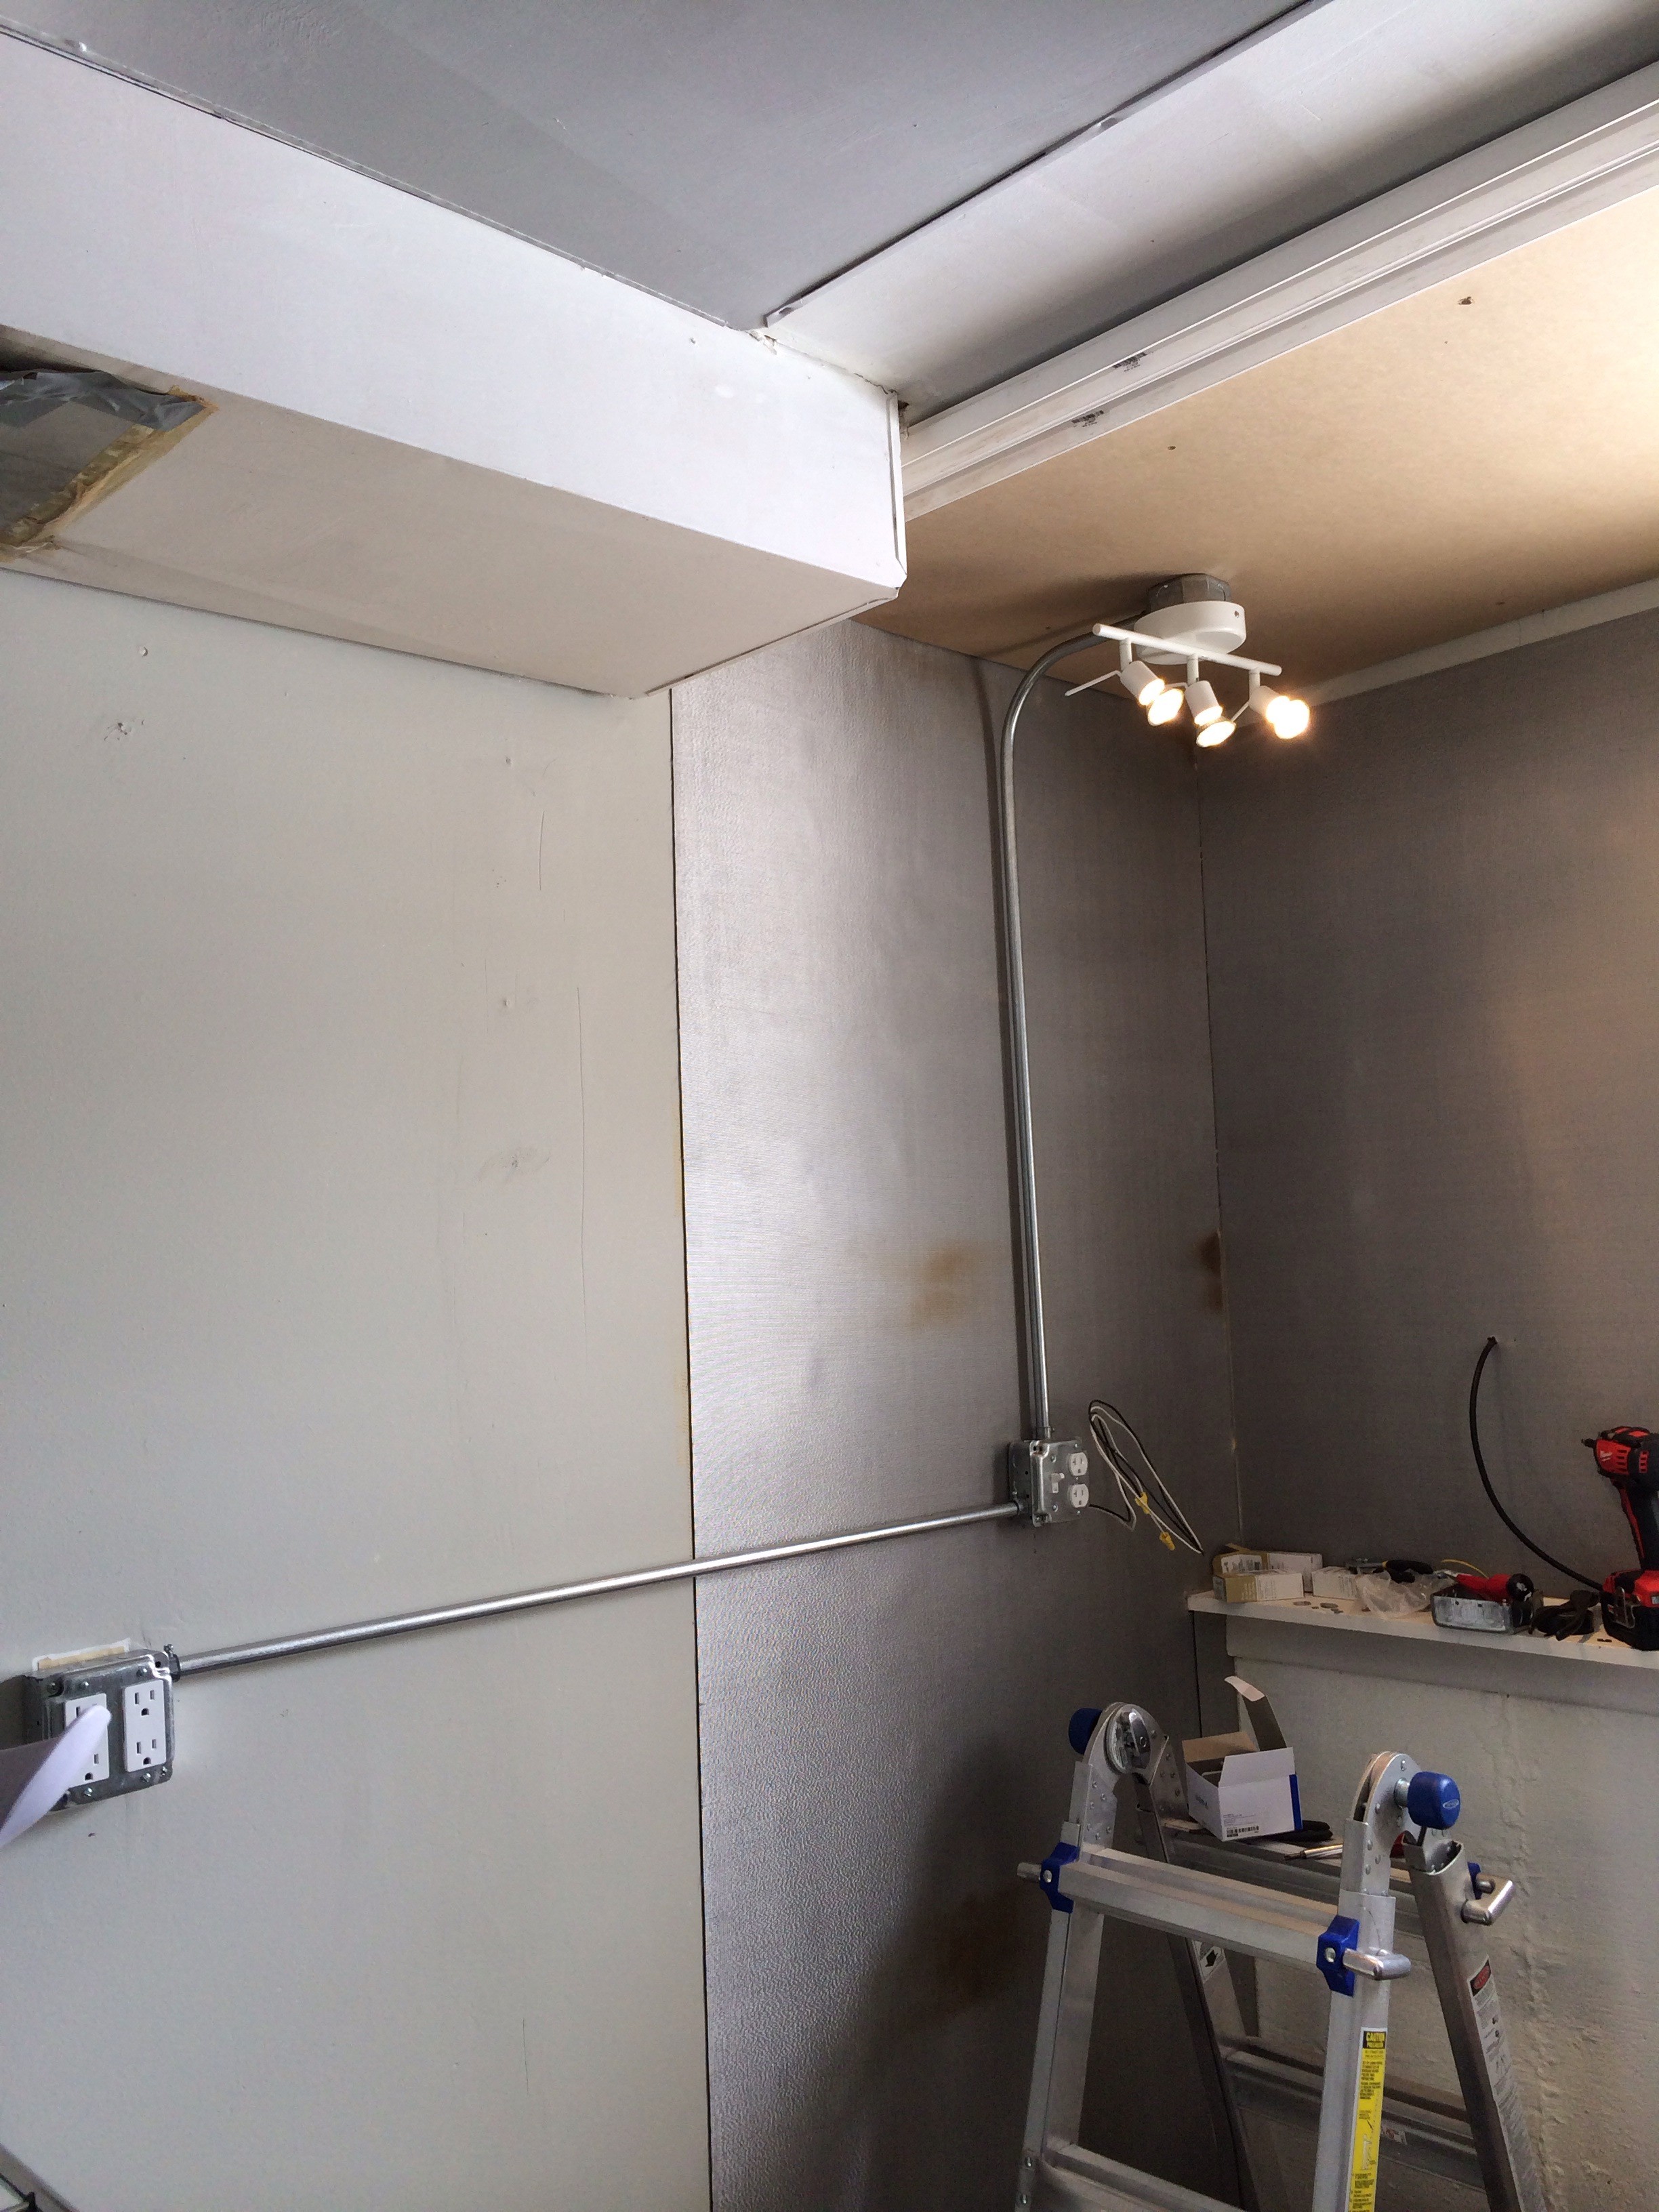
Both circuits done with lighting!
Next up was painting
Installed some ceiling trim to make it all come together.
Room is finished! Moving the rack into it is next.
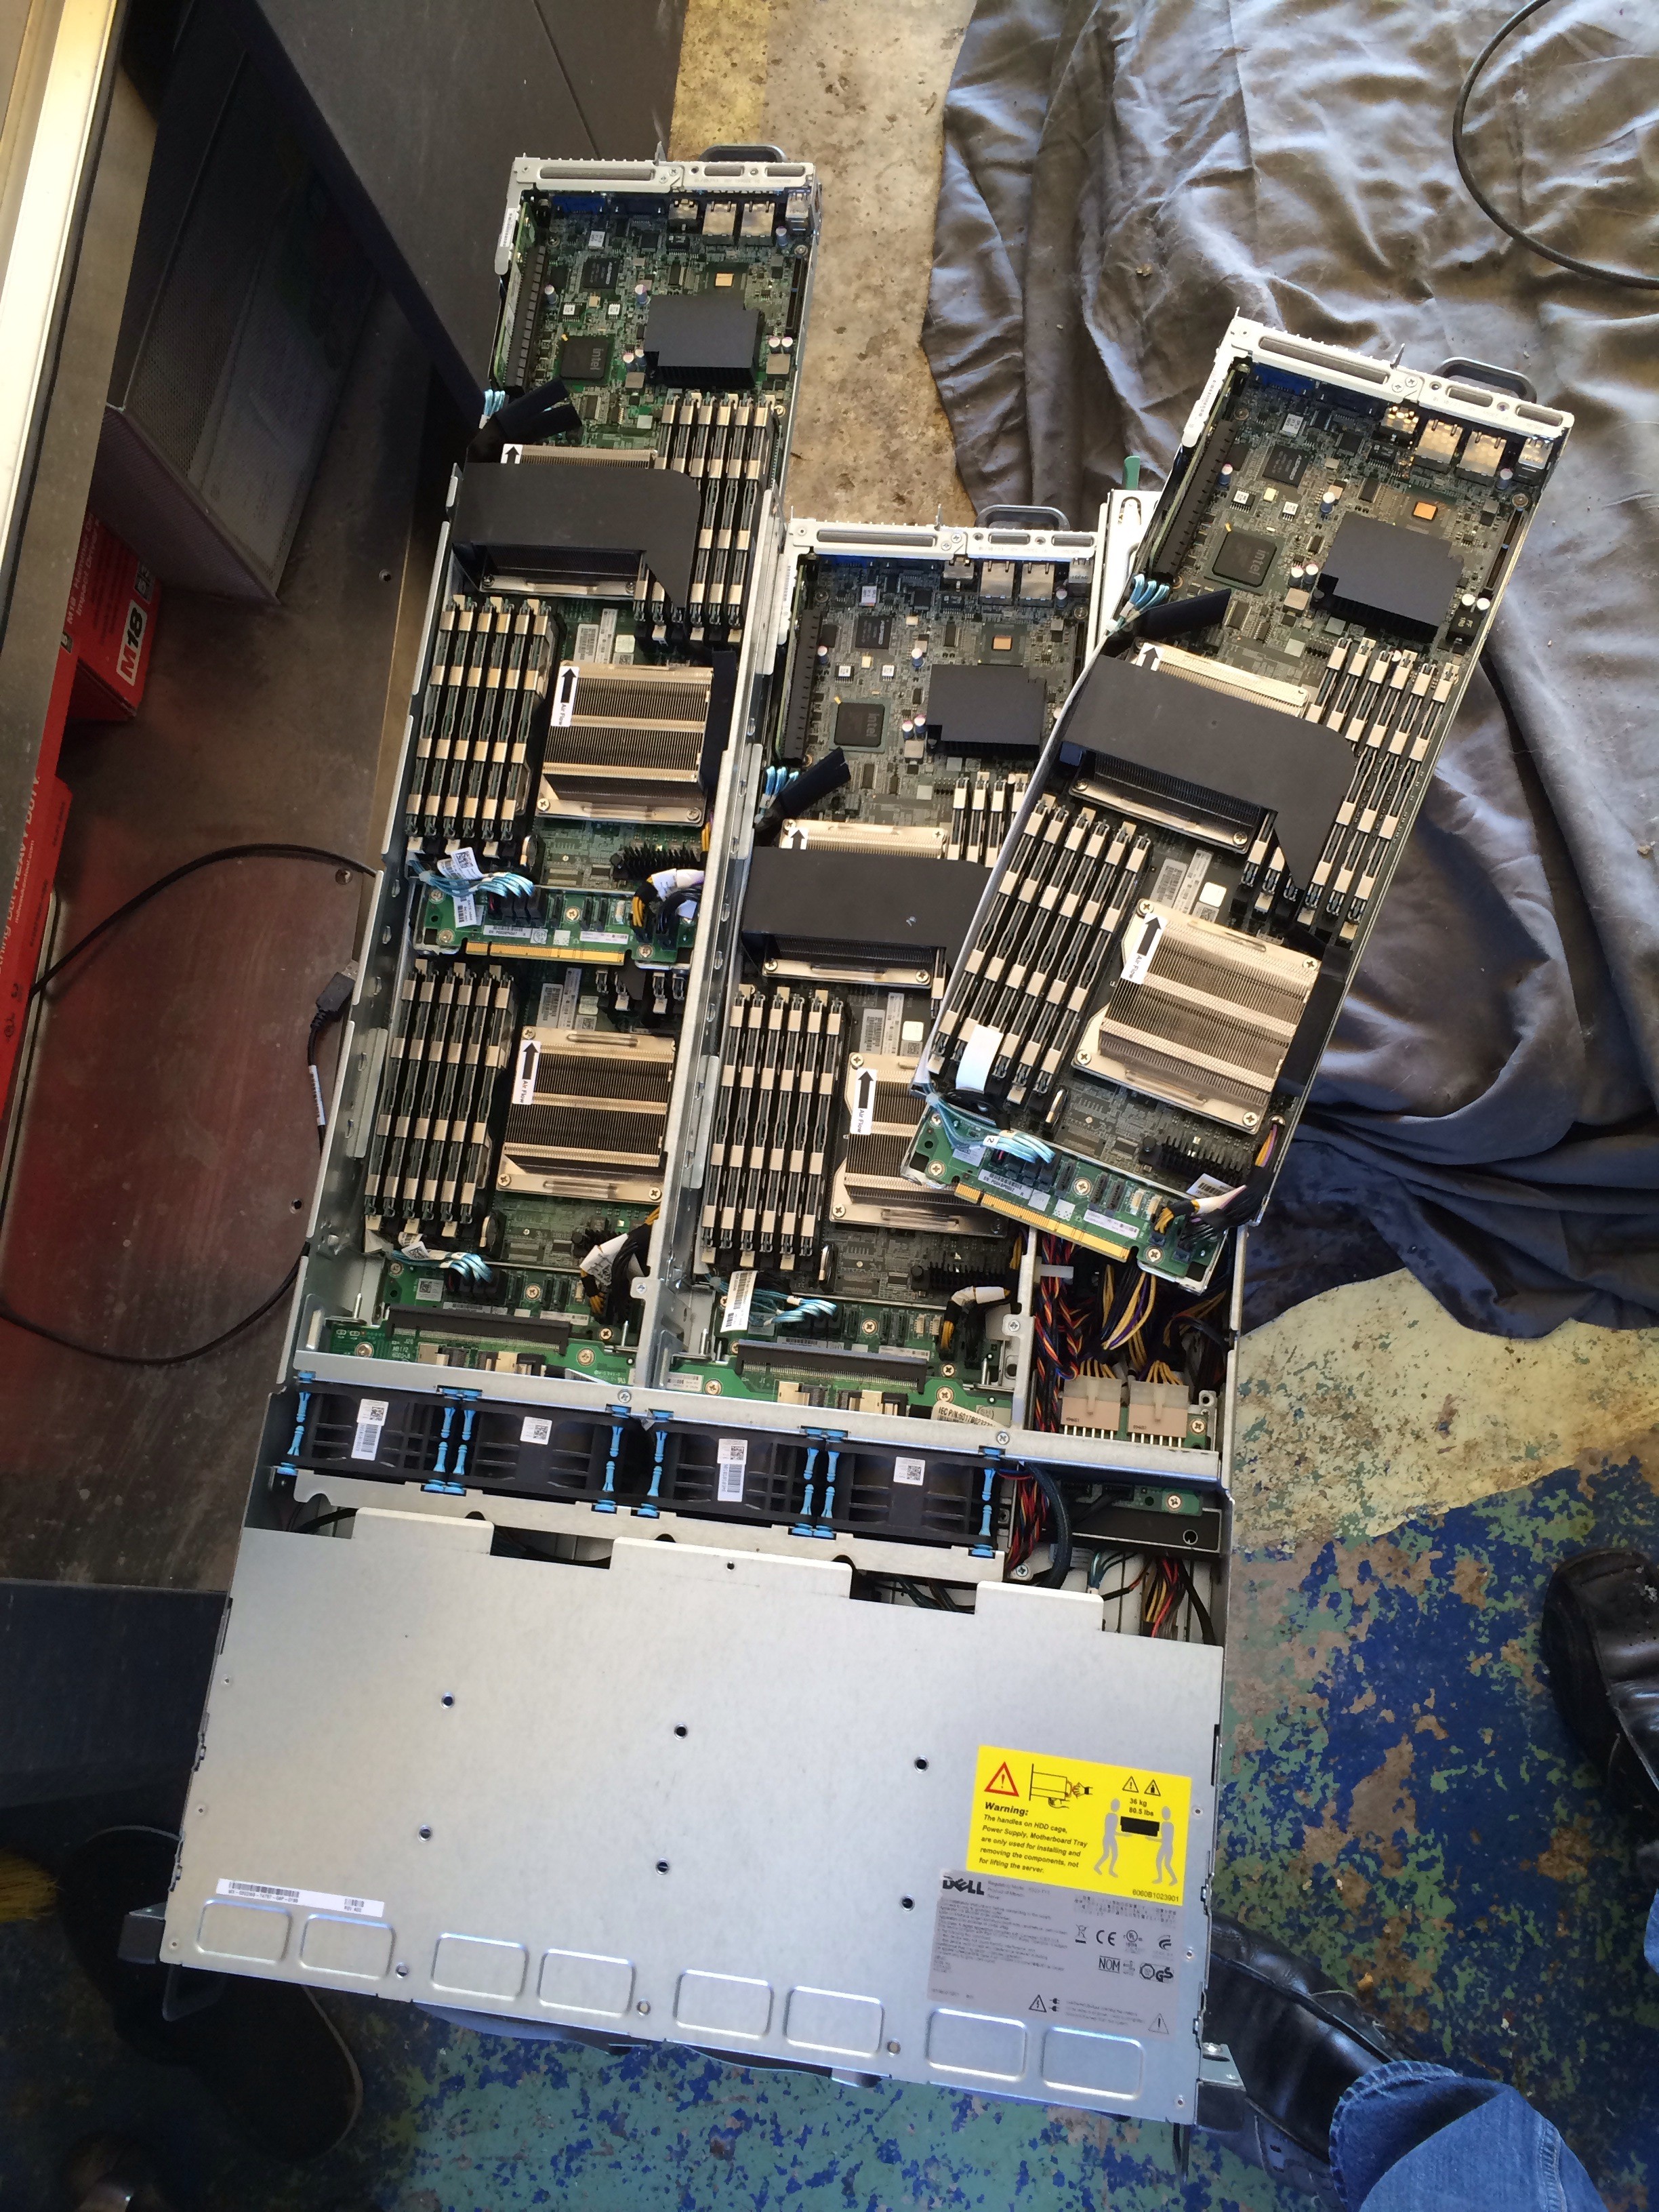
Because the garage was mostly open and I ended up doing most of the wood panel cuts inside of it, dust settled everywhere including the rack itself. Disconnected it all, took the side panels and doors off it and started some serious cleaning.
Here’s my C6100 chassis after cleaning it up
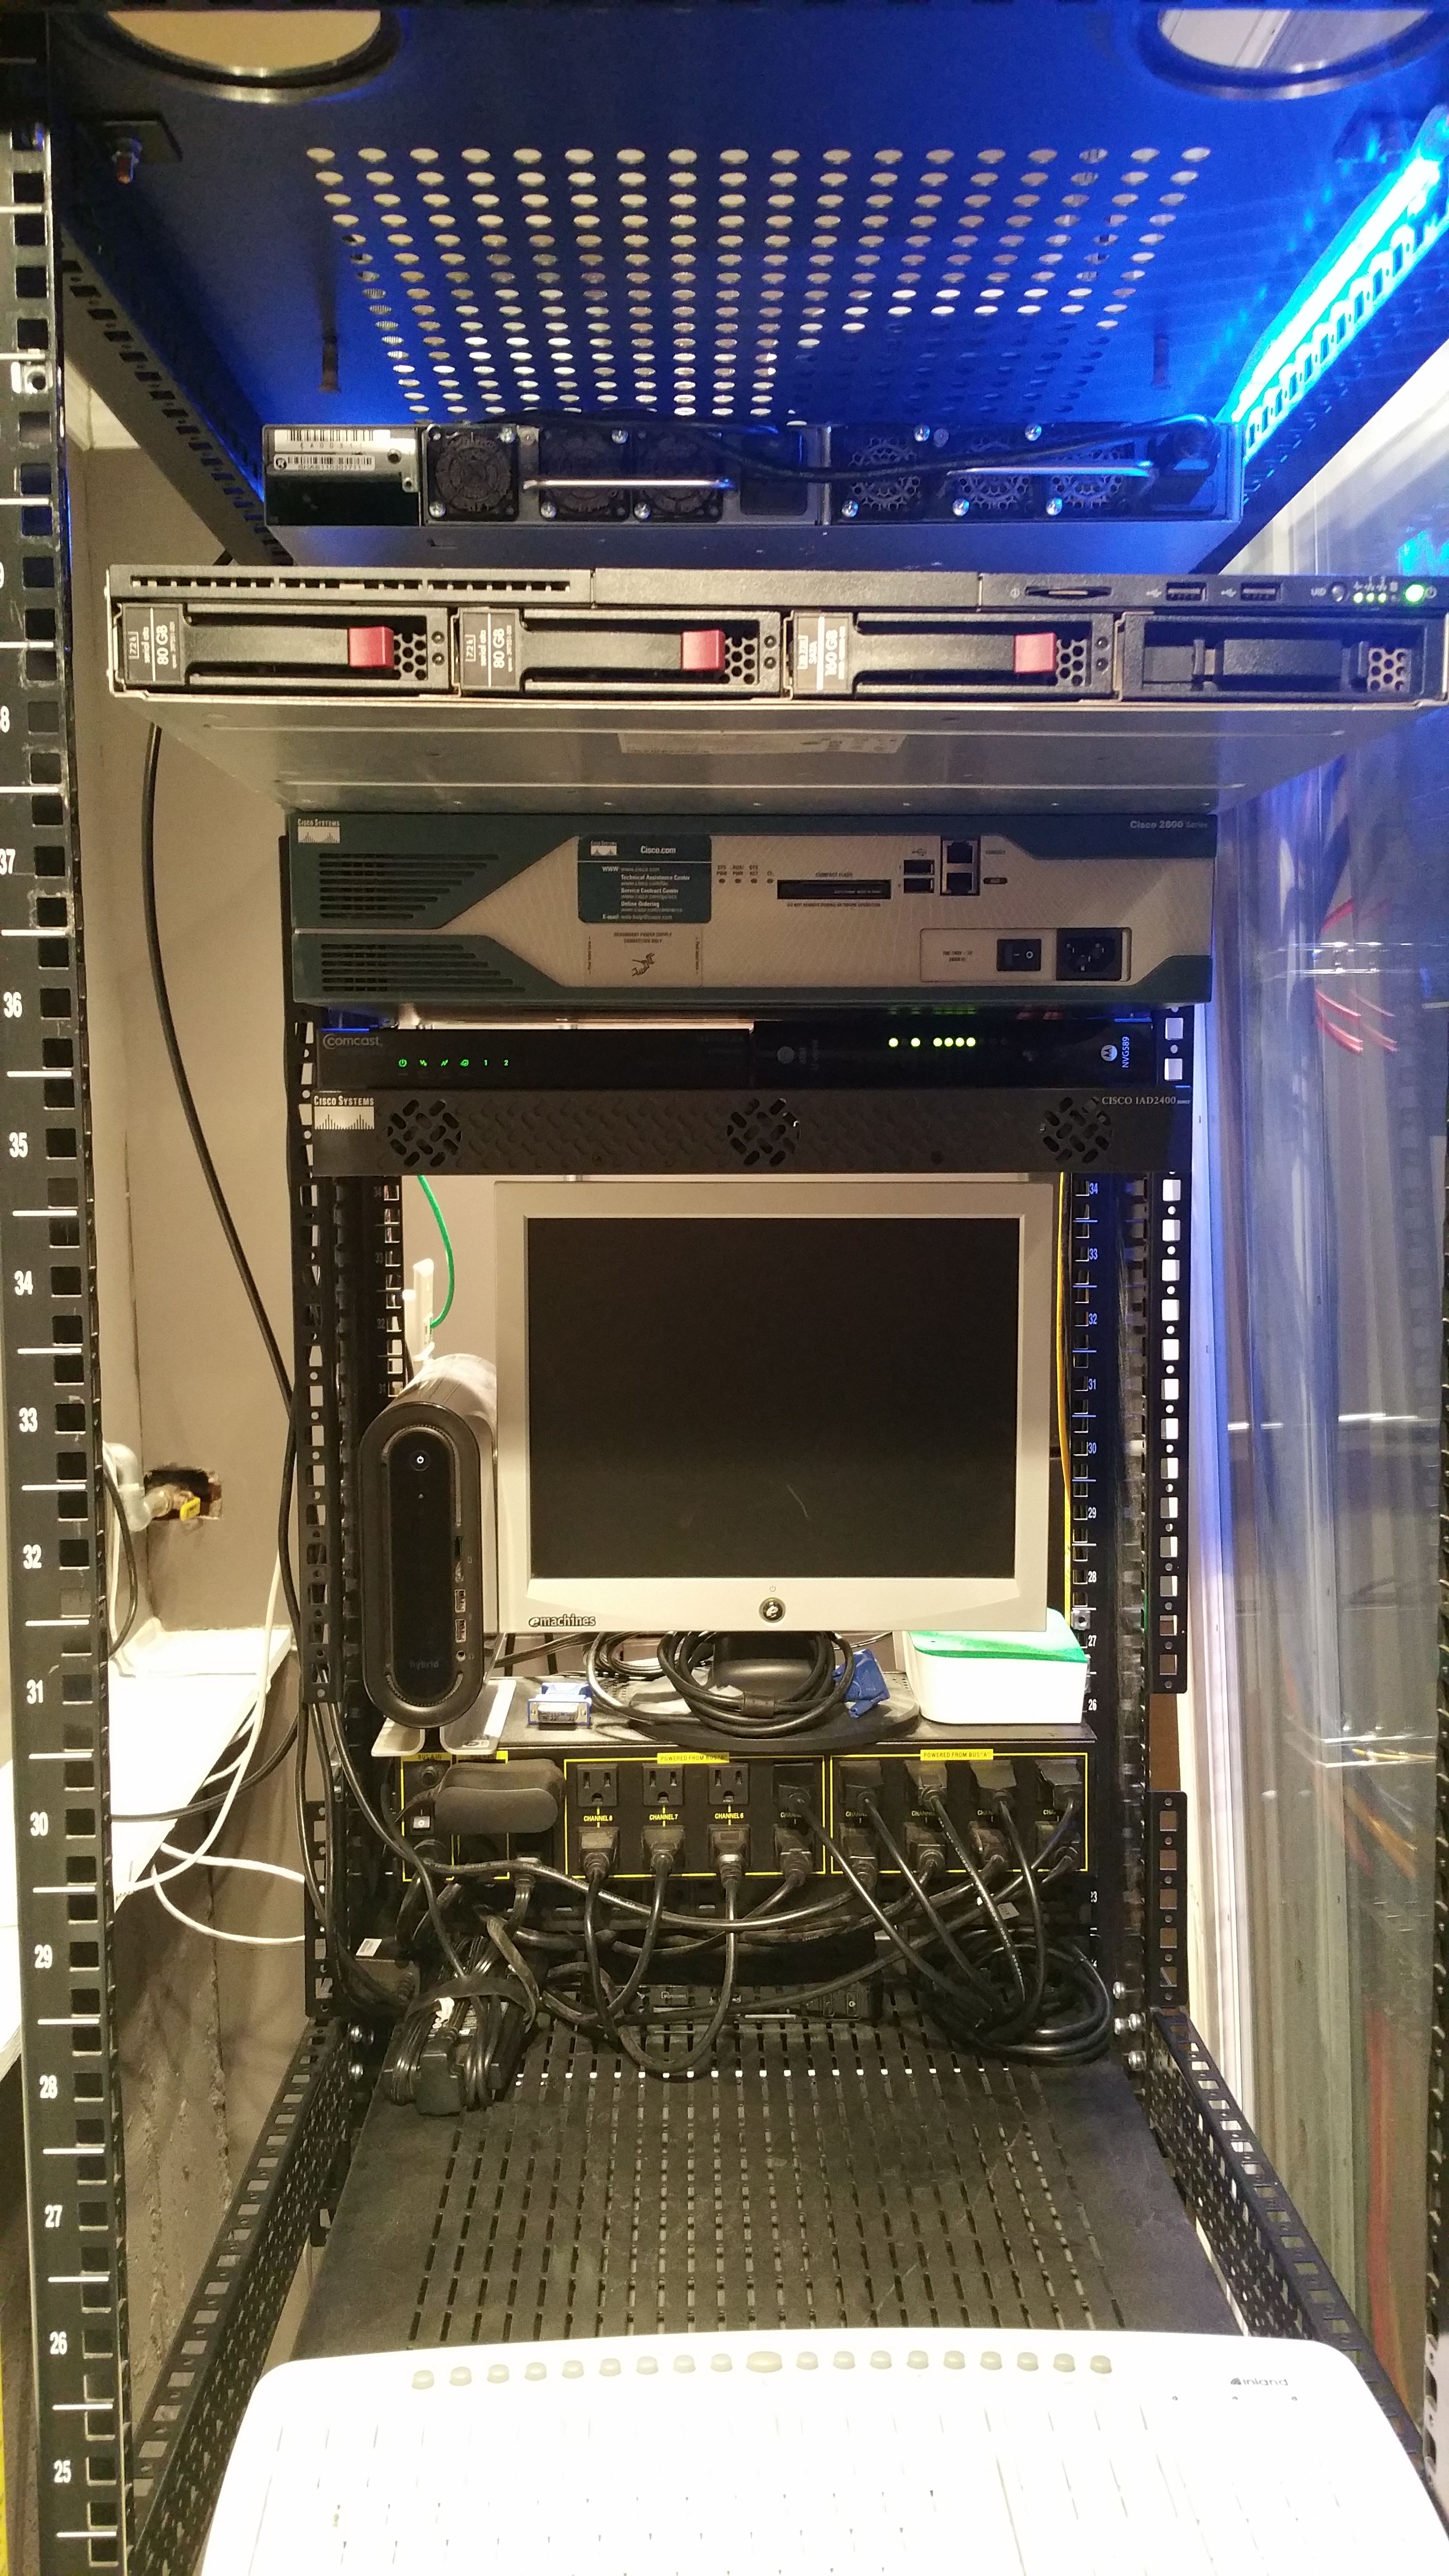
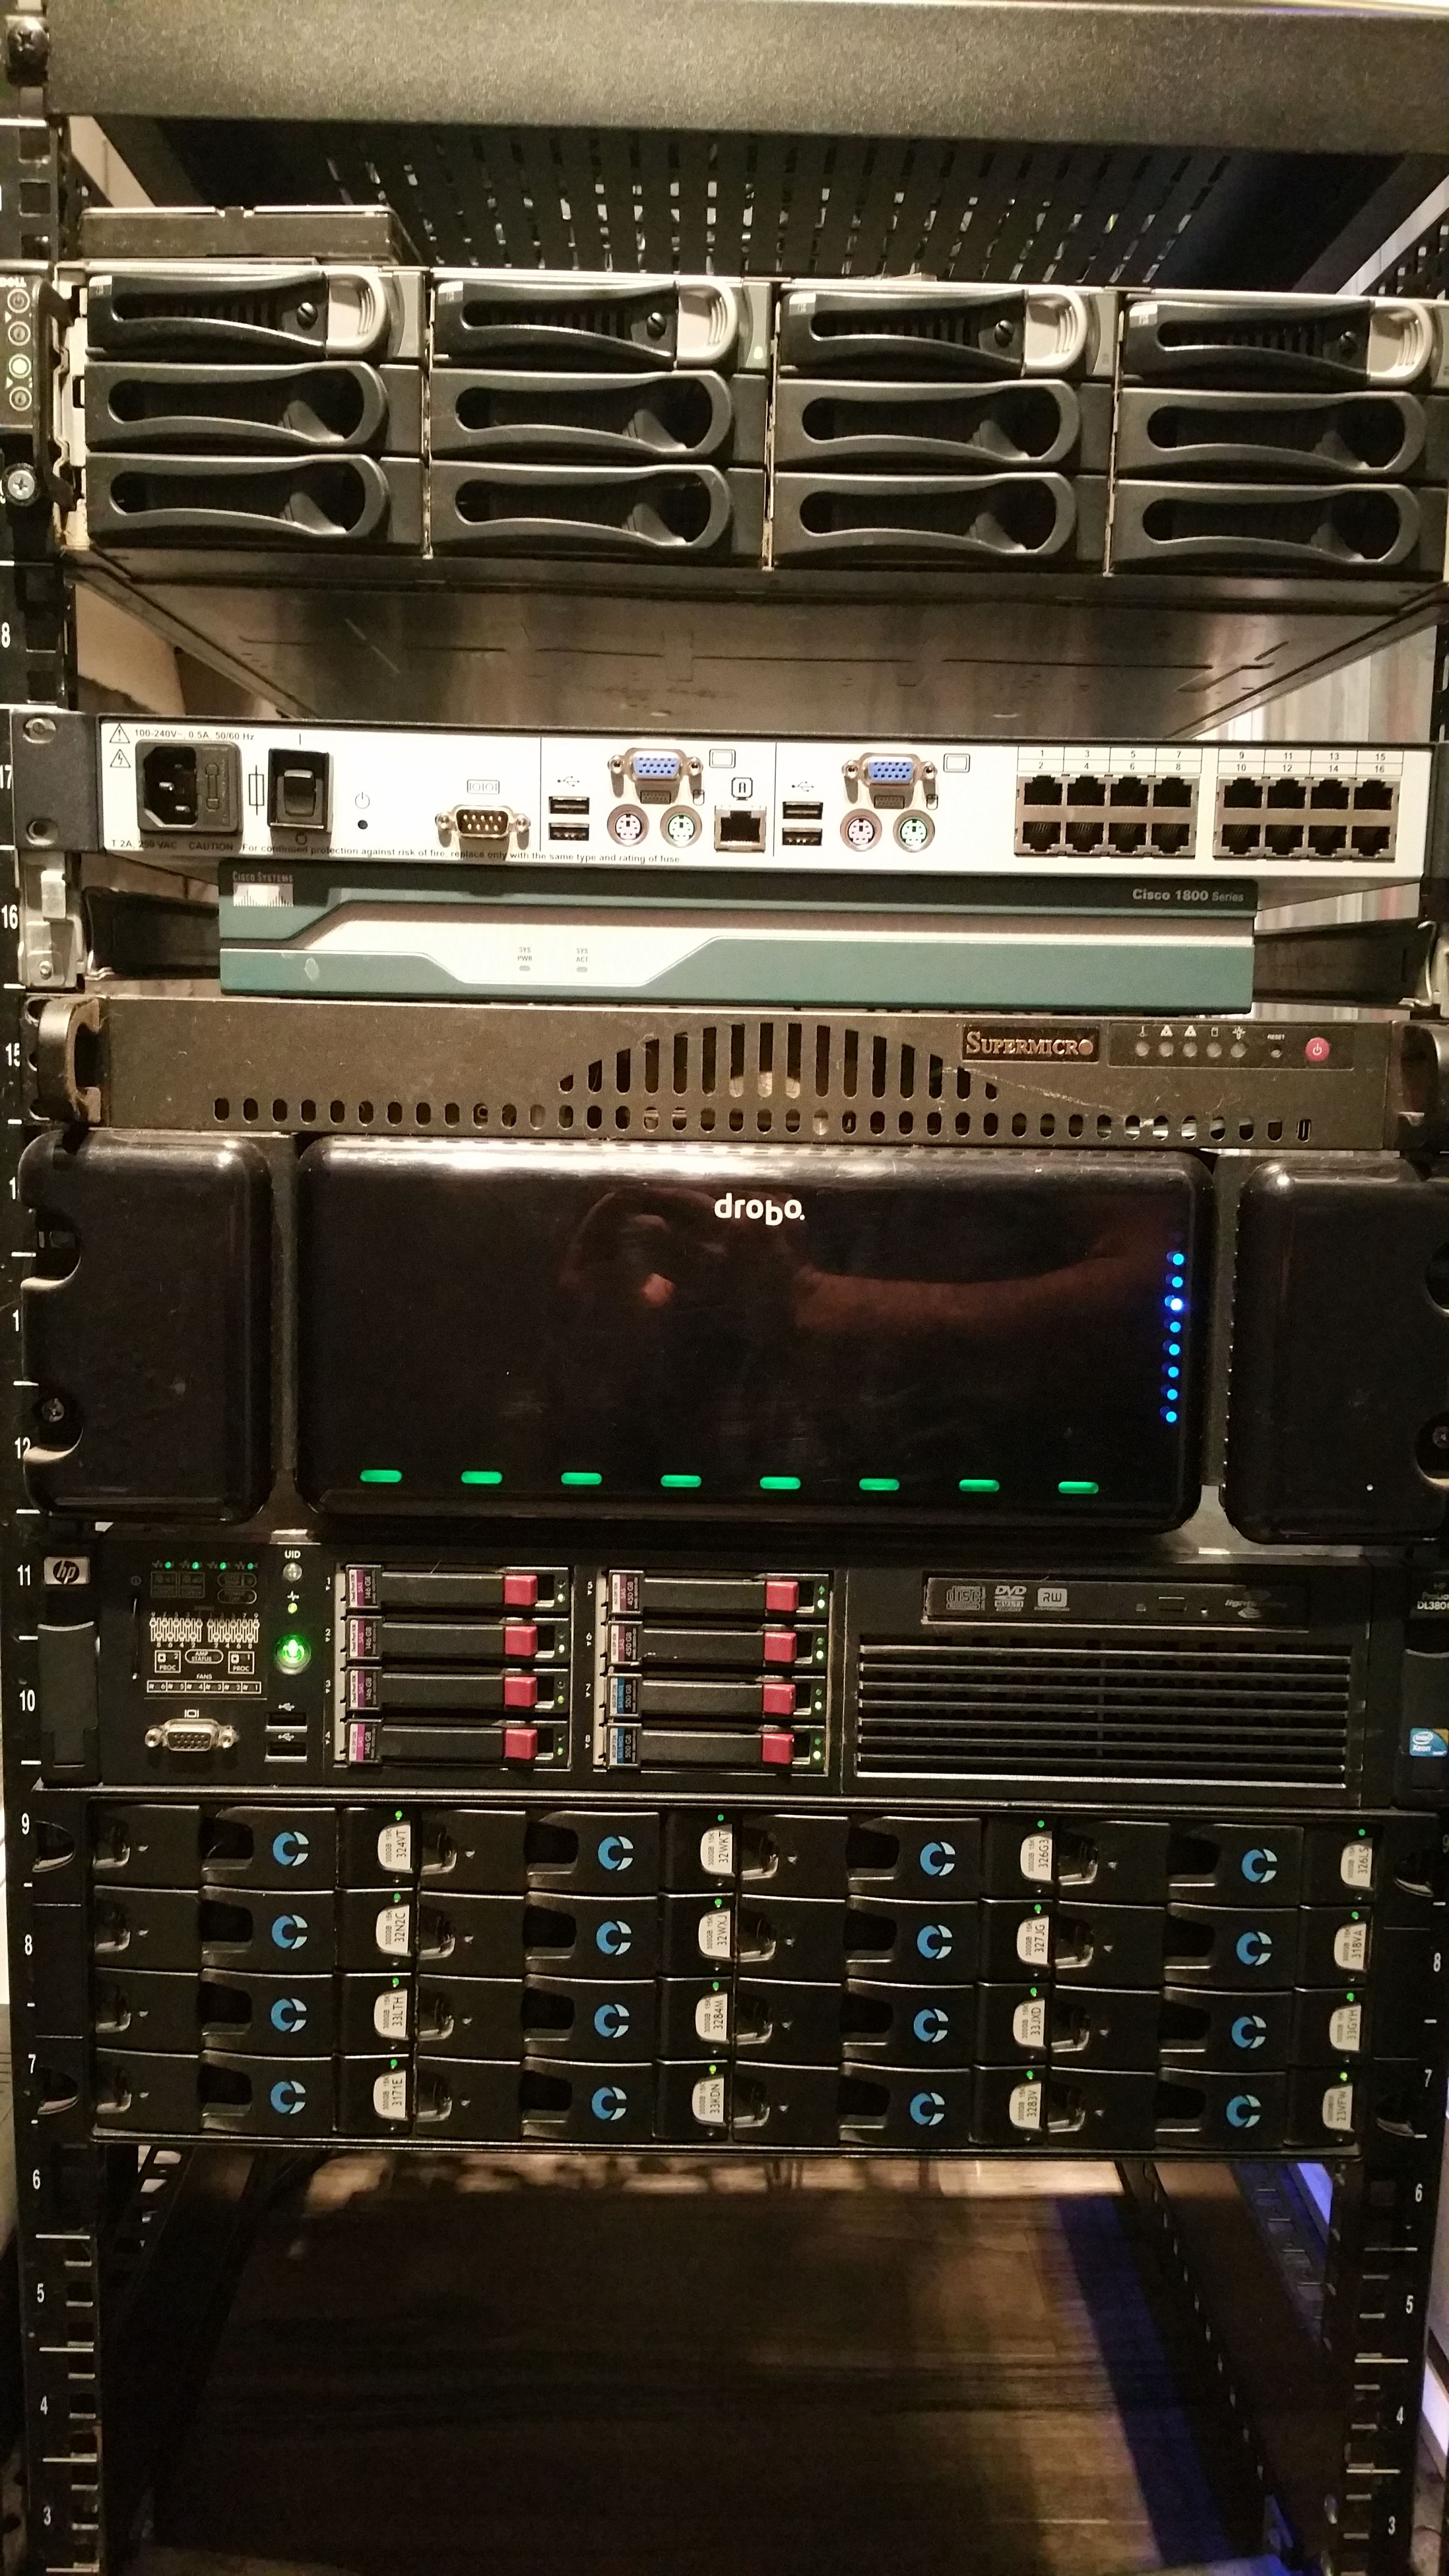
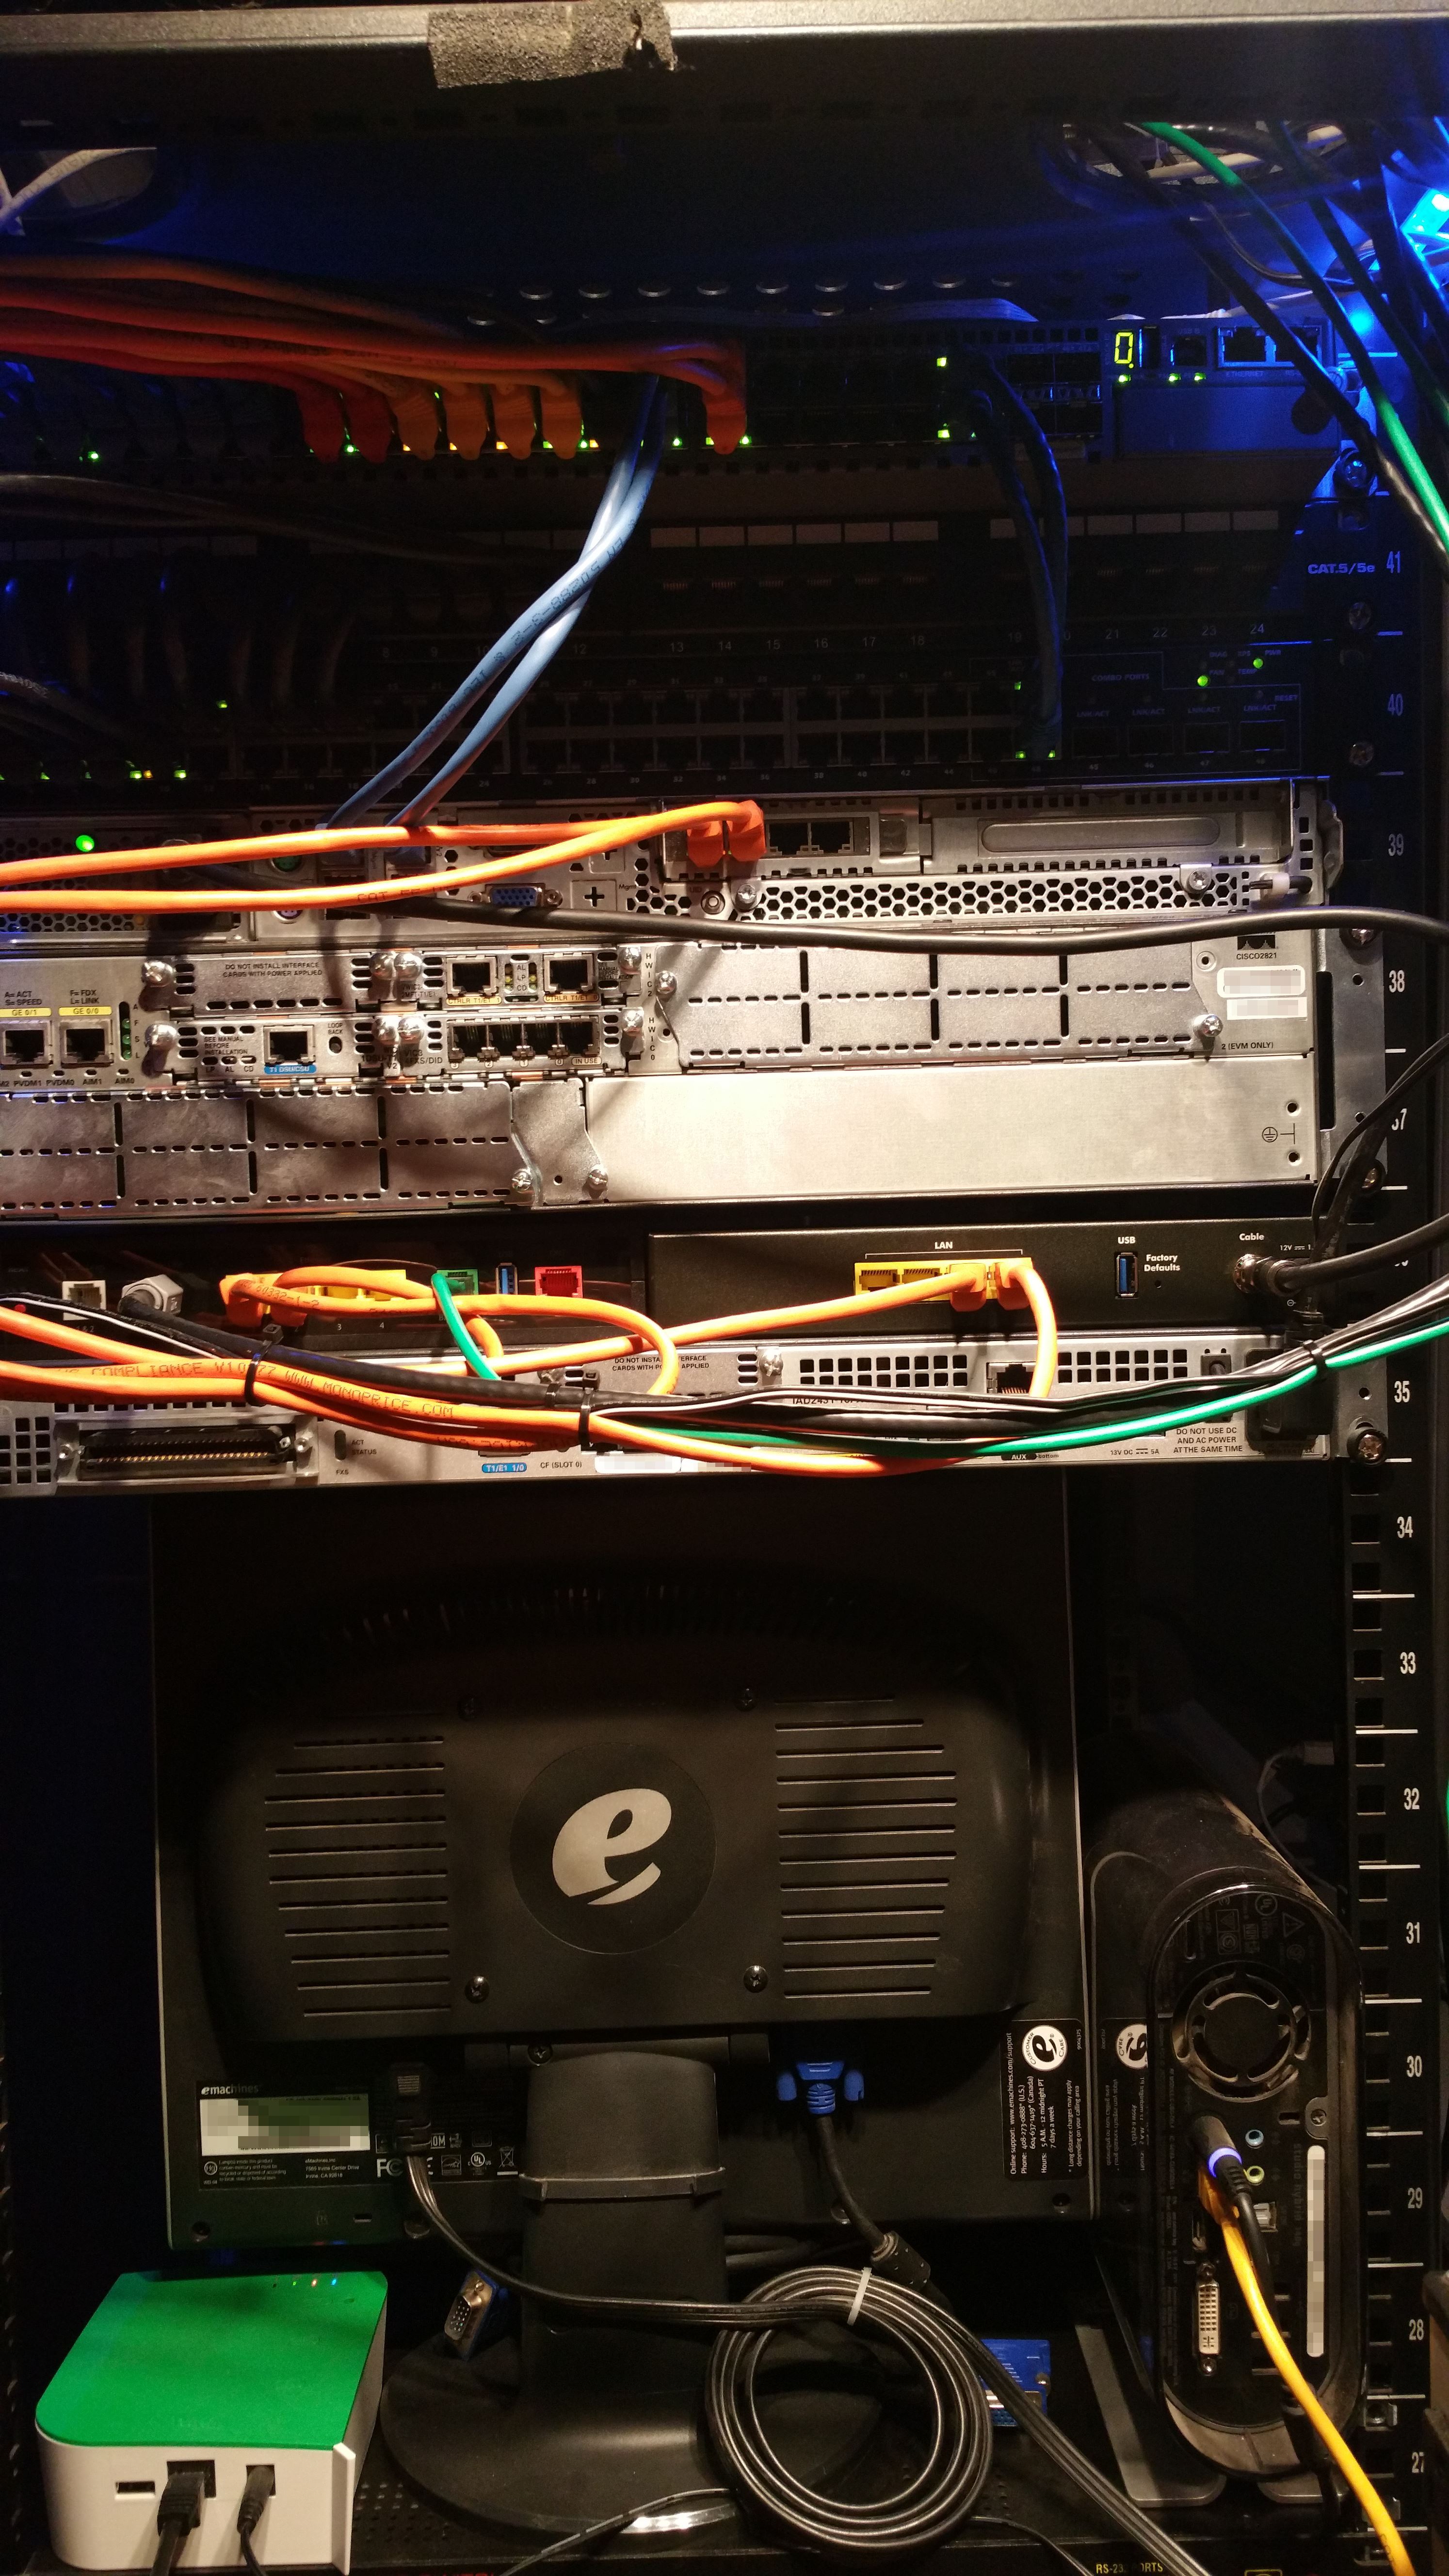
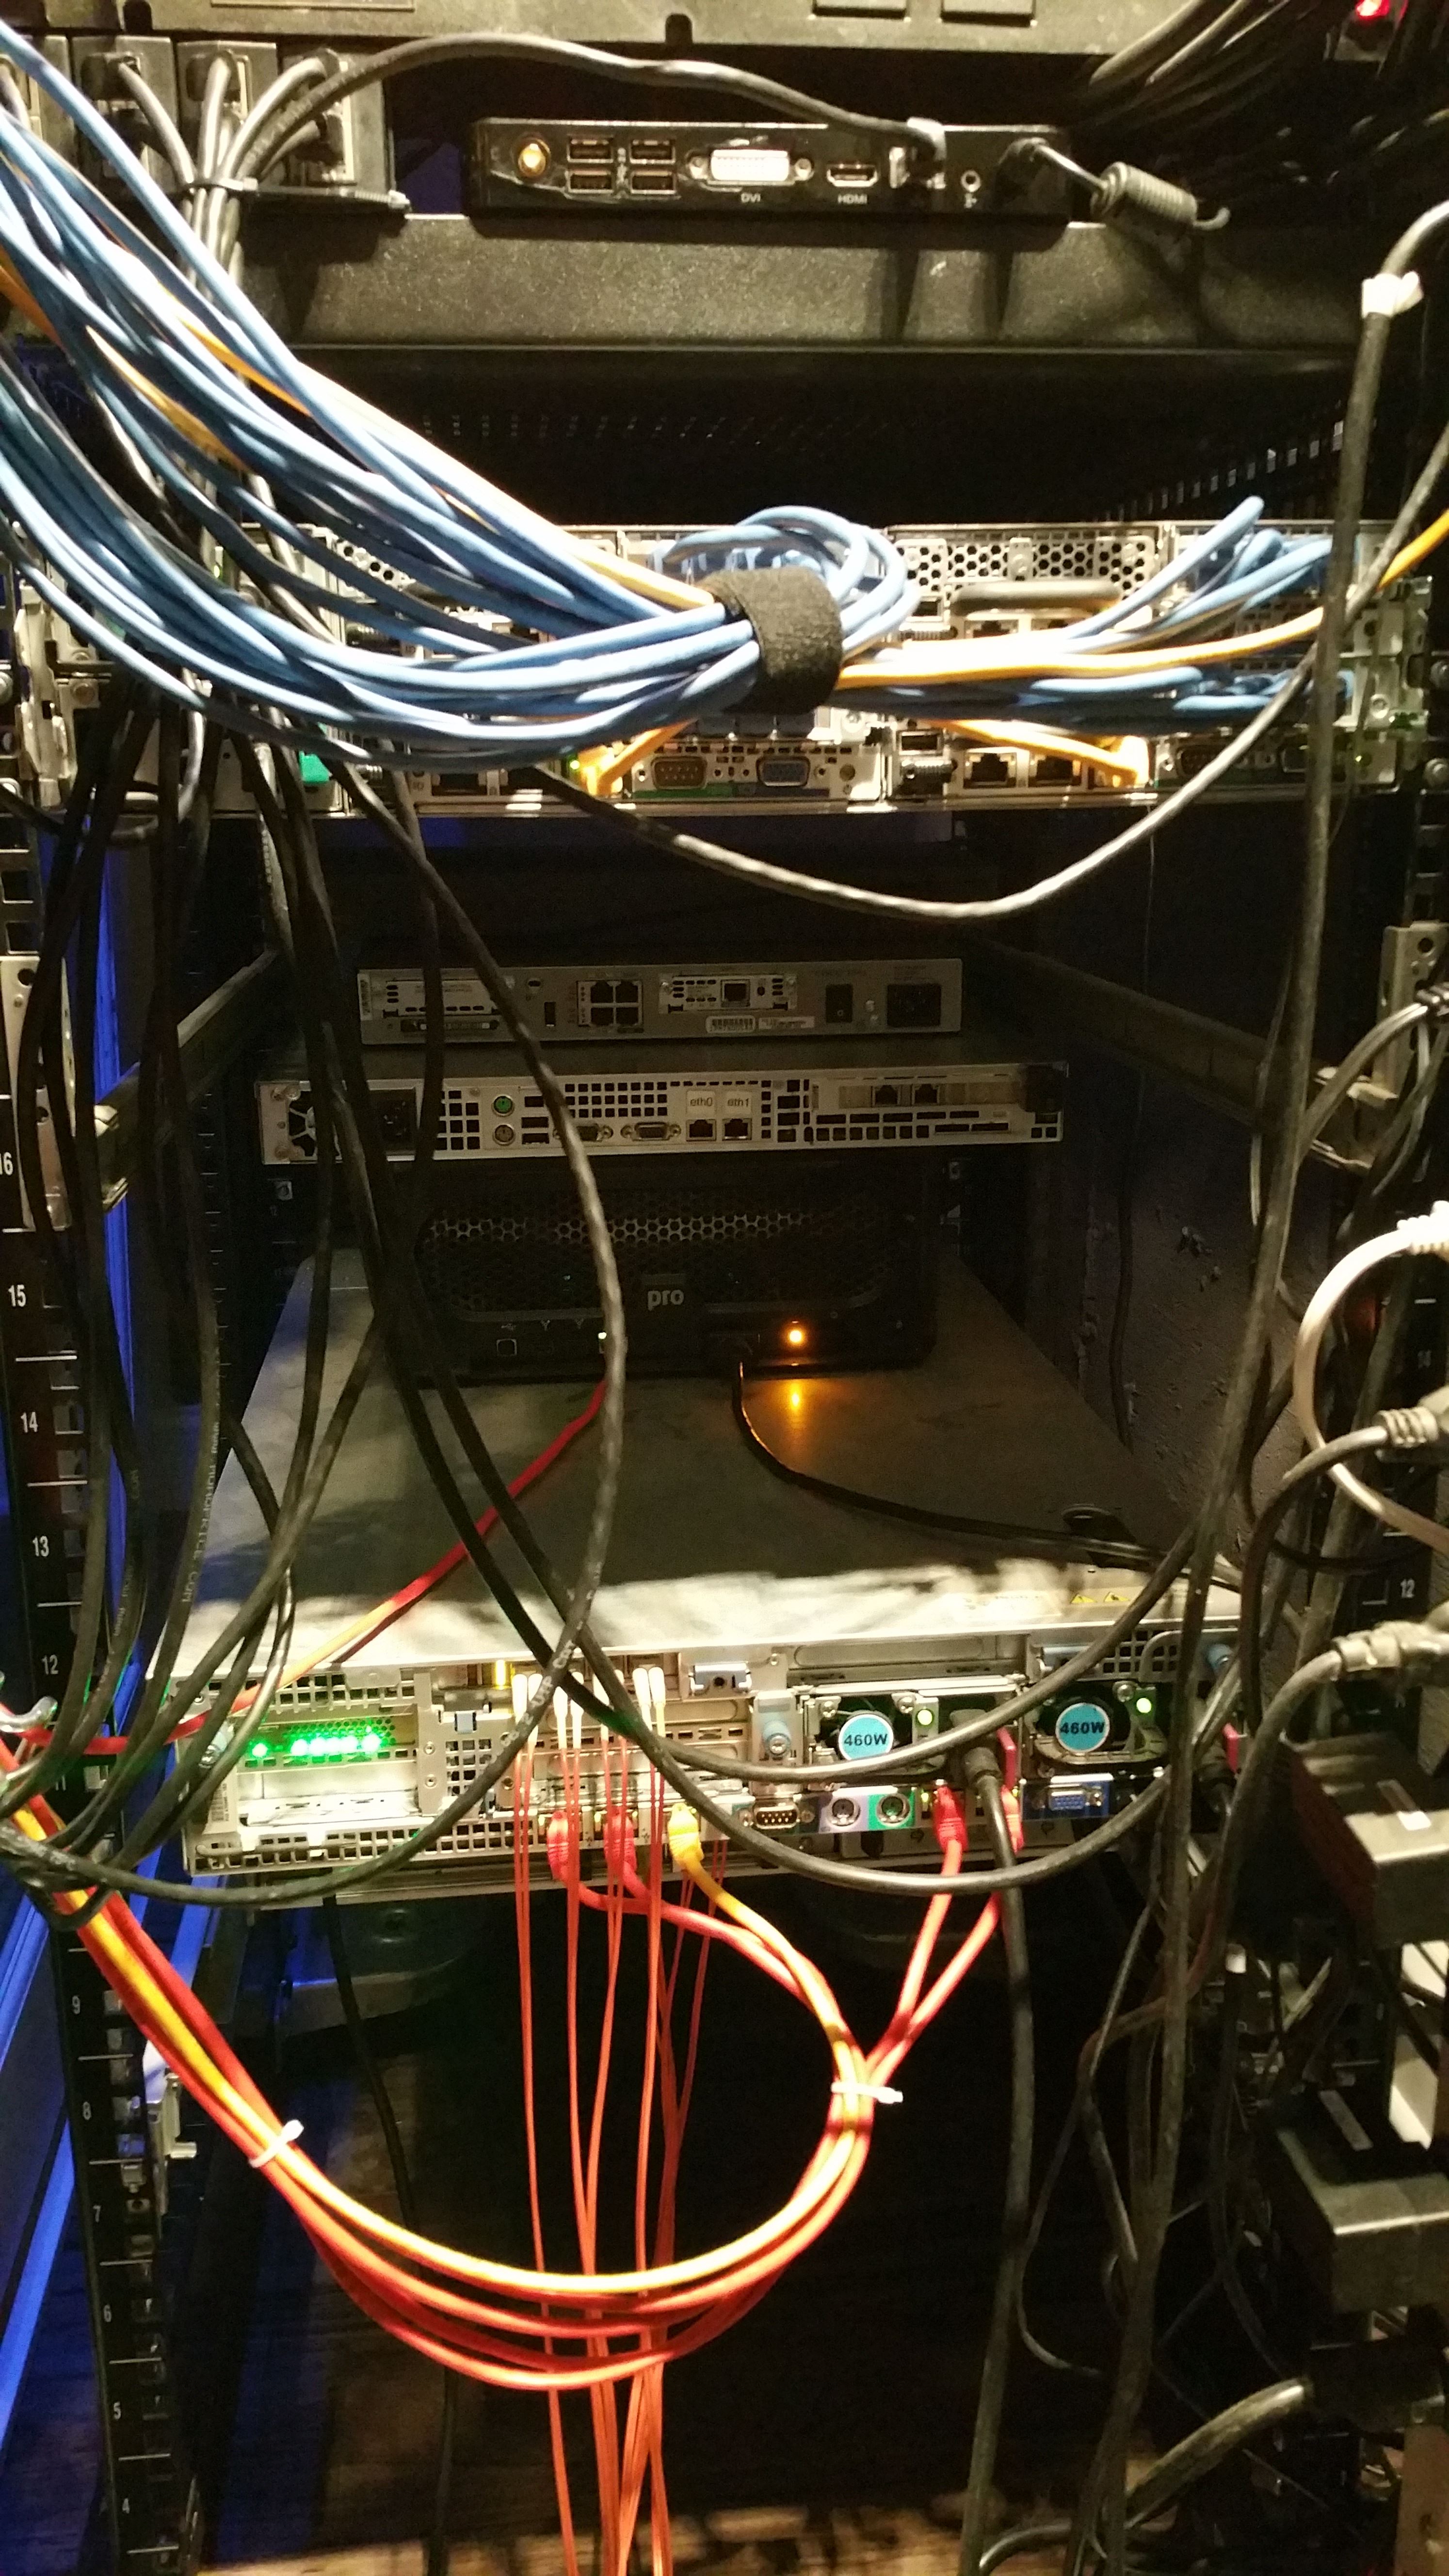
With help of a good friend, the rack was brought downstairs and put in the room. Now the work remains in racking everything back and hooking it all up.
5 hours later, this is the side profile of what it looked like. You can see the A/C unit installed in the window too.
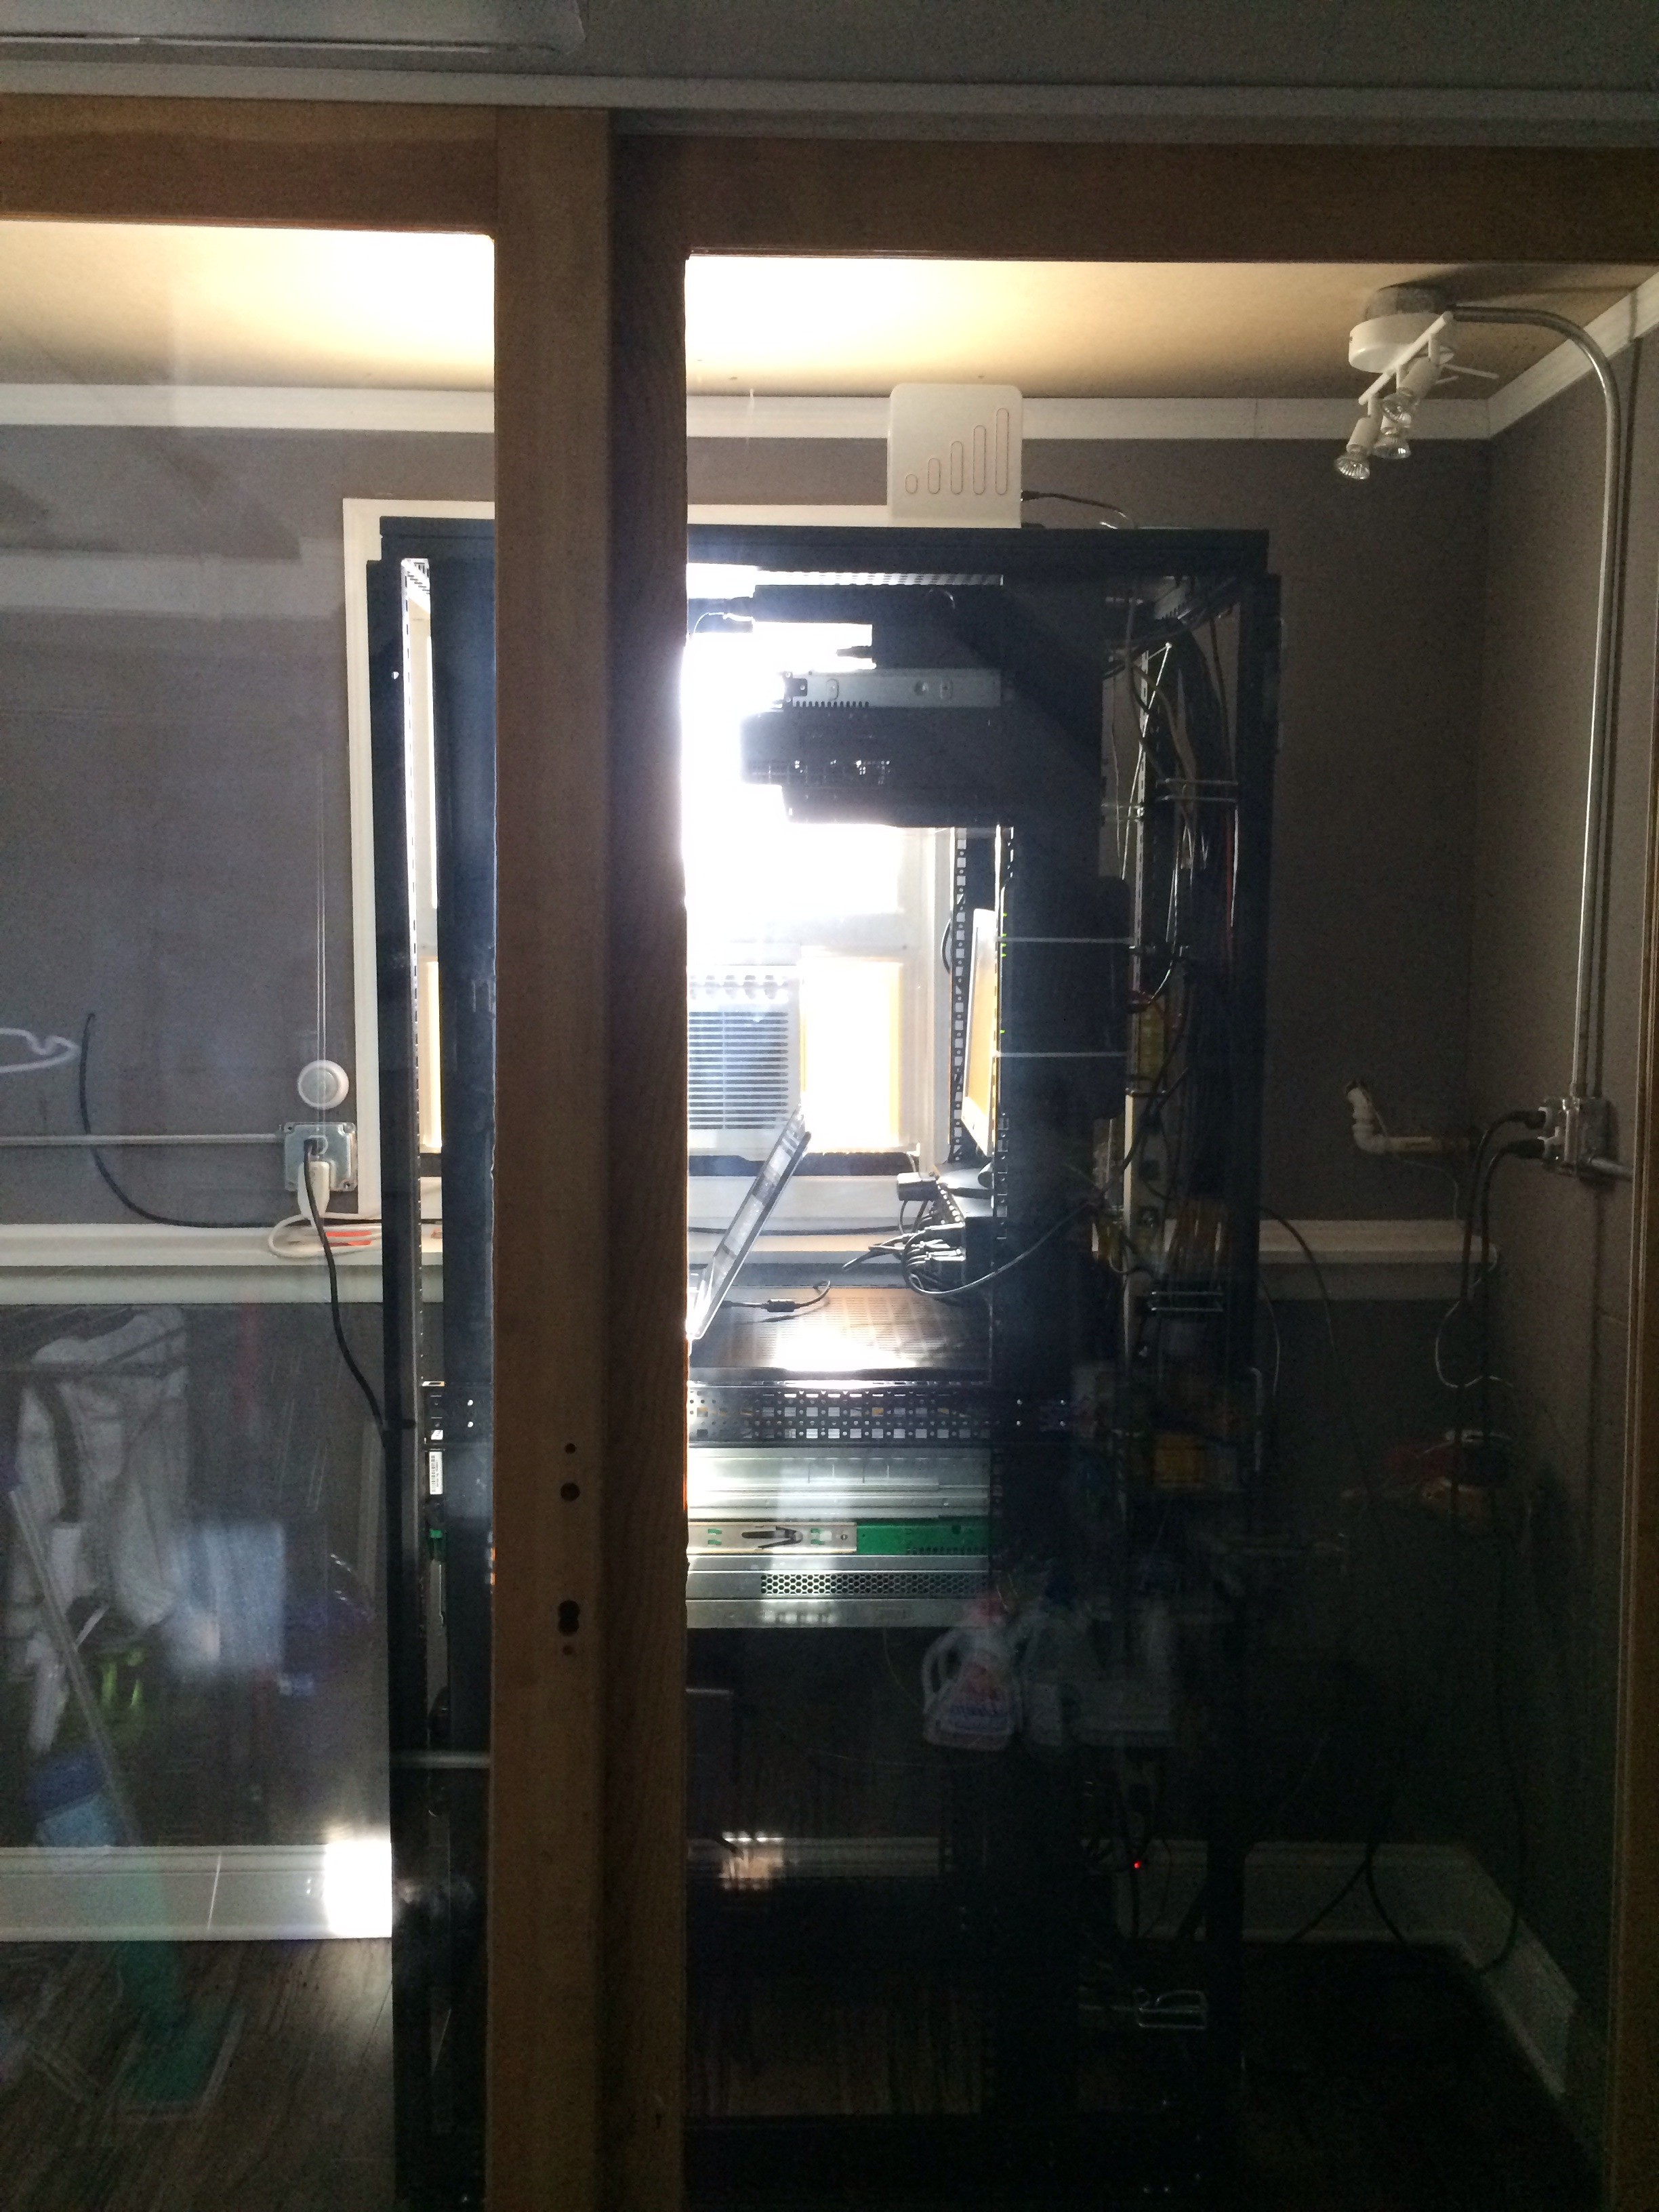
And once it was all tested and in good working order, I cleaned up a side panel and installed it so it looks cleaner. The doors and the other side are still open (it’s too cold out to dust them)

And that’s it! The whole project took me about 60-some hours, but extended over the course of 2 months. Now I have a sound and weather insulated room with two dedicated circuits to host all my stuff!!! Dream come true…
Hola Gonza,
Felicitaciones por tus logros, me gustaria hablar con vos, si es que haces free lance fuera de donde trabajas, me acorde de vos te encontre por aca, tengo un par de proyectos que tal vez si no eres tu conozcas alguien para referirme.
Un saludo y si te interesa llamame @ 708-372-6467
Claudio Salvatore