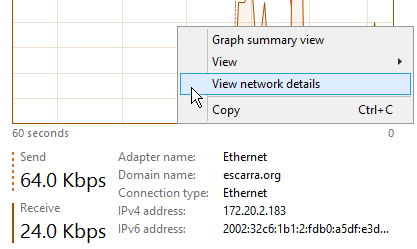
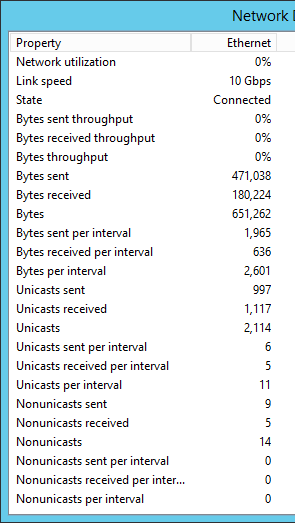
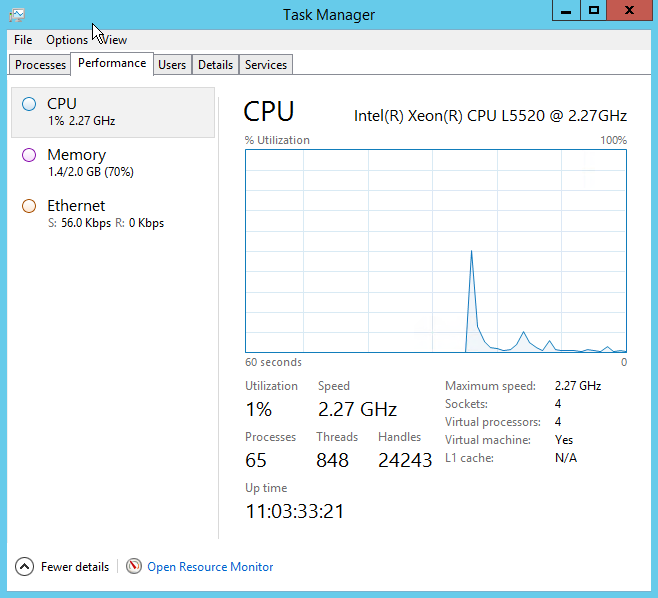
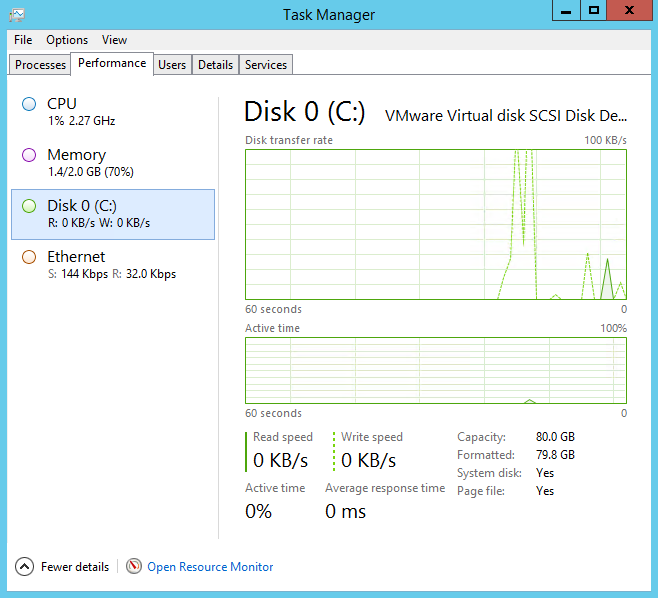
Right-clicking on the Task Manager’s network throughput graph can give you some nice details on your traffic. This will work on Windows 8, 8.1 and the equivalent Server editions 2012 and 2012 R2. Note that the statistics are only gathered while the Task Manager process is running and are not cumulative. For cumulative results, you can use the Get-NetAdapterStatistics | fl cmdlet.
Server 2012
Out of date sources for an up-to-date template?
Say you’re trying to speed up your VM deployments and create a template with Windows Server 2012 or 2012 R2, and in the process to clean up some valuable HD space you run something like the following:
Get-WindowsFeature | Where-Object -FilterScript { $_.Installed -Eq $FALSE } | Uninstall-WindowsFeature –Remove
What that’ll do is remove the binaries off any uninstalled feature and save you a few gigs… BUT you will need the media, or the sources in a share, any time you want to install a feature, which is fine… as long as your template does not get updated. The moment you run Windows Update and go through the motions, your media will no longer work if you want to add features, and installations will fail with something like this:
Error: 0x800f081f
The source files could not be found.
Use the “Source” option to specify the location of the files that are required to restore the feature. For more information
on specifying a source location, see http://go.microsoft.com/fwlink/?LinkId=243077.
To update your sources so that you can use them when installing features, you can use the install.wim file on your media and grab the latest patches using WSUS Offline Updater (http://www.wsusoffline.net/), then merge the updates with the sources. Here’s how:
- Copy the Sources\install.wim file from your Windows Server 2012 or 2012 R2 DVD media to somewhere in your hard drive.
- Create a temporary folder, let’s call it C:\Win2012R2
- Remove the read-only attributes of your local install.wim file because we will be modifying it
- Run dism.exe /get-wiminfo /wimfile:C:\install.wim and take note of the Index for the edition you’re using
- Run dism.exe /mount-wim /WimFile:C:\install.wim /index:4 /mountDir:C:\Win2012R2. Note i’m using Index 4, which is for Datacenter (non-core)
- Run WSUS Offline and download all patches for the edition you’re using, and create an ISO from them
- Mount the ISO with the updates, then run dism.exe /image:C:\Win2012R2 /Add-Package /PackagePath:F:\w63-x64\glb. In my case, the ISO was mounted on drive F:
- Run the previous command at least twice. There are times where updates won’t slipstream into the sources unless they are at the right version. This is the case with Update 1 for Server 2012 R2.
- Once all updates are injected, run dism.exe /Unmount-Wim /MountDir:C:\Win2012R2 /commit which will write the install.wim file back with changes and is ready for use.
When it comes time to install features, just use Add-WindowsFeature with -source:wim:\\server\share\install.wim:4 (note the Index number at the end).
For more detail, you can check out this TechNet article in combination with WSUS Offline to help you with the patch downloads.
Thanks for reading!
Missing Disk performance counter from Task Manager 2012 R2
Setting timezone on Server Core 2008 R2/2012
To set the timezone on a Server Core 2008 R2/2012, or any other version if you fancy CLI, use the following:
TZUTIL /G to list the current timezone
TZUTIL /L to list all available timezone settings
TZUTIL /S “Central Standard Time” to set your timezone to CST as example
Also useful is the w32tm tool to change settings around the Windows Time Service, such as setting up a manual NTP peer or forcing a time resync.
Getting started with Windows Server 2012 Core
If you’re reading this, chances are that you just installed Windows Server 2012 in the recommended instance of Server Core, and upon boot, you get the nice little cmd.exe window but nothing else. Here’s how you get started using PowerShell cmdlets to configure it:
Rename: Rename-Computer computername
Reboot: Restart-Computer
Configure an IP: New-NetIPAddress -IPAddress x.x.x.x -InterfaceAlias “Ethernet” -DefaultGateway x.x.x.x -AddressFamily IPv4 -PrefixLength 24 (or whatever your subnet mask is)
Configure a DNS server: Set-DnsClientServerAddress -InterfaceAlias “Ethernet” -ServerAddresses x.x.x.x
Join a domain: Add-Computer -DomainName domain.com
You can start using Server Manager after that to install roles and features, and configure them. If you can’t use Server Manager remotely, you might want to run Configure-SMRemoting.exe -enable and maybe disable/modify the Windows Firewall rules using MMC from another system


